In other words, protection (shelter), rescue, water, and then food. This is how it's laid out in Bear Grylls' book Born Survivor: Survival Techniques from the Most Dangerous Places on Earth. As Grylls explains it, you need to protect yourself from the elements (such as heat, cold, wind, precipitation, wild predators, and bugs). It's sound enough advice that even Canadian outdoor adventurer Les Stroud, a known critic of Grylls, can agree with it.
If you're thrown into an unplanned outdoor survival situation, the second step would be to consider how you're going to get out of it. This includes flares, reflecting sunlight off mirrors, and making smoke signals from campfires. Clean water is the next priority. And the basic need you can last the longest without is food.
But above all else, don't forget about shelter. Of course, if you're going camping, you'll bring a tent or a hammock. Still, knowing how to build a shelter outdoors can help you in an emergency. It can also be part of a fun summer night out in nature, allowing you to be more comfortable in the outdoors like Estonians have historically been.
So how do you get started?
Preparation: First, find the best possible spot for the shelter. Aim for a spot where the ground is dry, where water won't rush down towards you during rainfall. When wet ground is unavoidable, building a shelter becomes much more difficult because you need to put together a platform that will raise you up.
In drier circumstances, plan to settle down where there is enough flat space to build the shelter and build a fire. You'll want the spot to be at a slightly higher elevation, so that the cold air doesn't sink down to you, making you colder when you're sleeping, but also so that you are visible to rescuers.
At the same time, you don't want to be so exposed that you're getting hit by the wind. Vegetation and trees will help block gusts, gales, and chilly breezes. However, look above the site to see if there are any crumbling rocks, dead branches, or trees that might fall and cause problems.
The poncho tent: This is one of the most basic shelters. You won't get much quality sleep in this structure, but it's easy to set up quickly if you see a storm brewing on the horizon or nightfall has arrived a lot faster than you thought it would.
Set up near a healthy tree (for the reasons mentioned before) that has branches you can balance other branches on. Find three long, sturdy branches and lean it against the trunk of the main tree. If you have any spare fabric, tarp material, a plastic poncho, or an additional jacket, hang this over the tops of the branches and drape the material over them. Leave a gap so you can get in and out without knocking over the makeshift tent and pack leaves, moss, and other plant matter on the bottom. When it's time to sleep, you can burrow inside and tuck your legs up to keep warm.
The bundle: Faced with even less materials or time to build, you can focus on plant matter like dry leaves, tree bark, and evergreen branches. Check all of it to make sure there are no ticks, spiders, snakes, or other creatures inside. When it's all clear, pile up the material and crawl inside.
If there's a big evergreen tree nearby, you can also pile the material underneath one of its branches and get snug under that, for added protection from rain and so on.
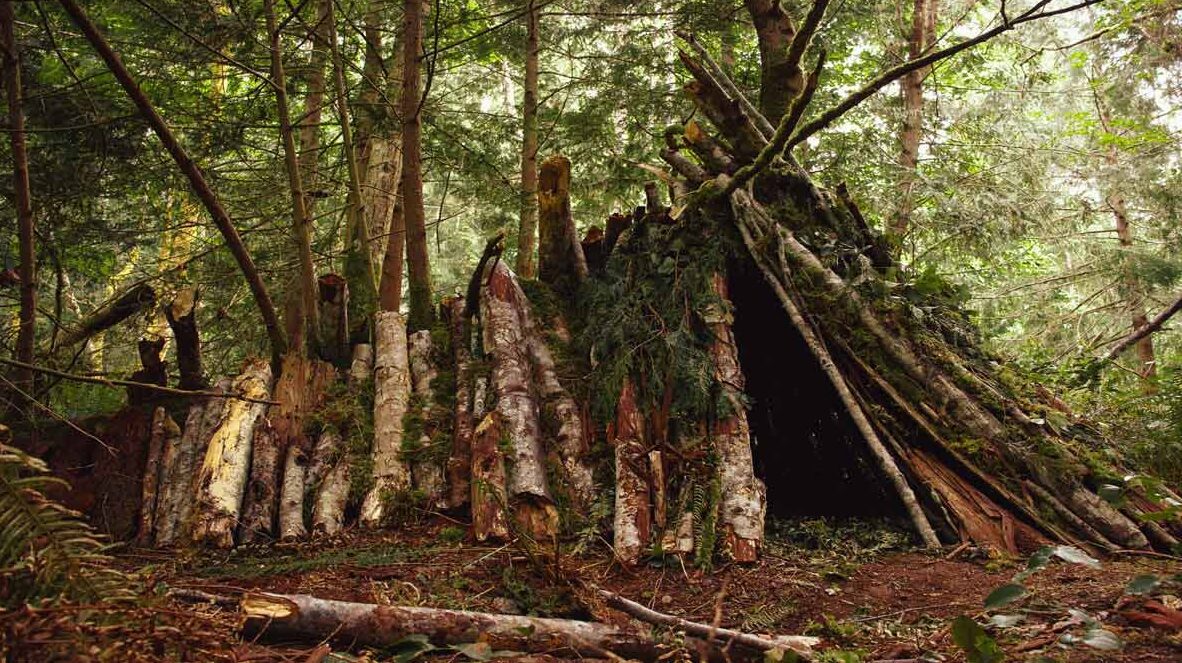
A-frame wooden shelter: Have you noticed shelters often involve leaning or connecting pieces of wood together? It's served humans and human ancestors well for hundreds of thousands of years. With the A-frame, look for large fully-collapsed trees and logs. Lay several other branches across this central “ridge.” Cover the branches with large amounts of pine needles, leaves, and moss as a roof.
Sweep out the floor of the shelter and replace it with additional pine needles. If possible, bring in leaves and dry grass and fluff it up all around where you'll sleep, like a squirrel's nest. This will insulate you and raise the temperature compared to how it is outside.
Tarp and string: Similarly, if you have a length of string or rope around, you can tie it between two trees and straddle available fabric (e.g. a tarp or a jacket) across as a canopy. Weigh down all sides with boulders or logs. The amount of fabric will dictate how high up the canopy is.
Bear in mind, these shelters are applicable to late spring, summer, and autumn. Winter presents its own set of challenges, when a lot of building material is buried in snow. Be sure to go with an experienced outdoors person if you're going to stay overnight in any of these shelters.
That aside, have fun as you make your home away from home in the outdoors!


