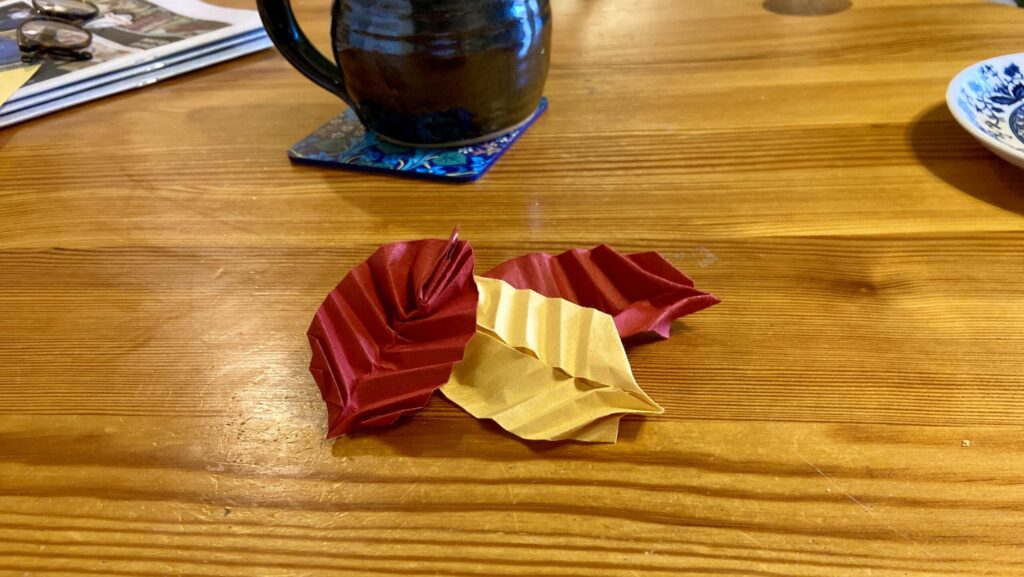
What if we made these colourful red, orange, and yellow leaves into a decoration? You could potentially dry them and make something from that. But if they’re wet and mouldy, or you live in a place without many trees, it’s also possible to make some of your own out of paper. Origami, the Japanese art of paper folding, is a fun artistic challenge. It’s also something you can do inside on a day with cold or rainy weather.
…birch bark is exceptionally protective, meaning that “the bark of a birch on a hot summer day feels pleasantly cool to touch, while in winter cold it is as if it were breathing out warmth.”
This time around, we’re going to make birch leaves out of paper. Birch trees are found both in Estonia and Canada. In the spring, Estonians are known to drill a hole into the trees and insert a tap to access their sap for kasemahl (“birch juice”). As Looduskalender.ee describes, birch bark is exceptionally protective, meaning that “the bark of a birch on a hot summer day feels pleasantly cool to touch, while in winter cold it is as if it were breathing out warmth.” Estonians use the dried branches to make vihad (whisks) for use in the saun, which cleans our skin and improves our circulation. And in the autumn, birches grace us with a stunning combination of shimmering, golden leaves and speckled white trunks.
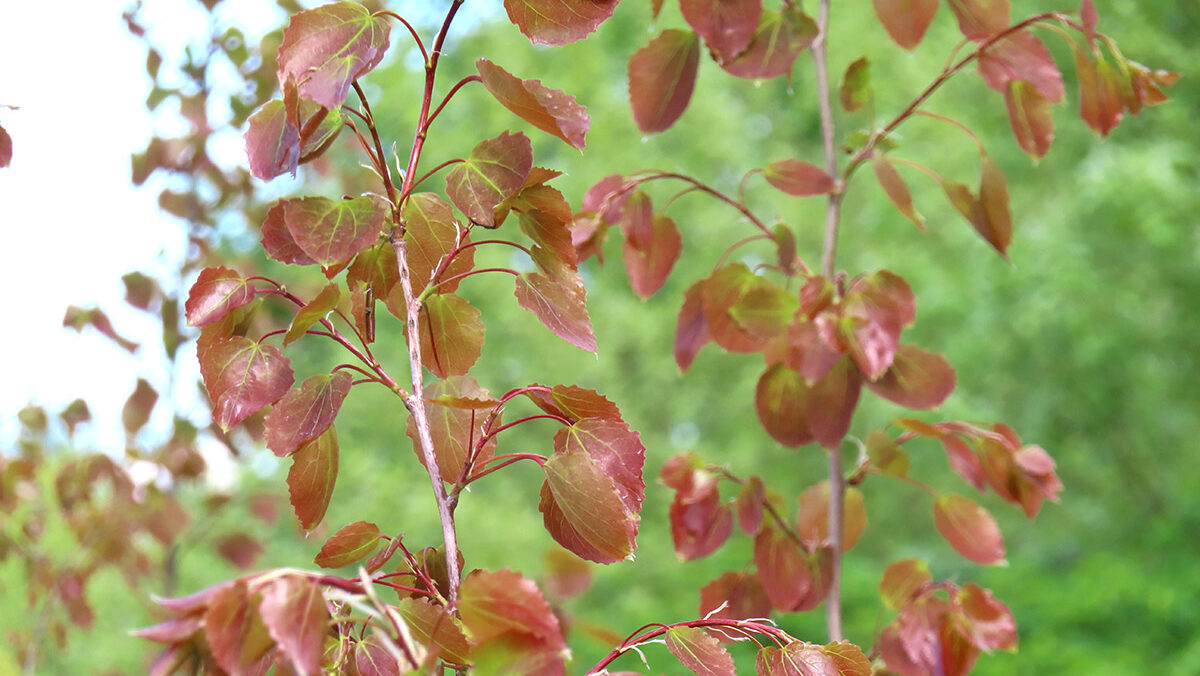
There are several different types of these beloved trees, but often, like with silver birches found in Estonia, the leaves are quite round on the bottom, with a singular point and upward, diagonal veins. There’s a neat method of making paper look like one of these leaves, and all it takes are square pieces of paper. Ideally origami paper, so you have the ideal thickness. Still, you could cut different thin paper into squares. Bigger squares, such as 8×8 inch origami paper, are better because they give you more space to do folds.
The steps:
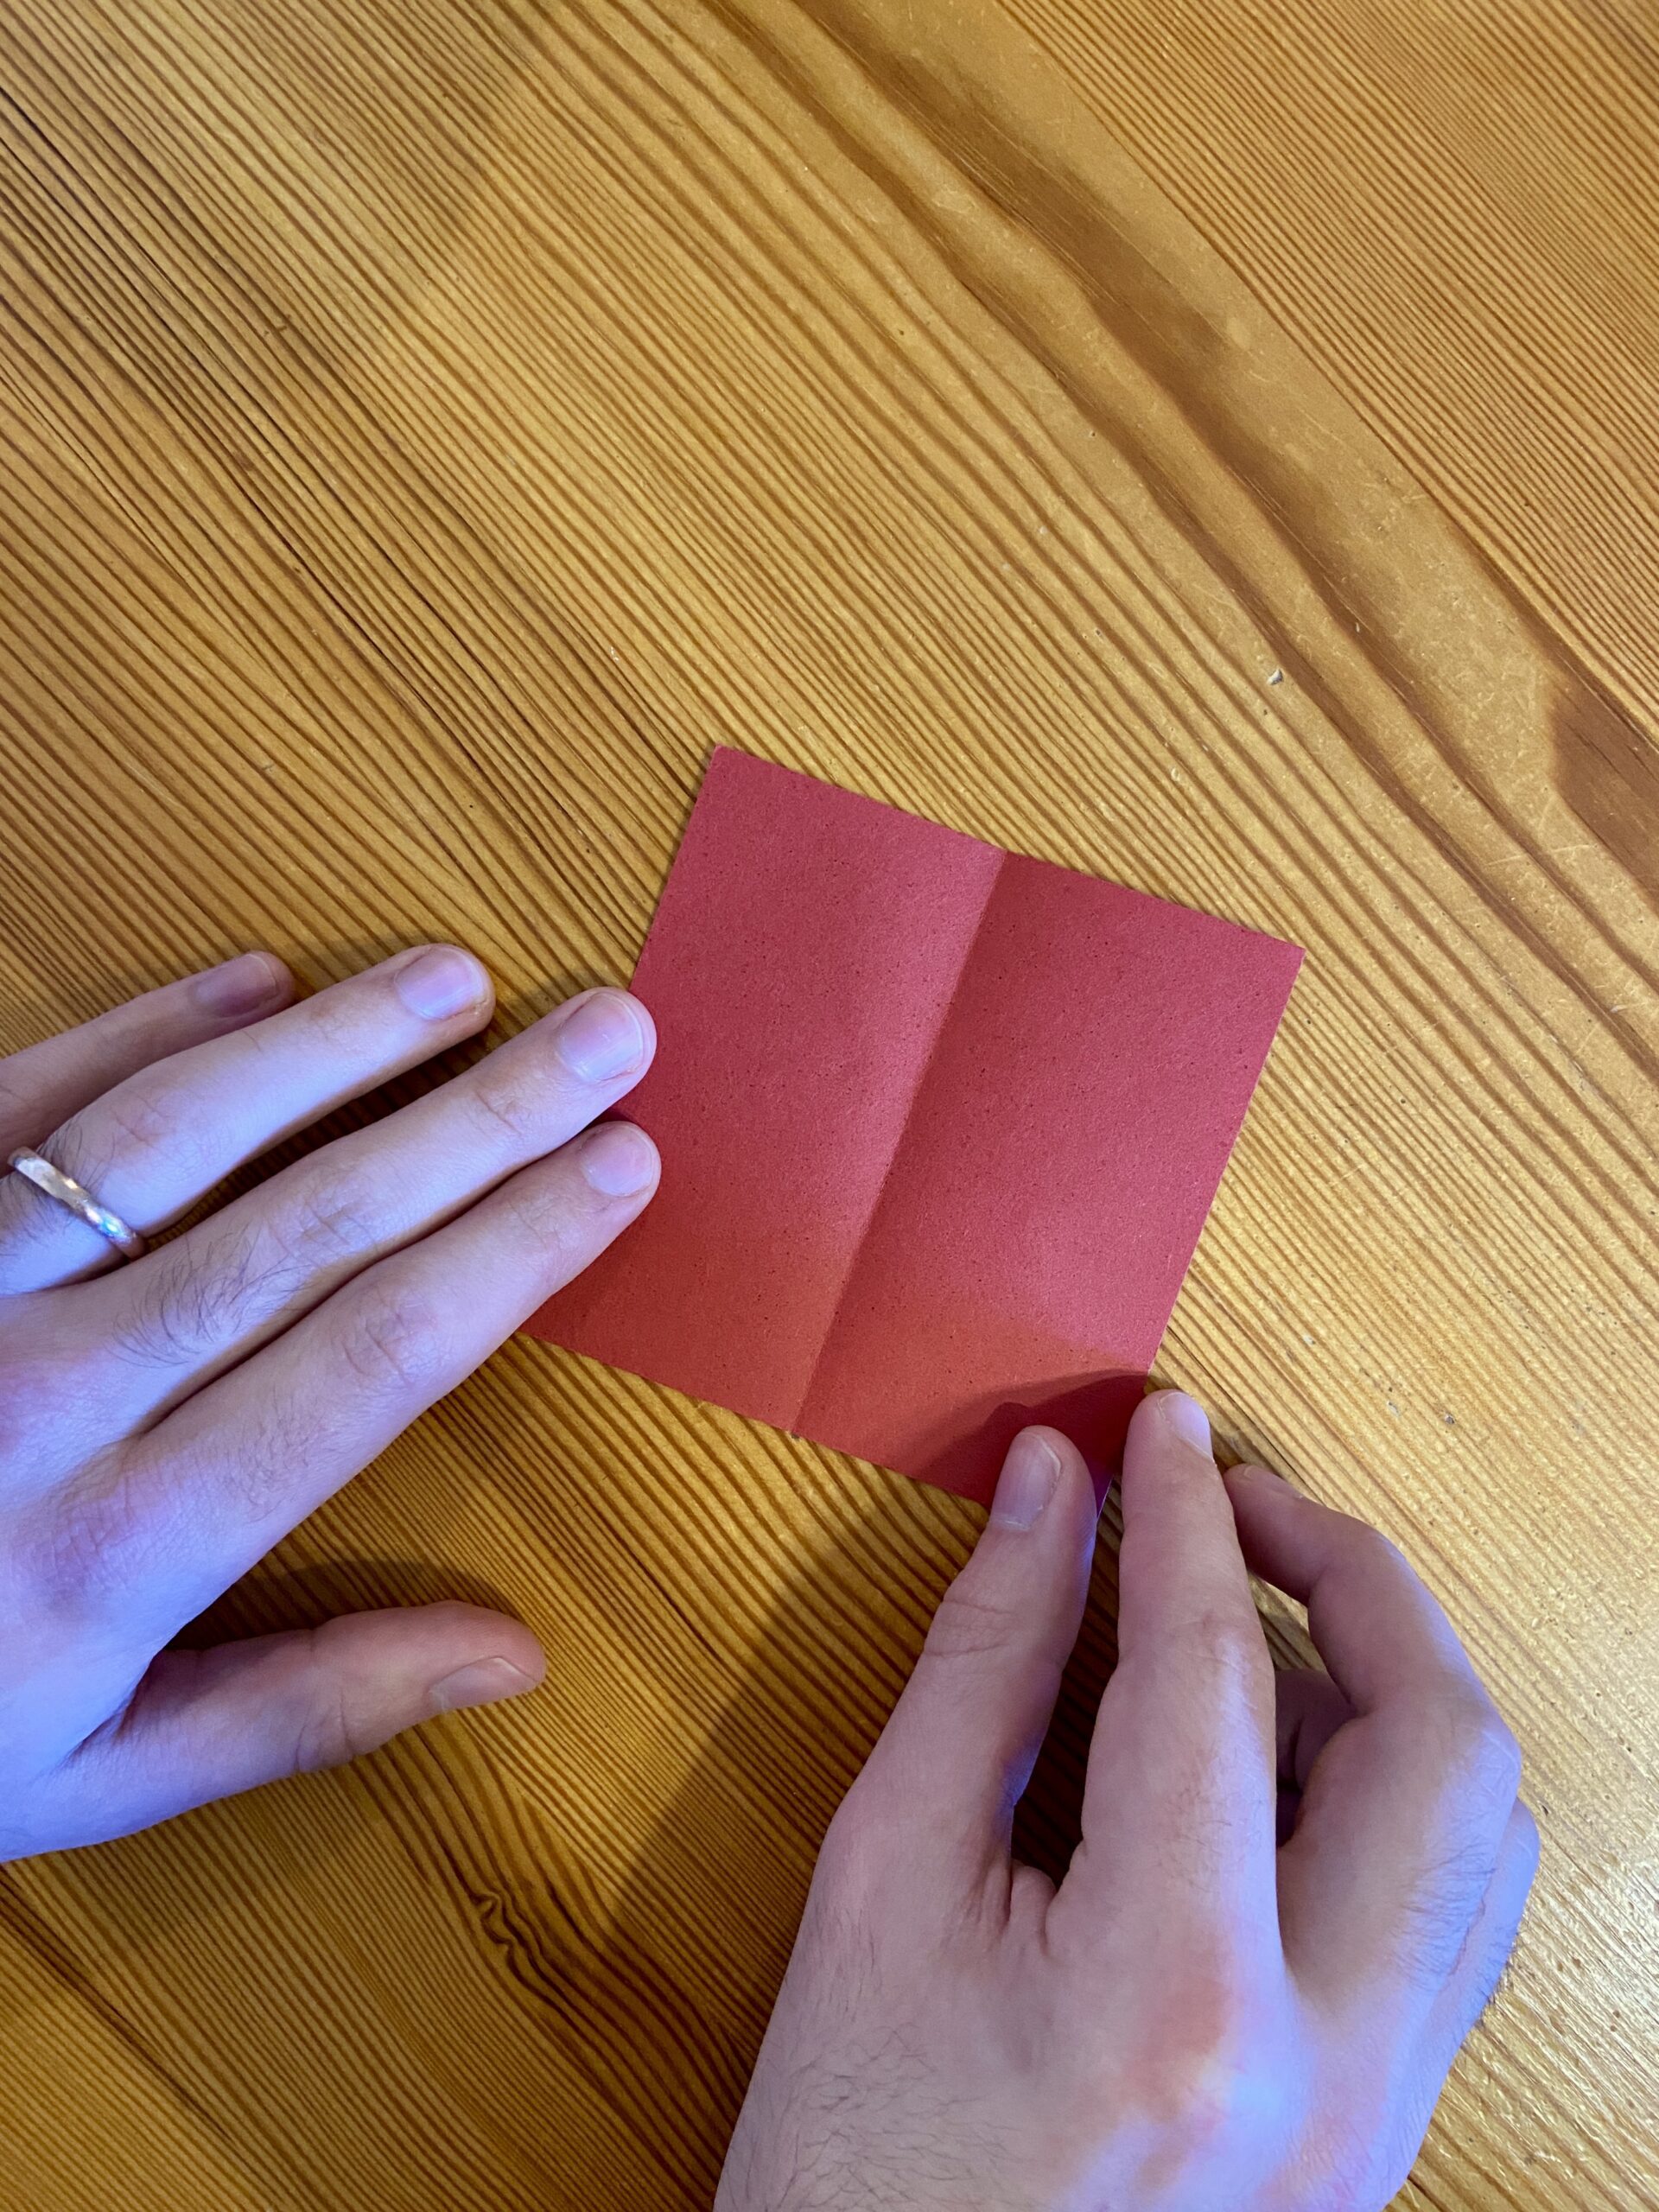
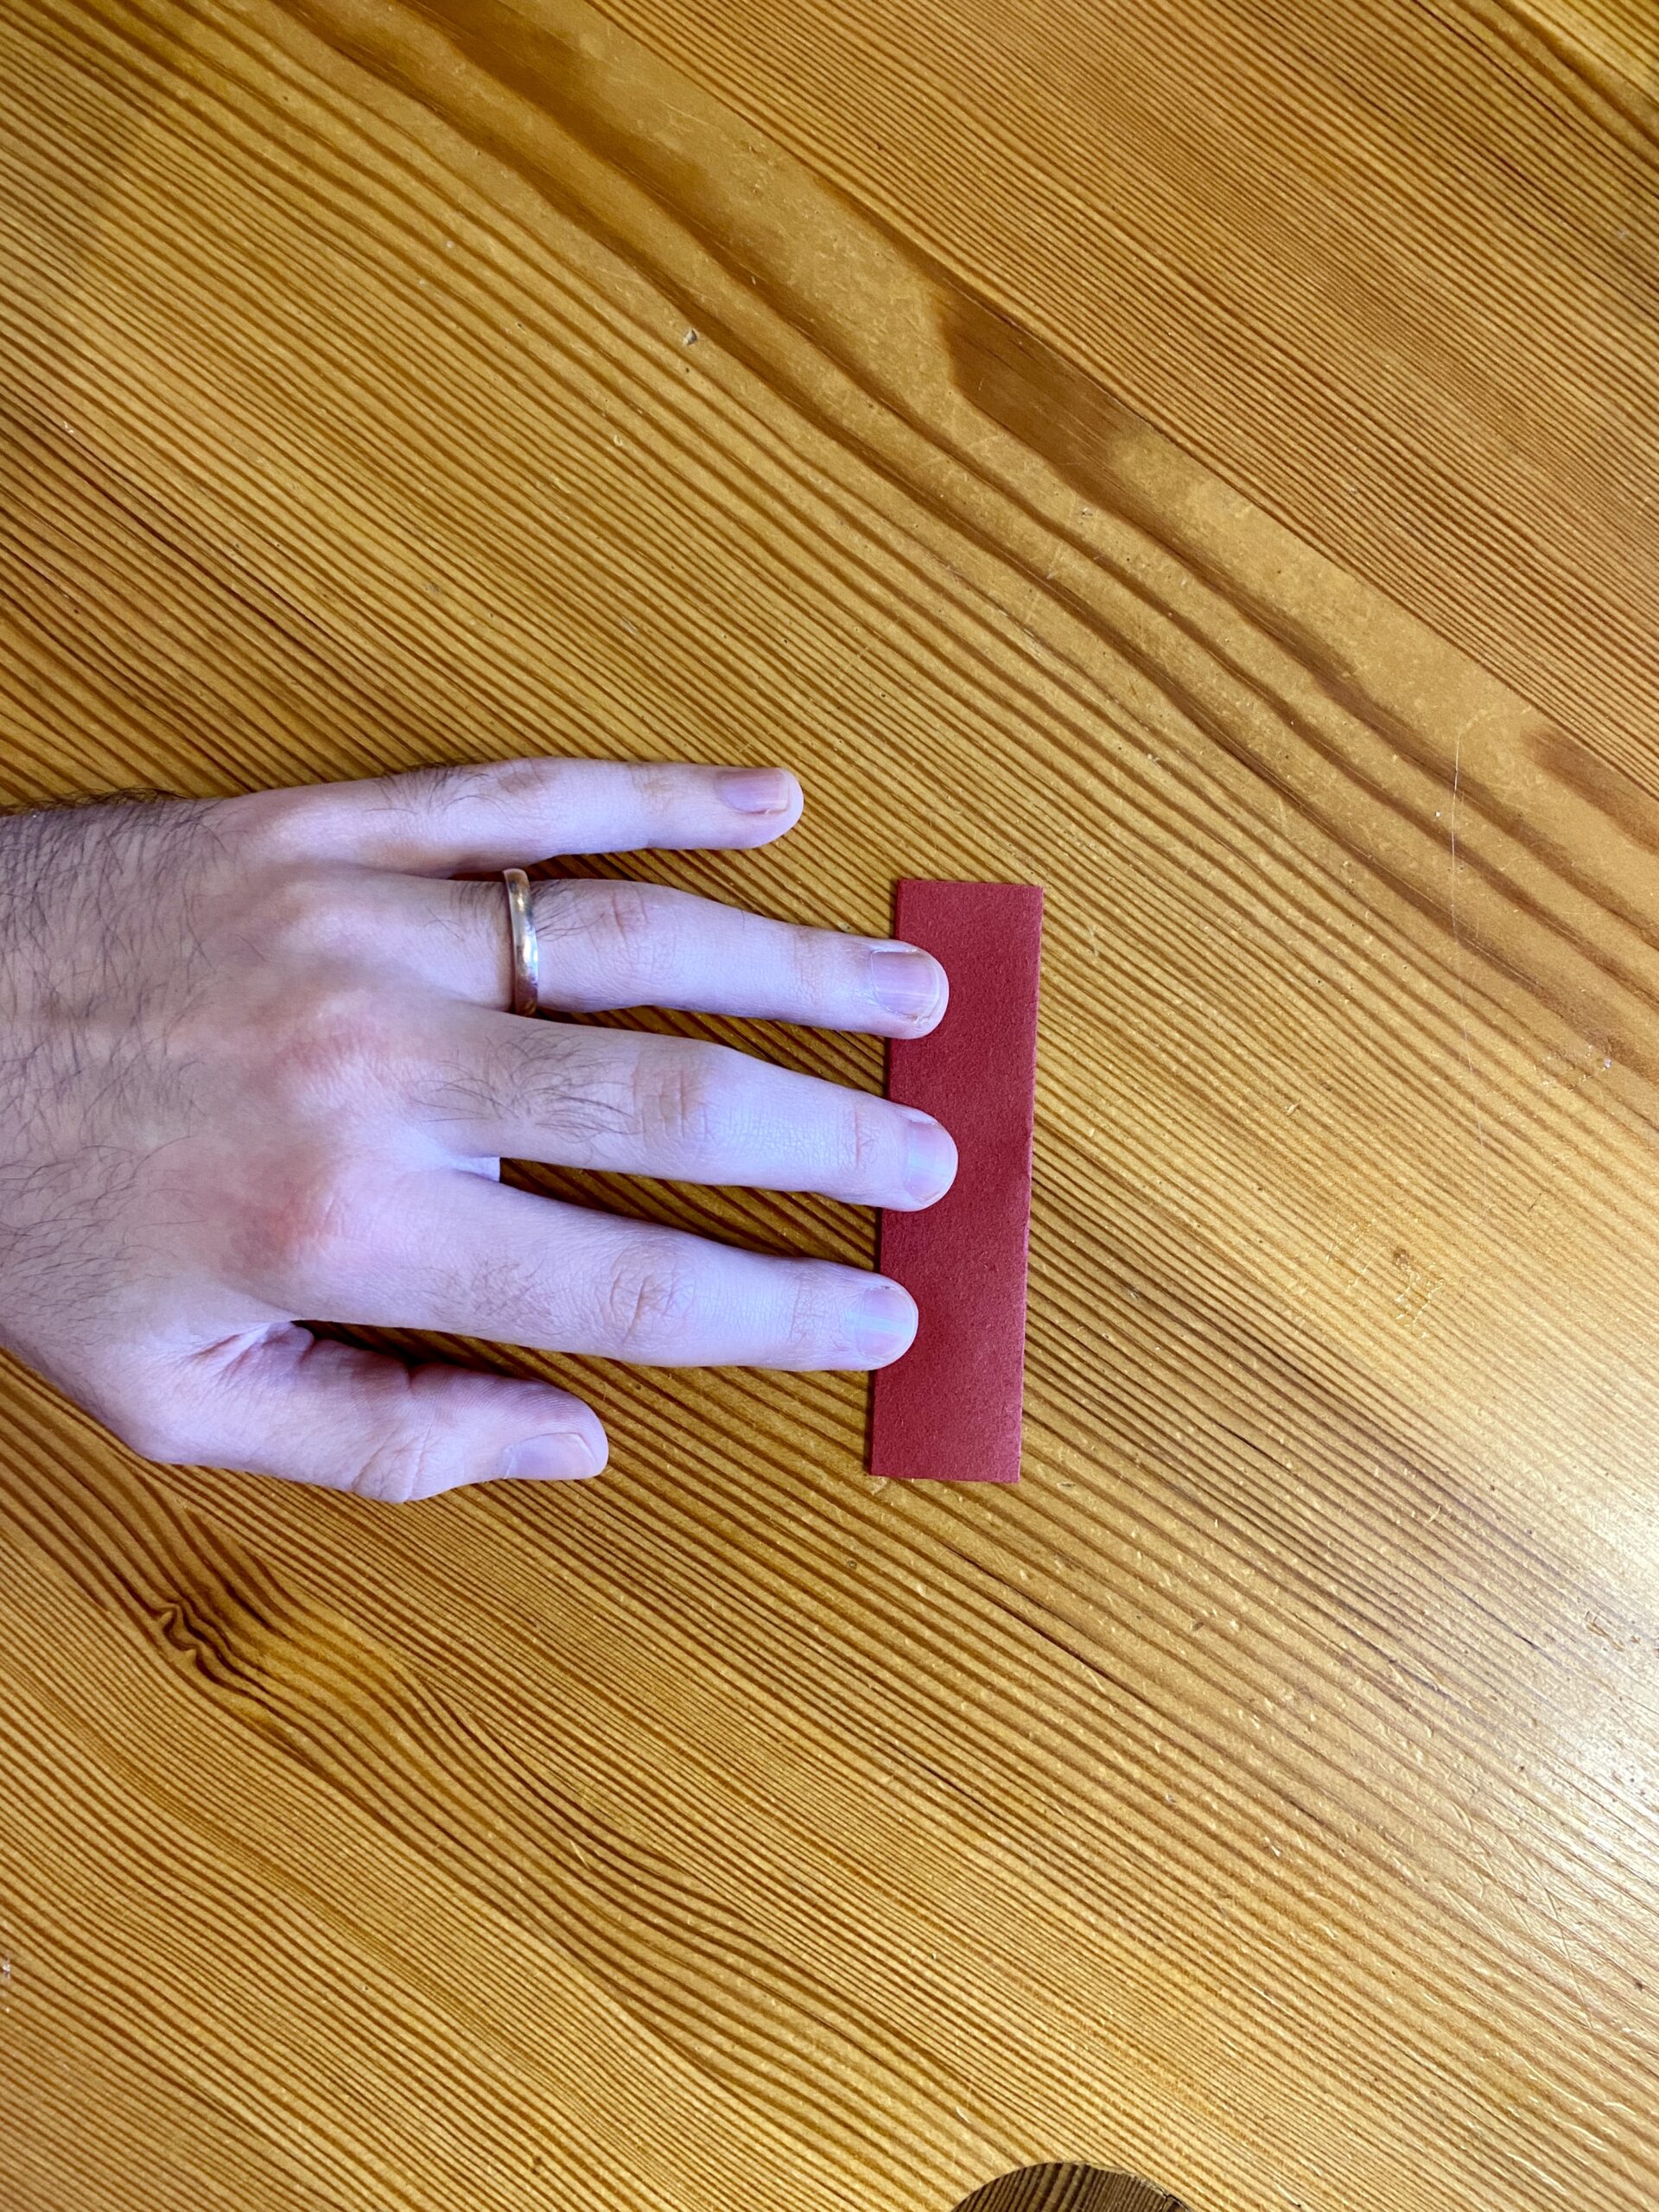
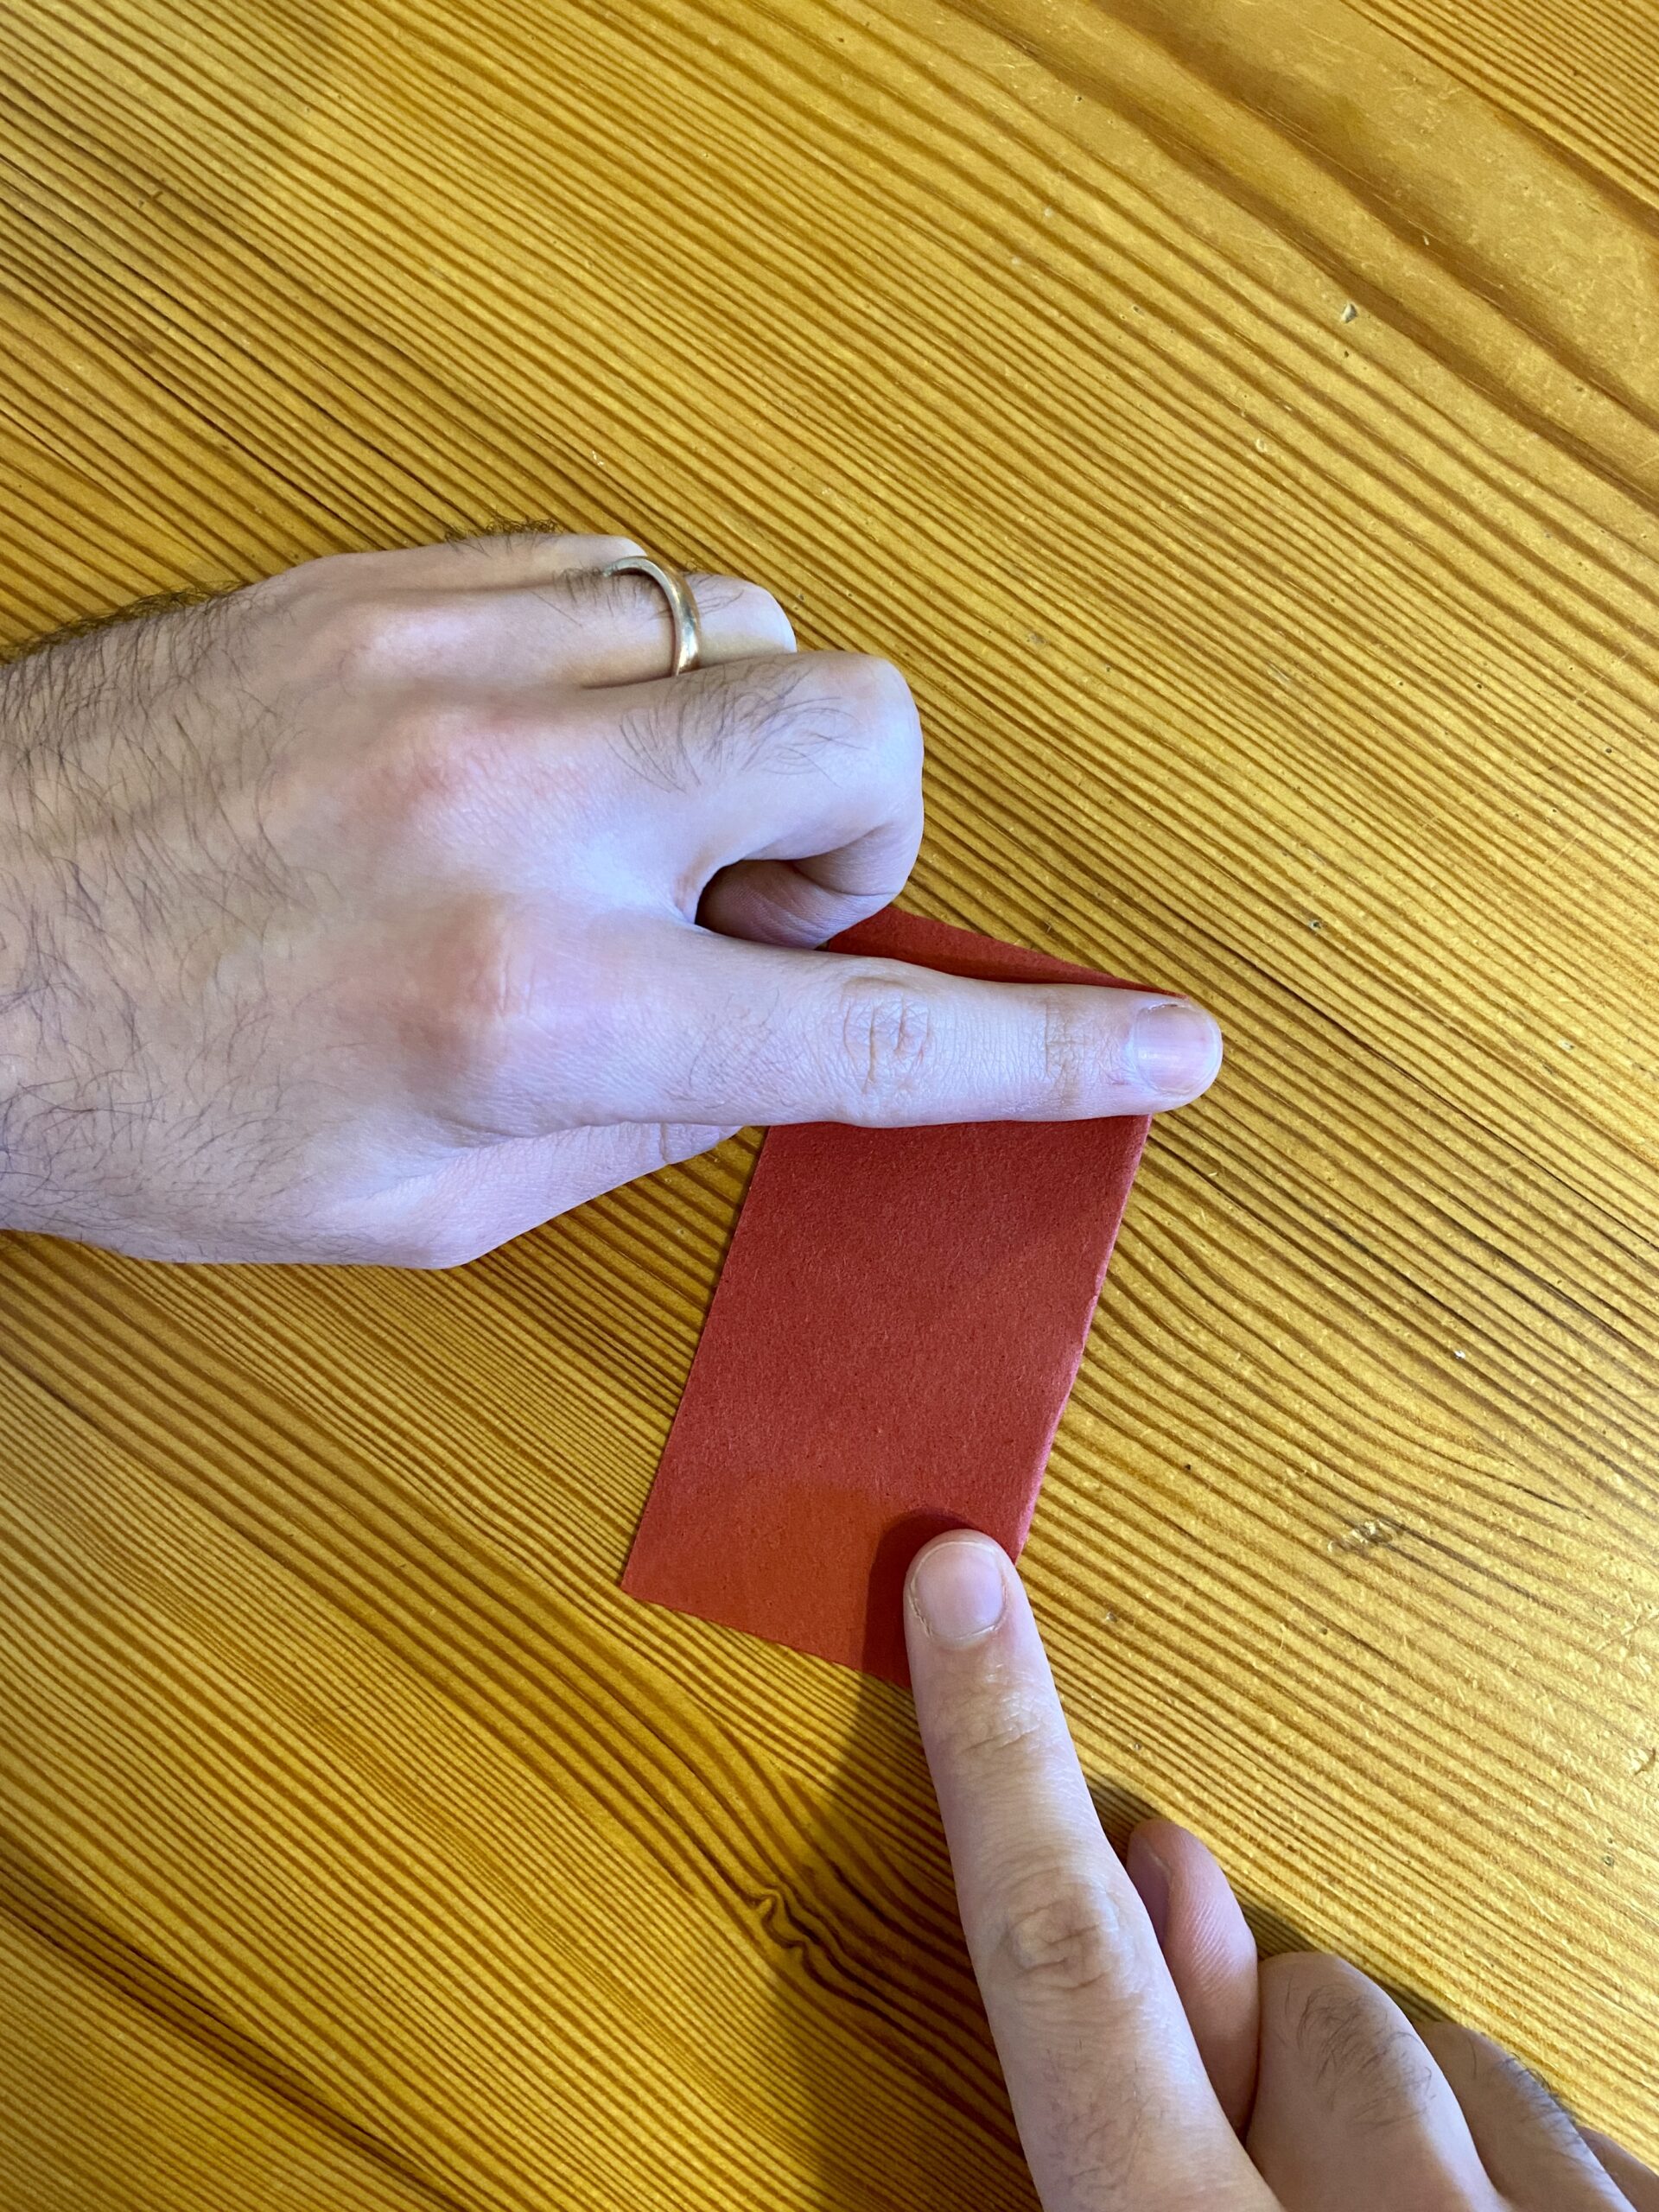
1) First, take your square and fold it in half.
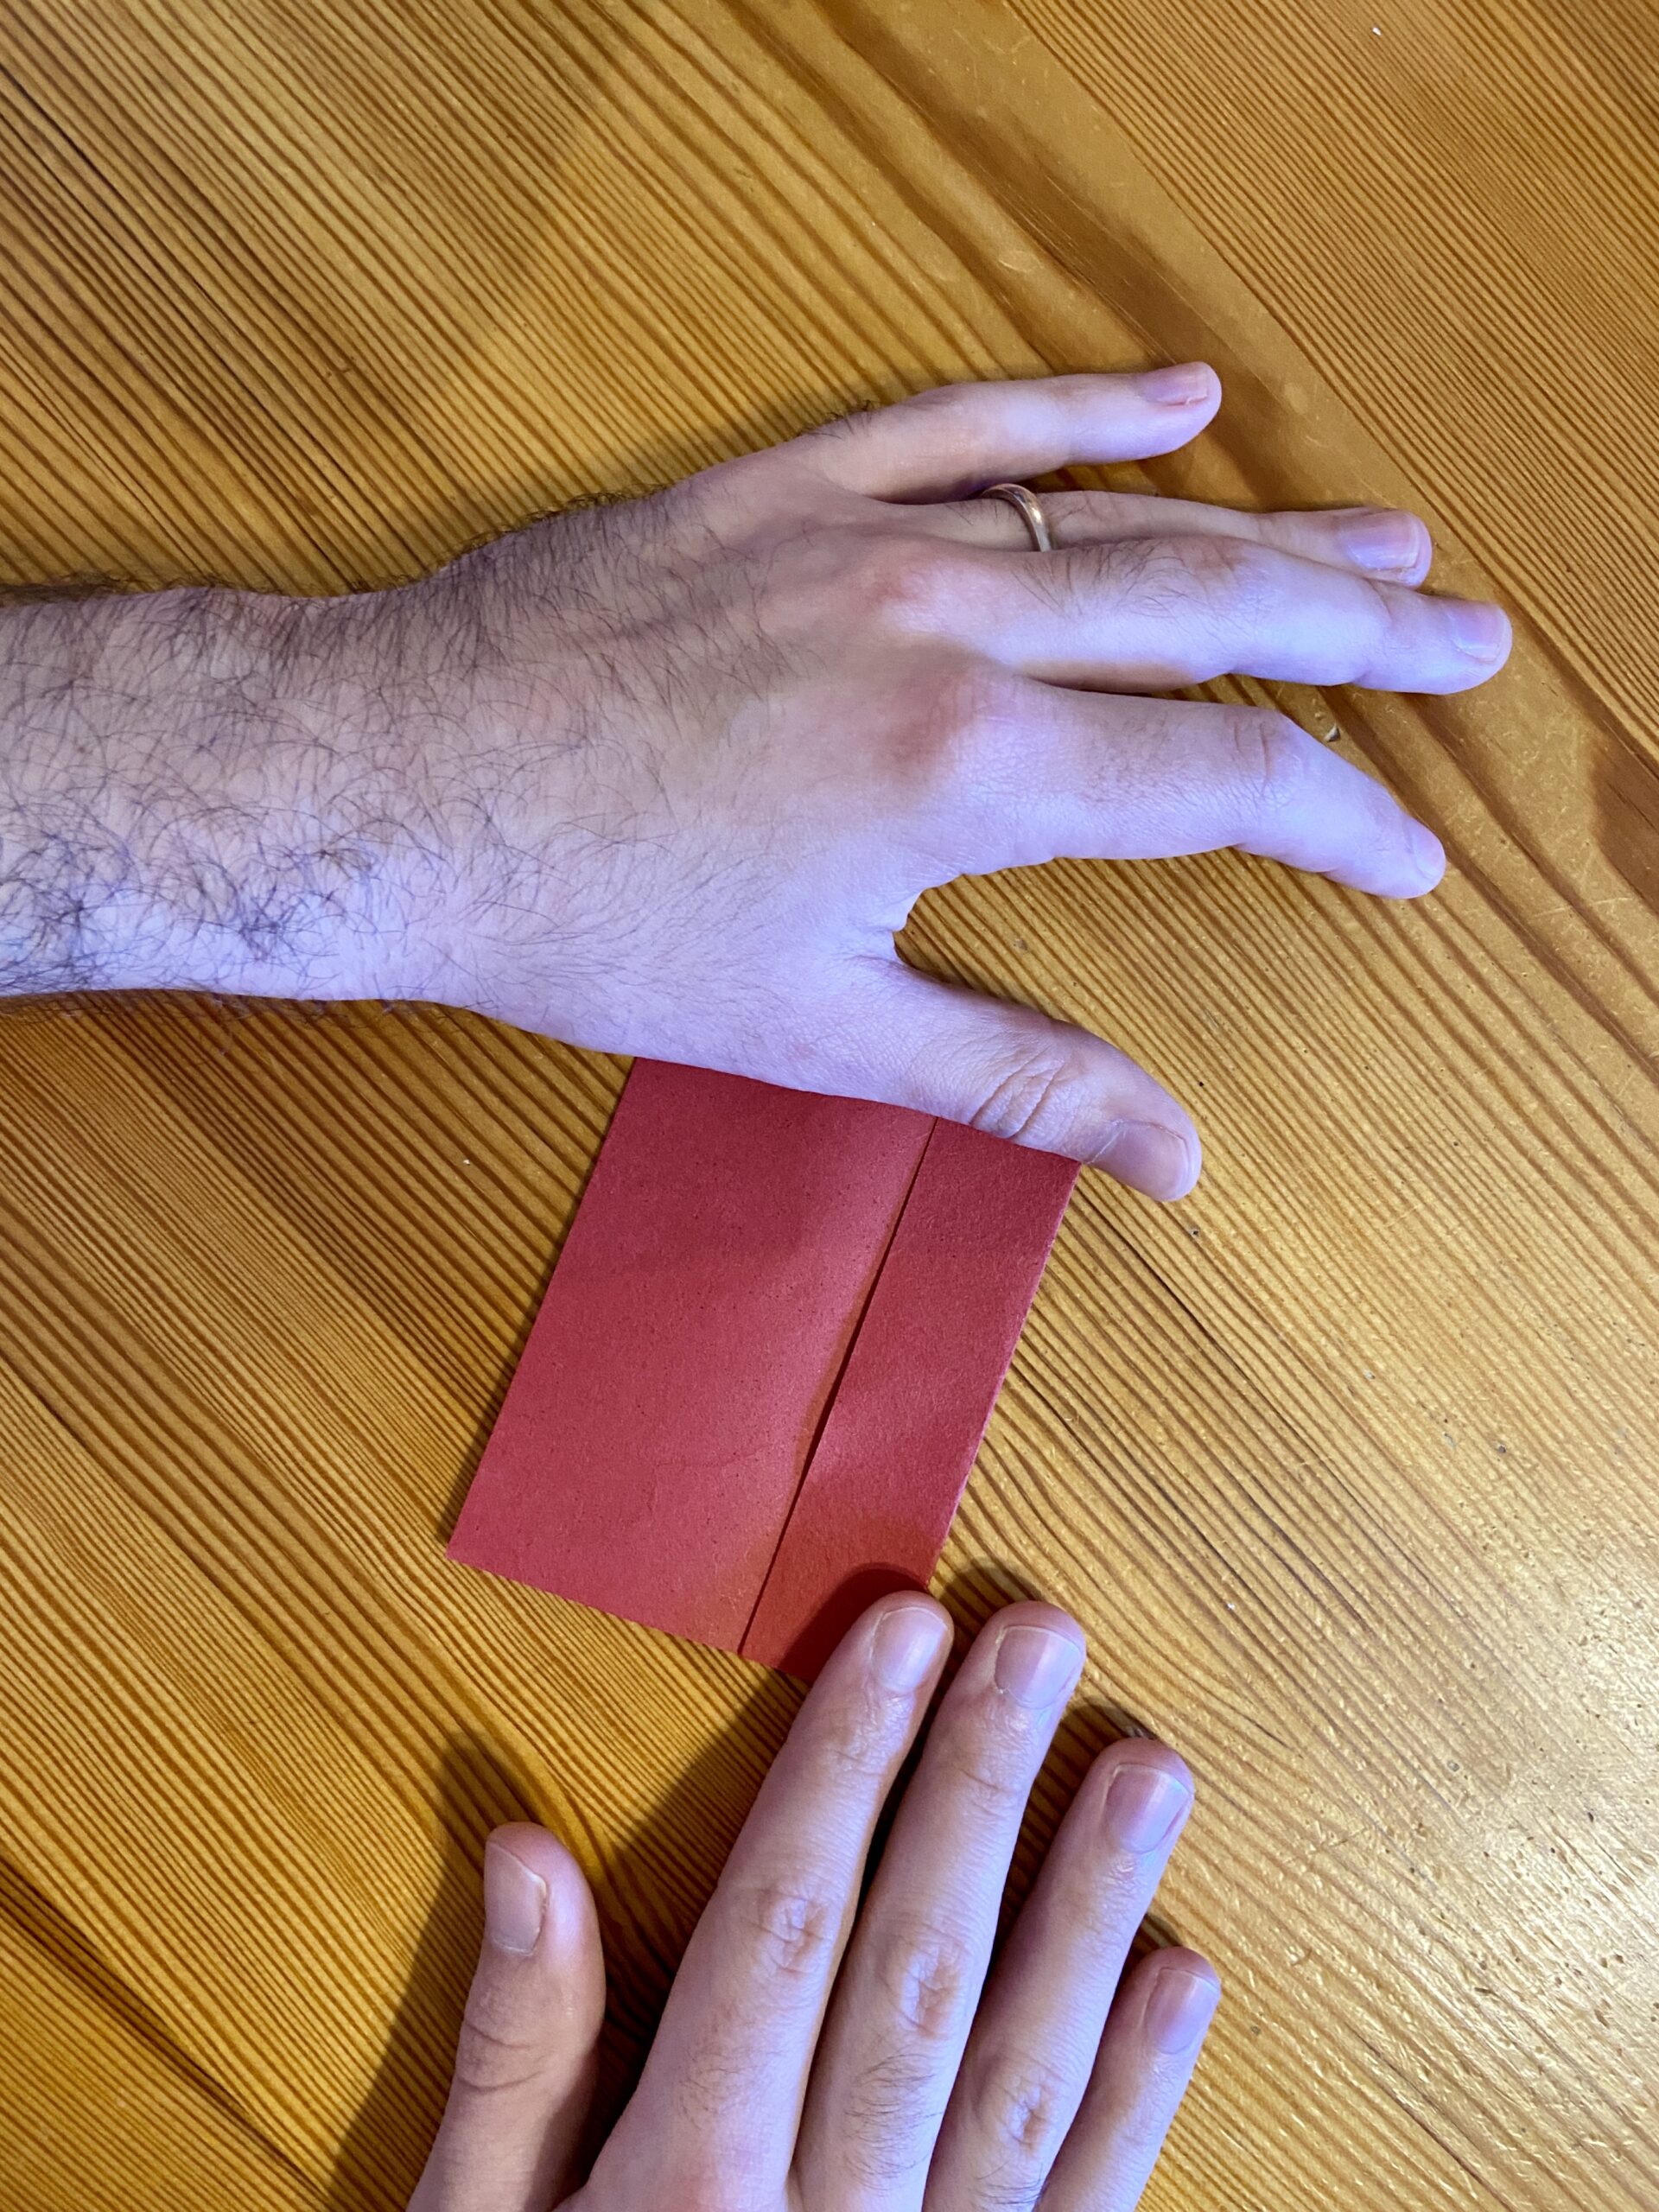
2) Re-open this folded paper and fold both outside edges into the middle crease. Crease the sides.
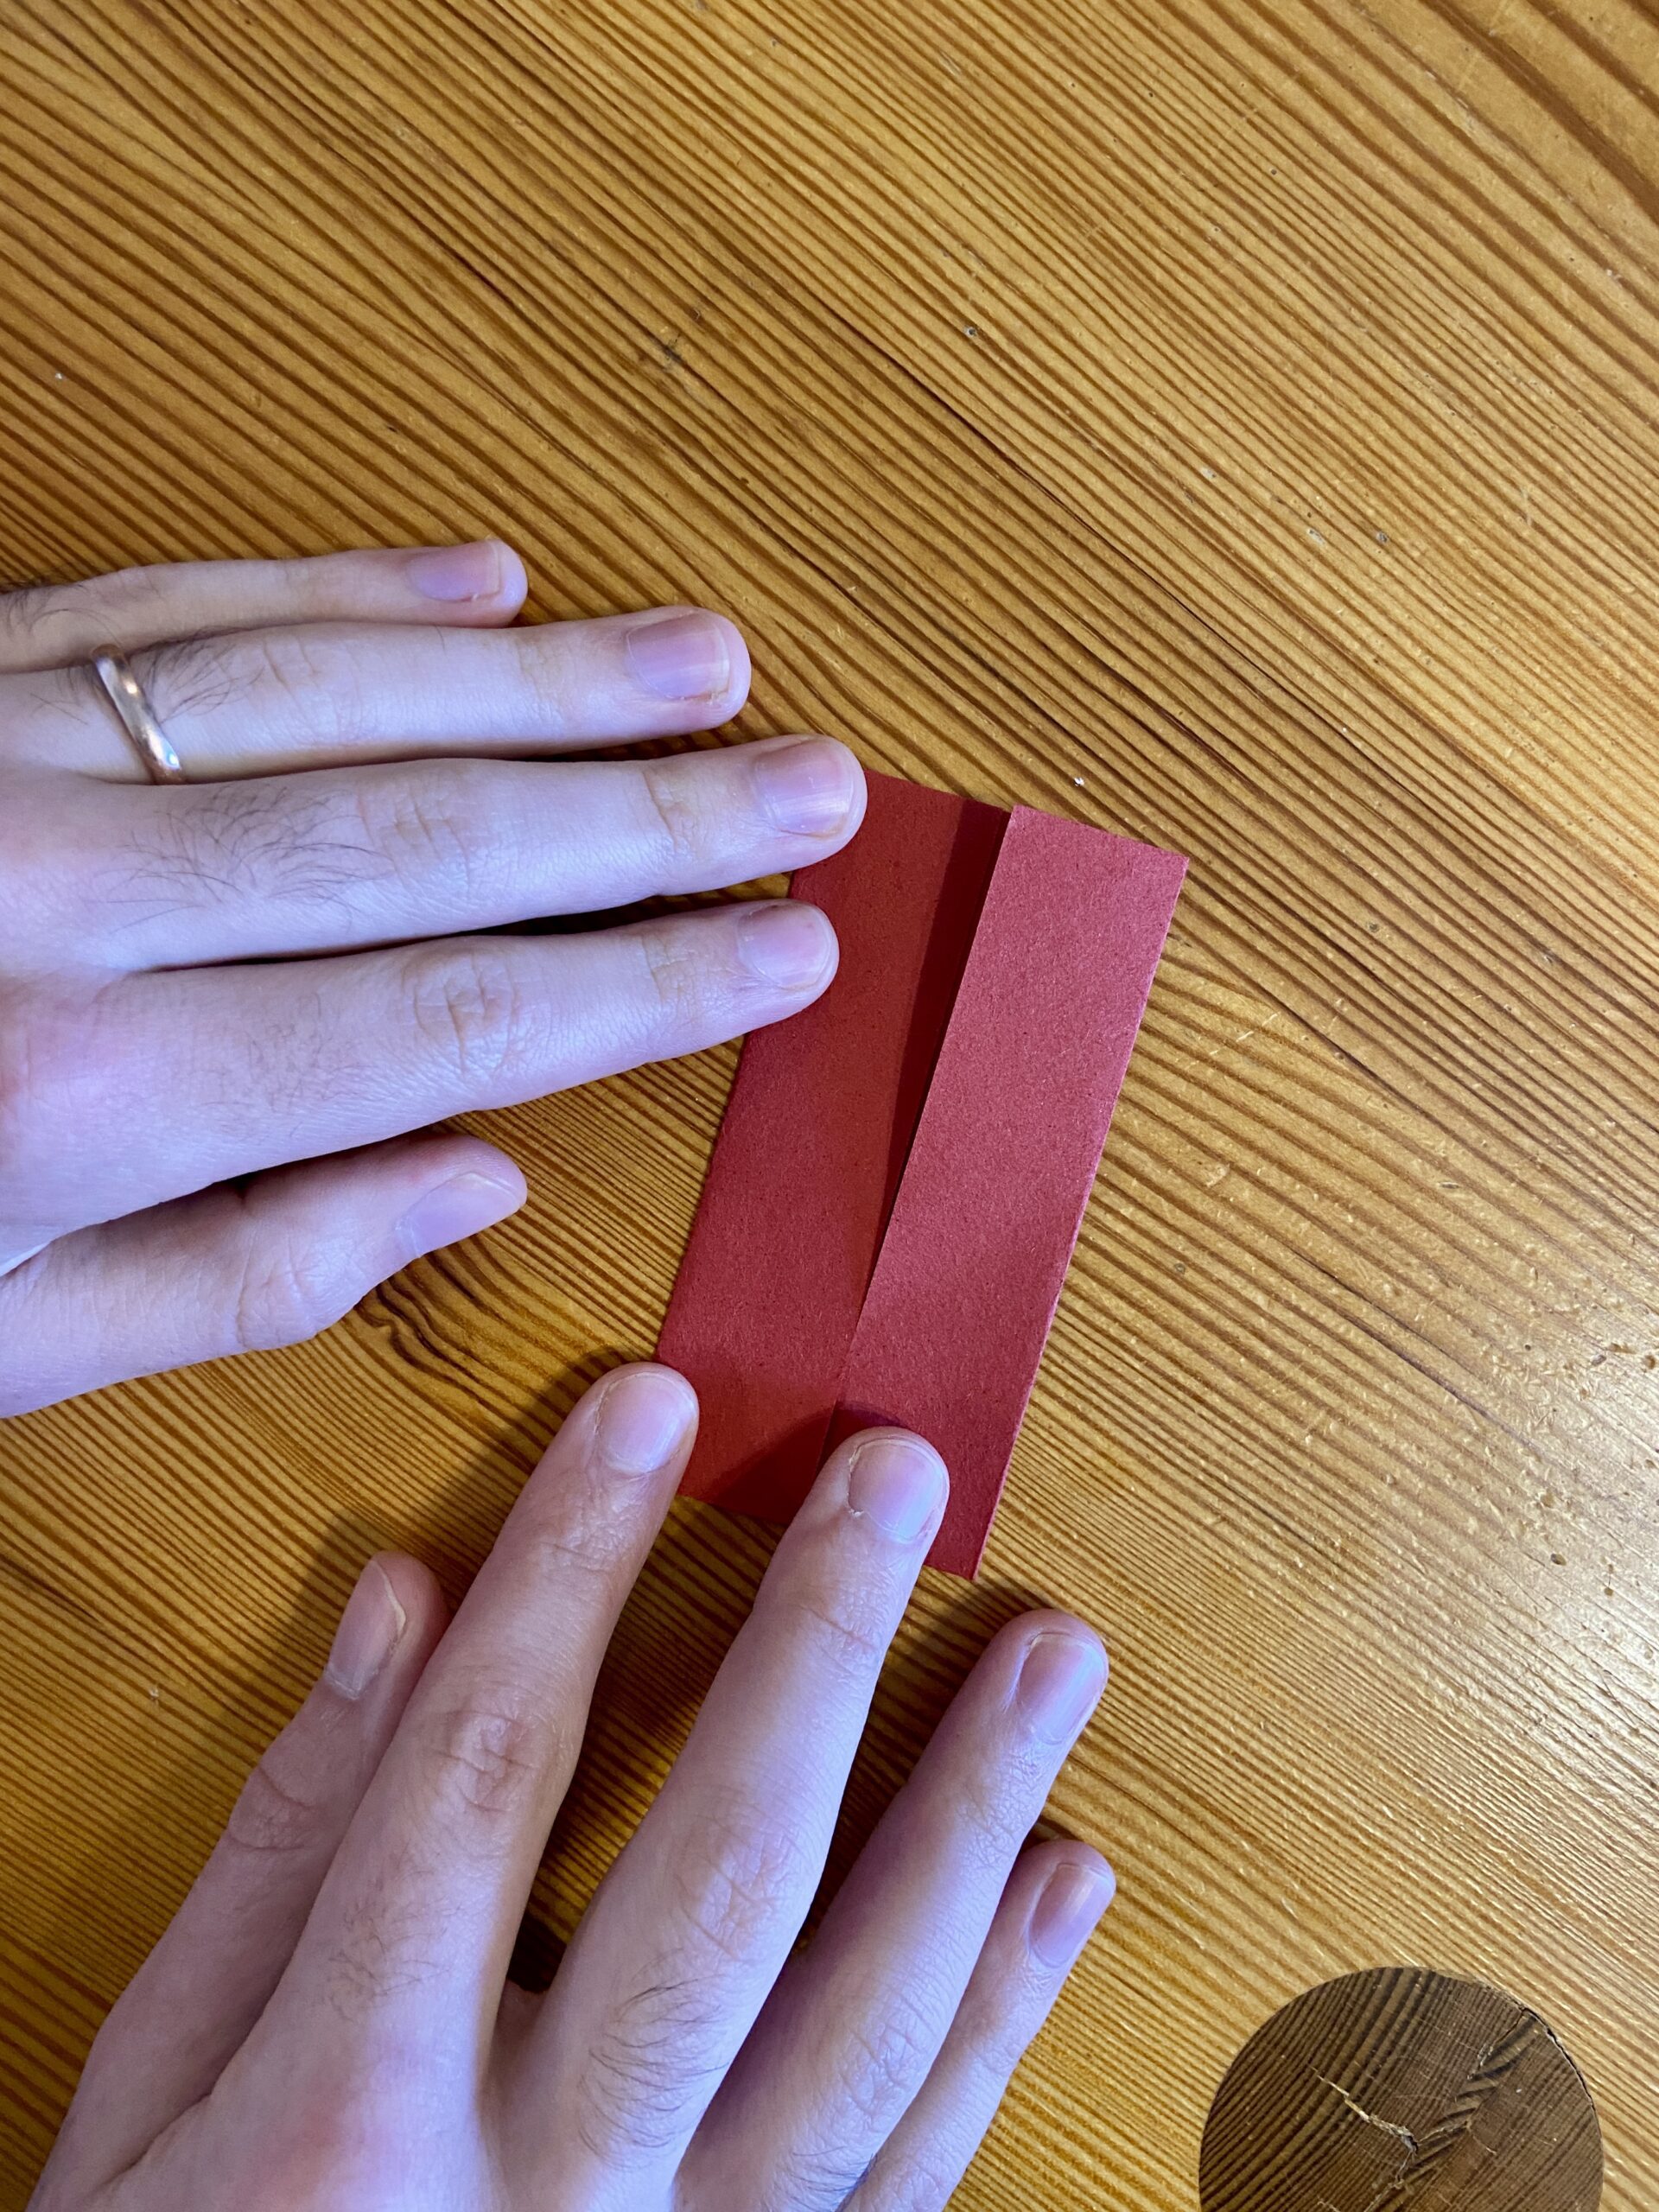
3) Fold the paper in half one more time and you should have a thin rectangle. This is the foundation of the rest of the origami piece.
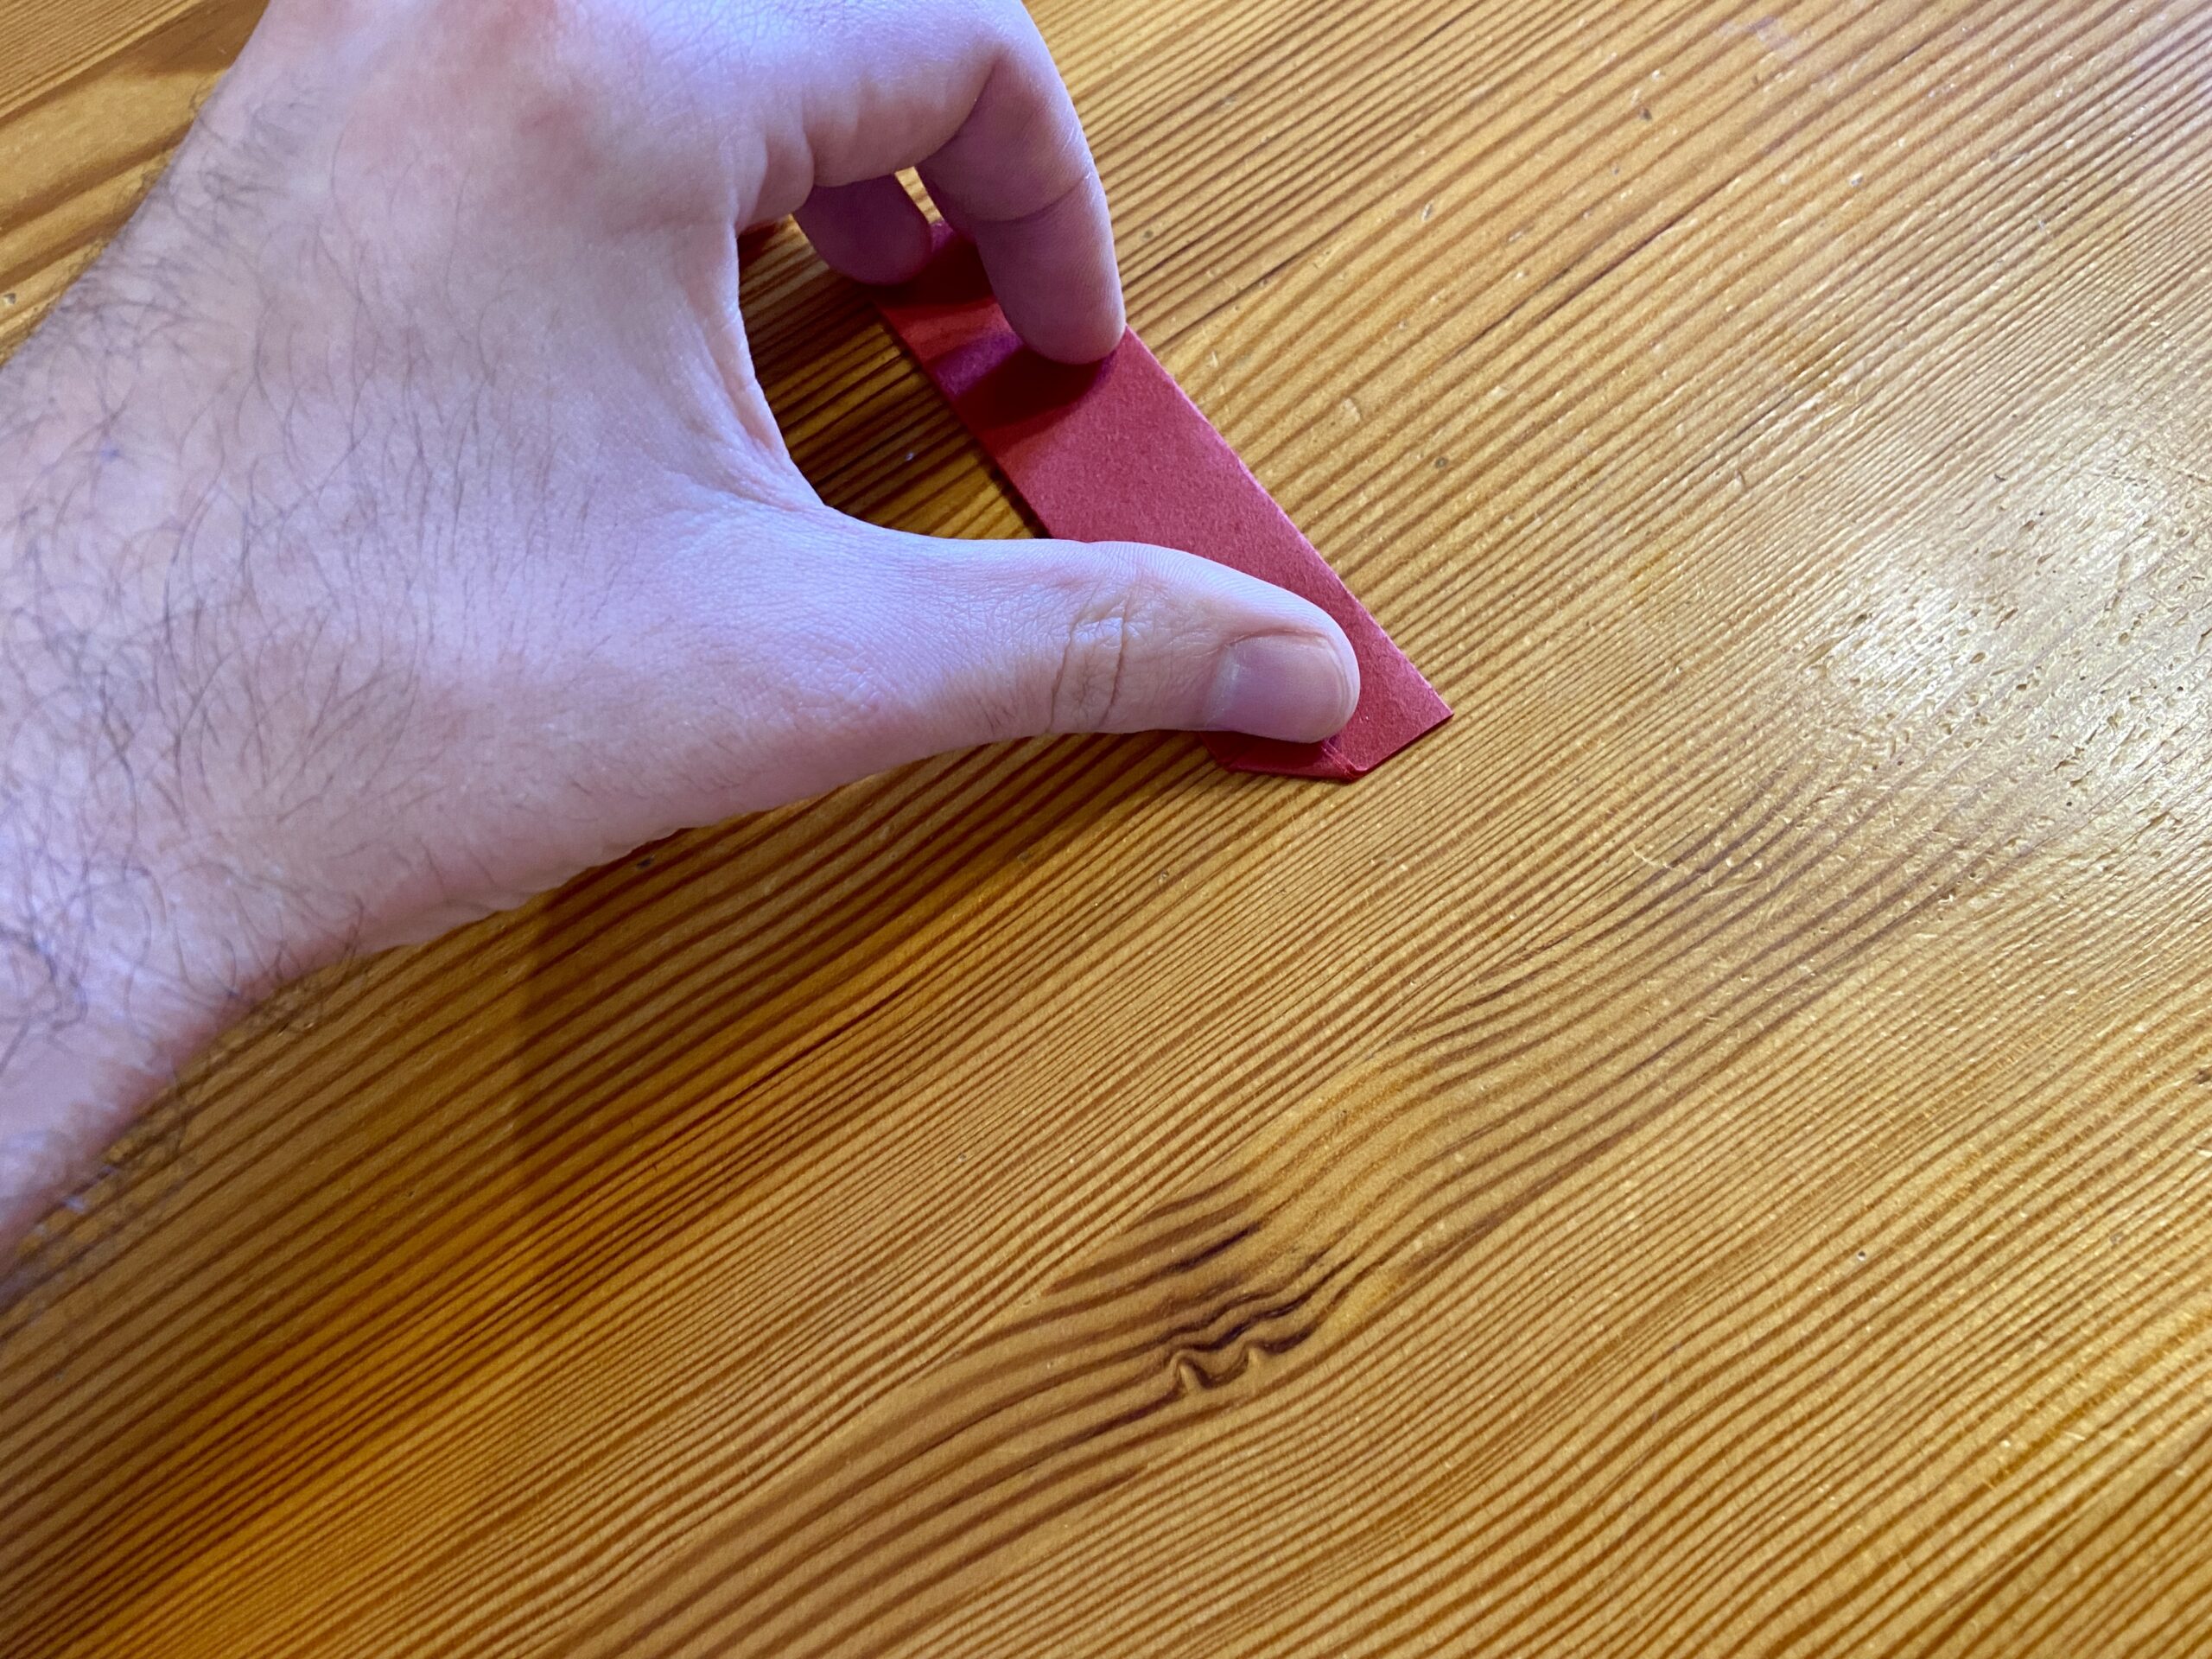
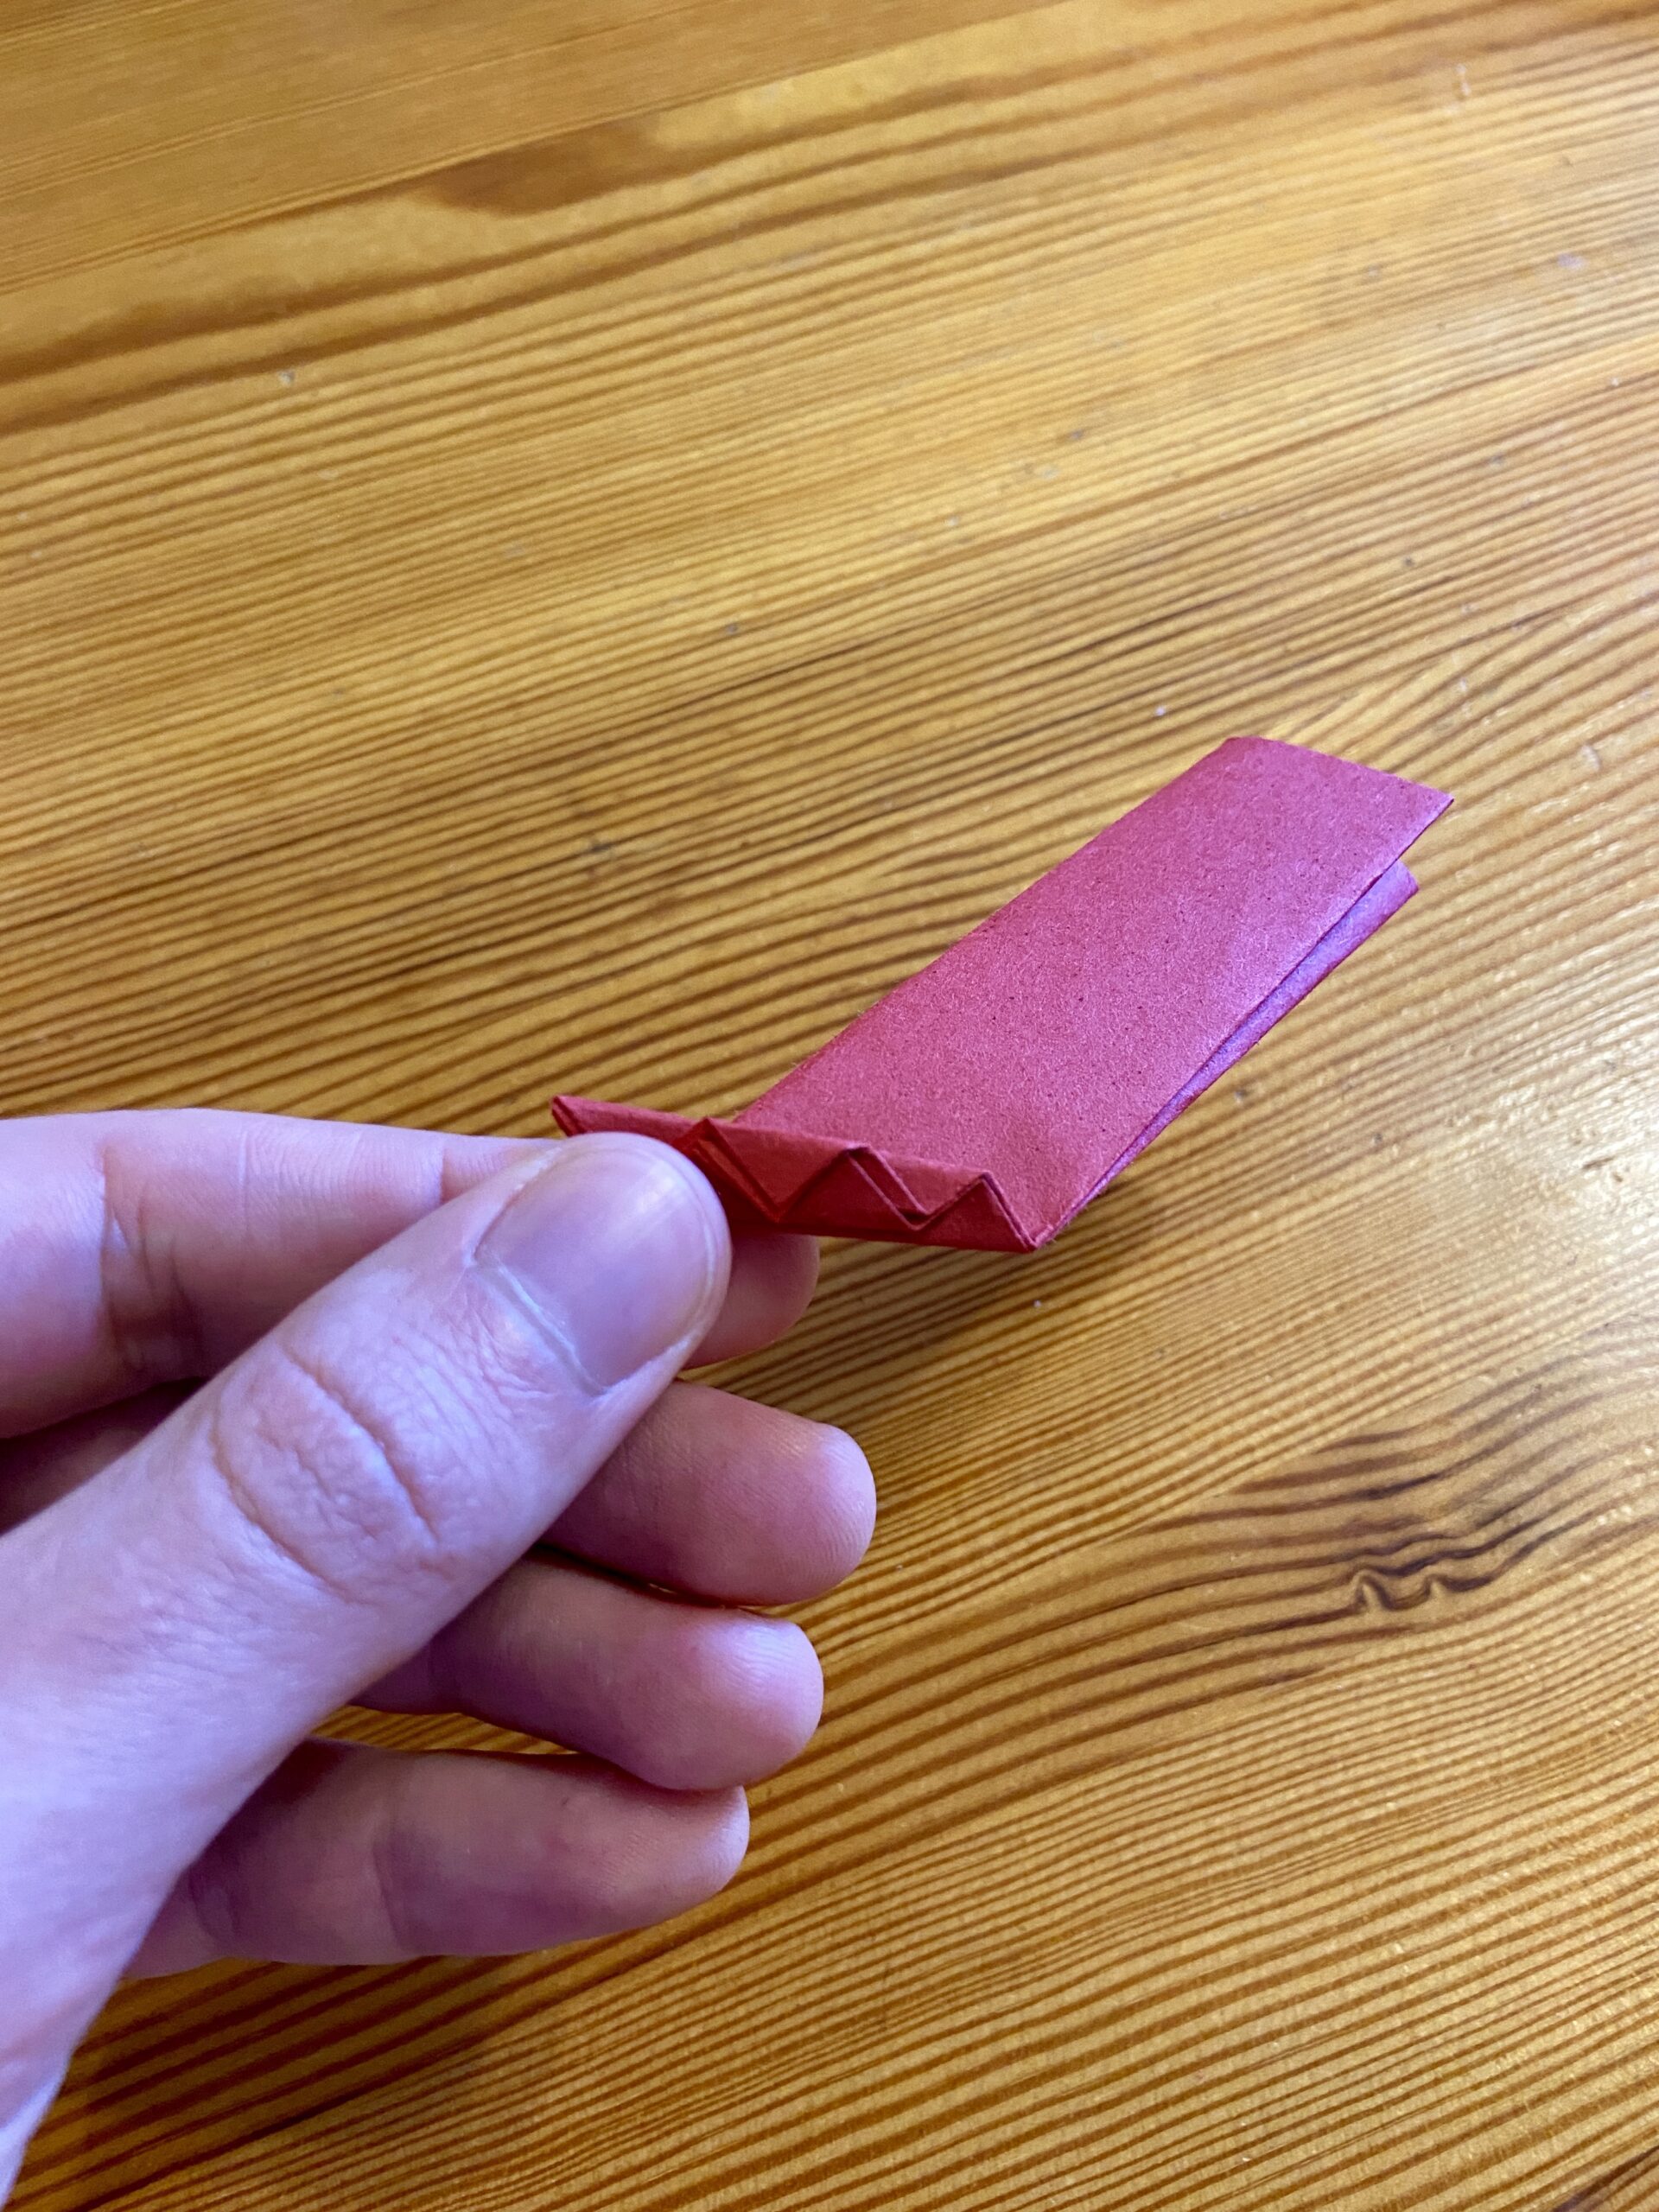
4) Take one corner from the open side of the rectangle (in other words, where the flaps are, where it can open apart again) and fold it down.
5) Take this “dog-eared” corner and fold it back over to the other side so it looks like there’s a trapezoid with a triangle facing down over it.
Fotogalerii
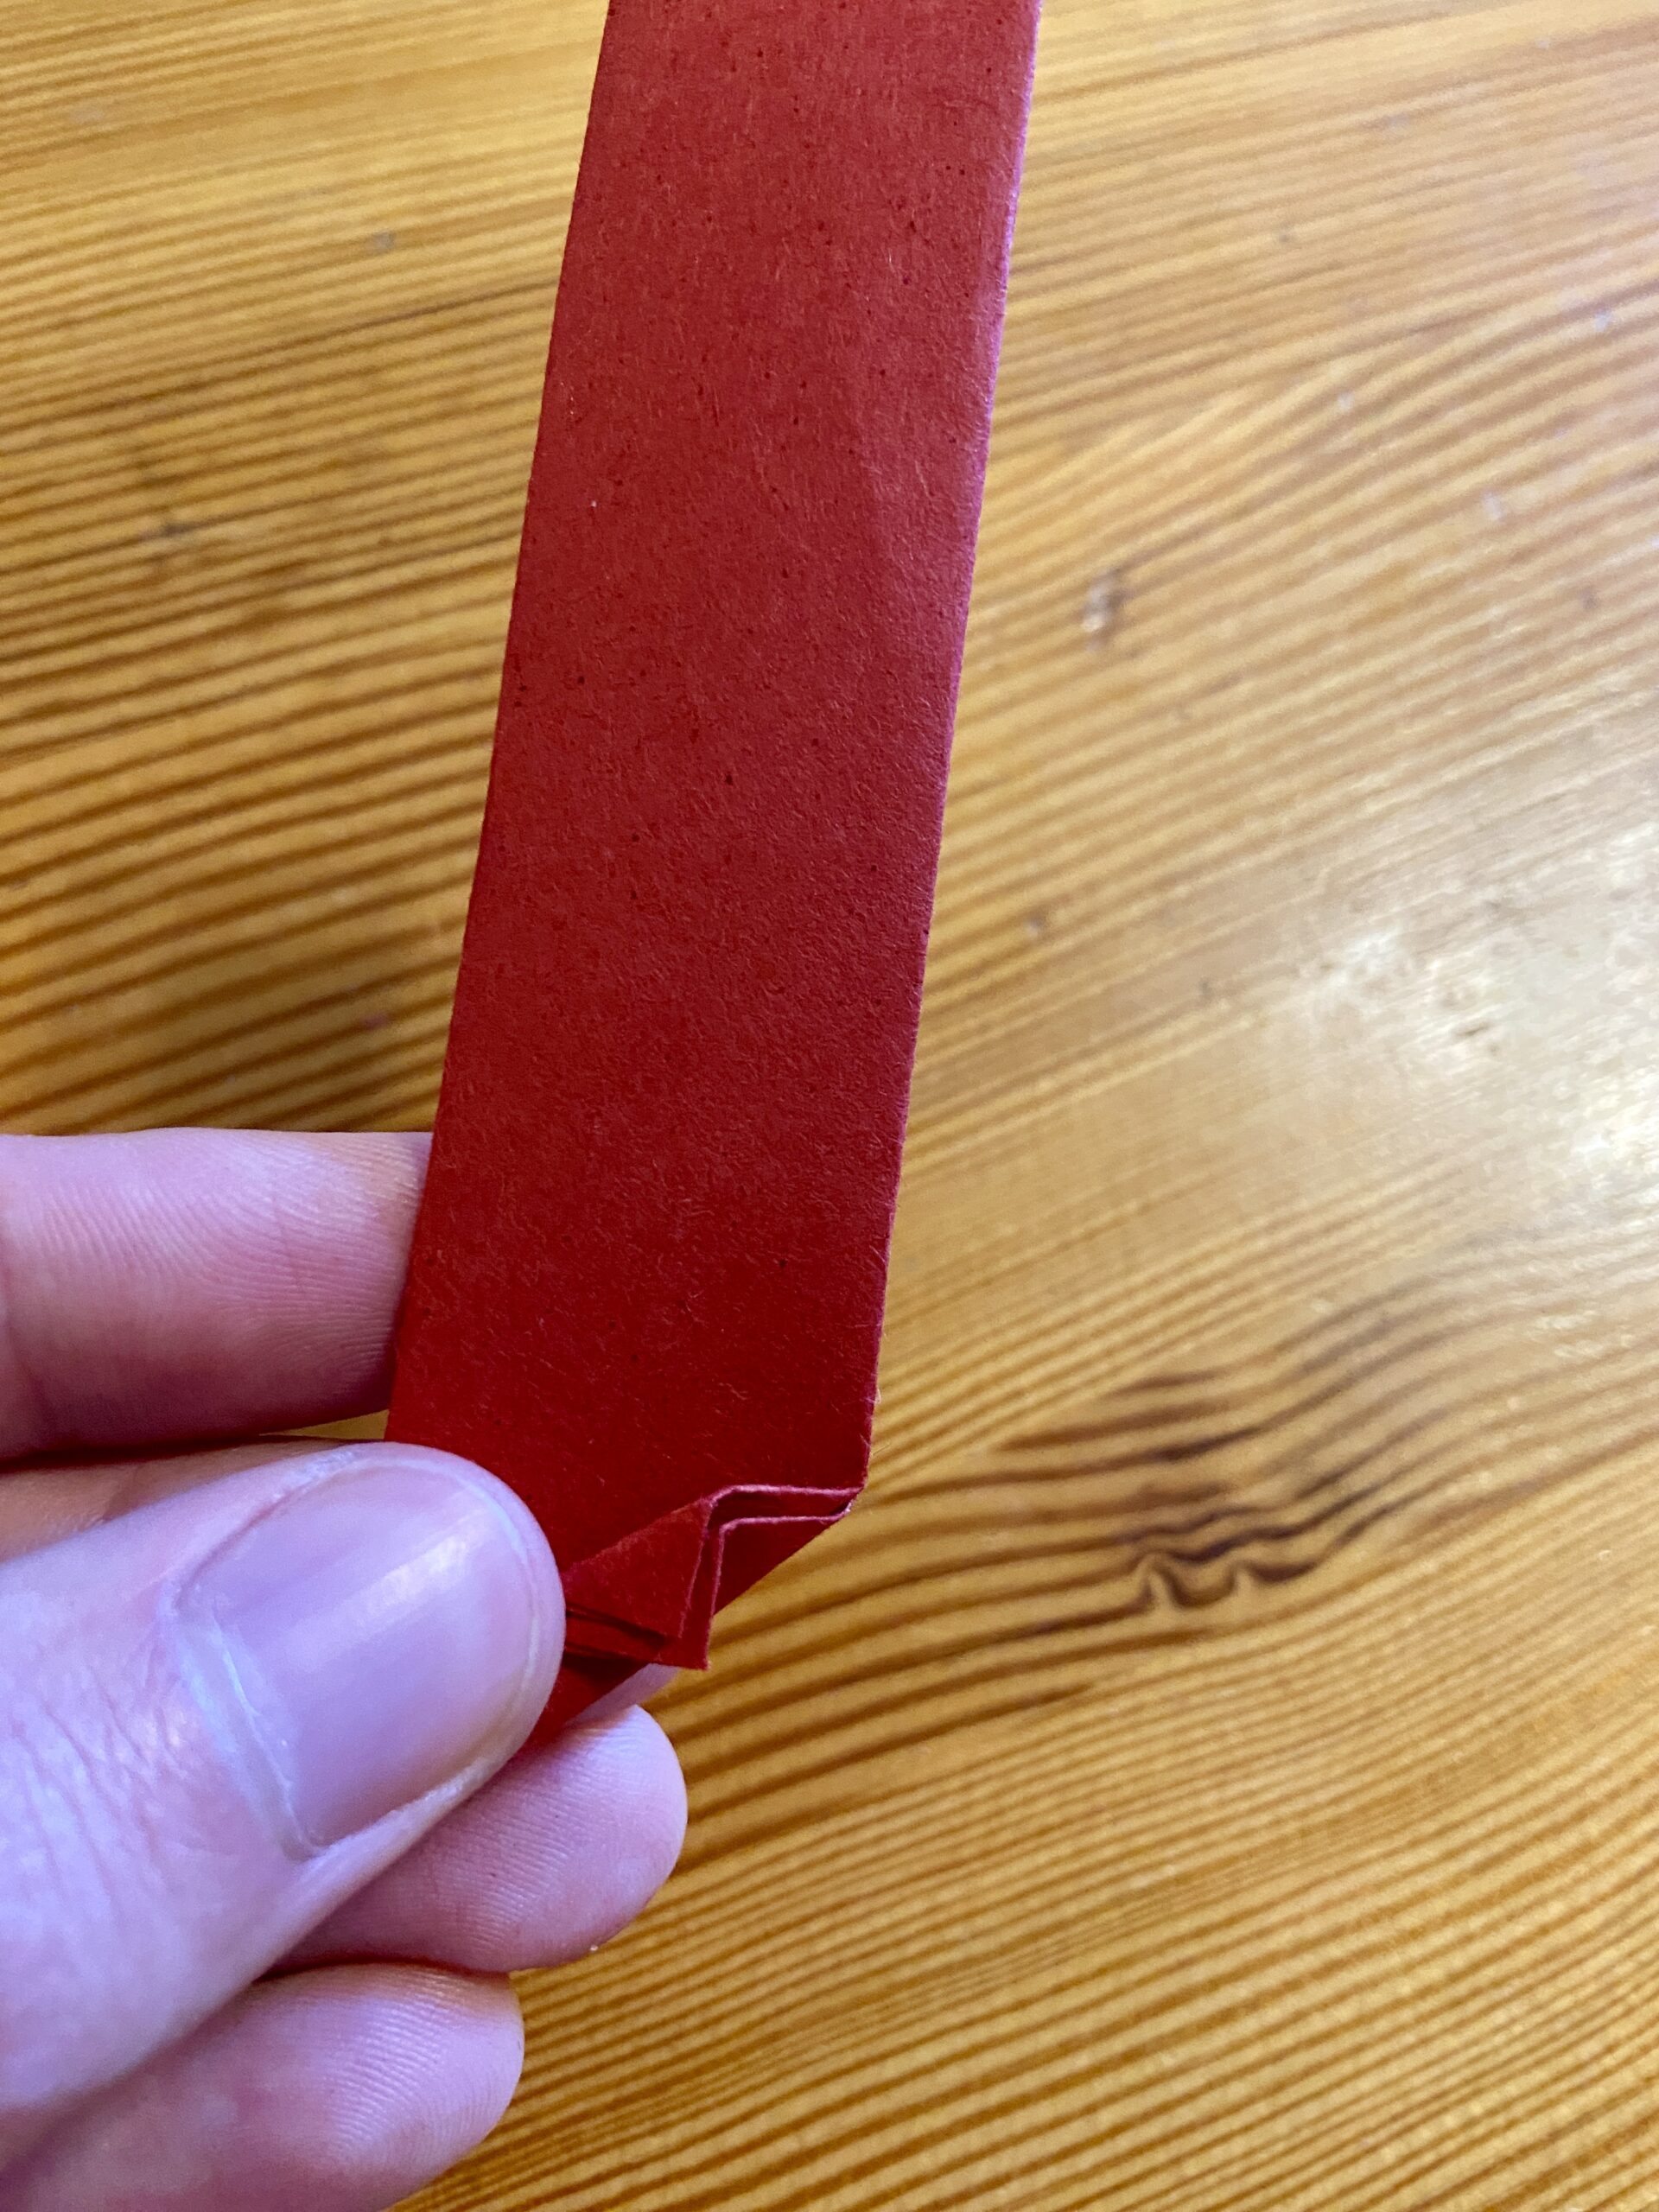
6) Take this whole trapezoid and triangle part and fold it back over the other side of the paper. You’ll see a narrow, diagonal “tab” has formed, with only a bit of space left between it and the other top corner of the rectangle.
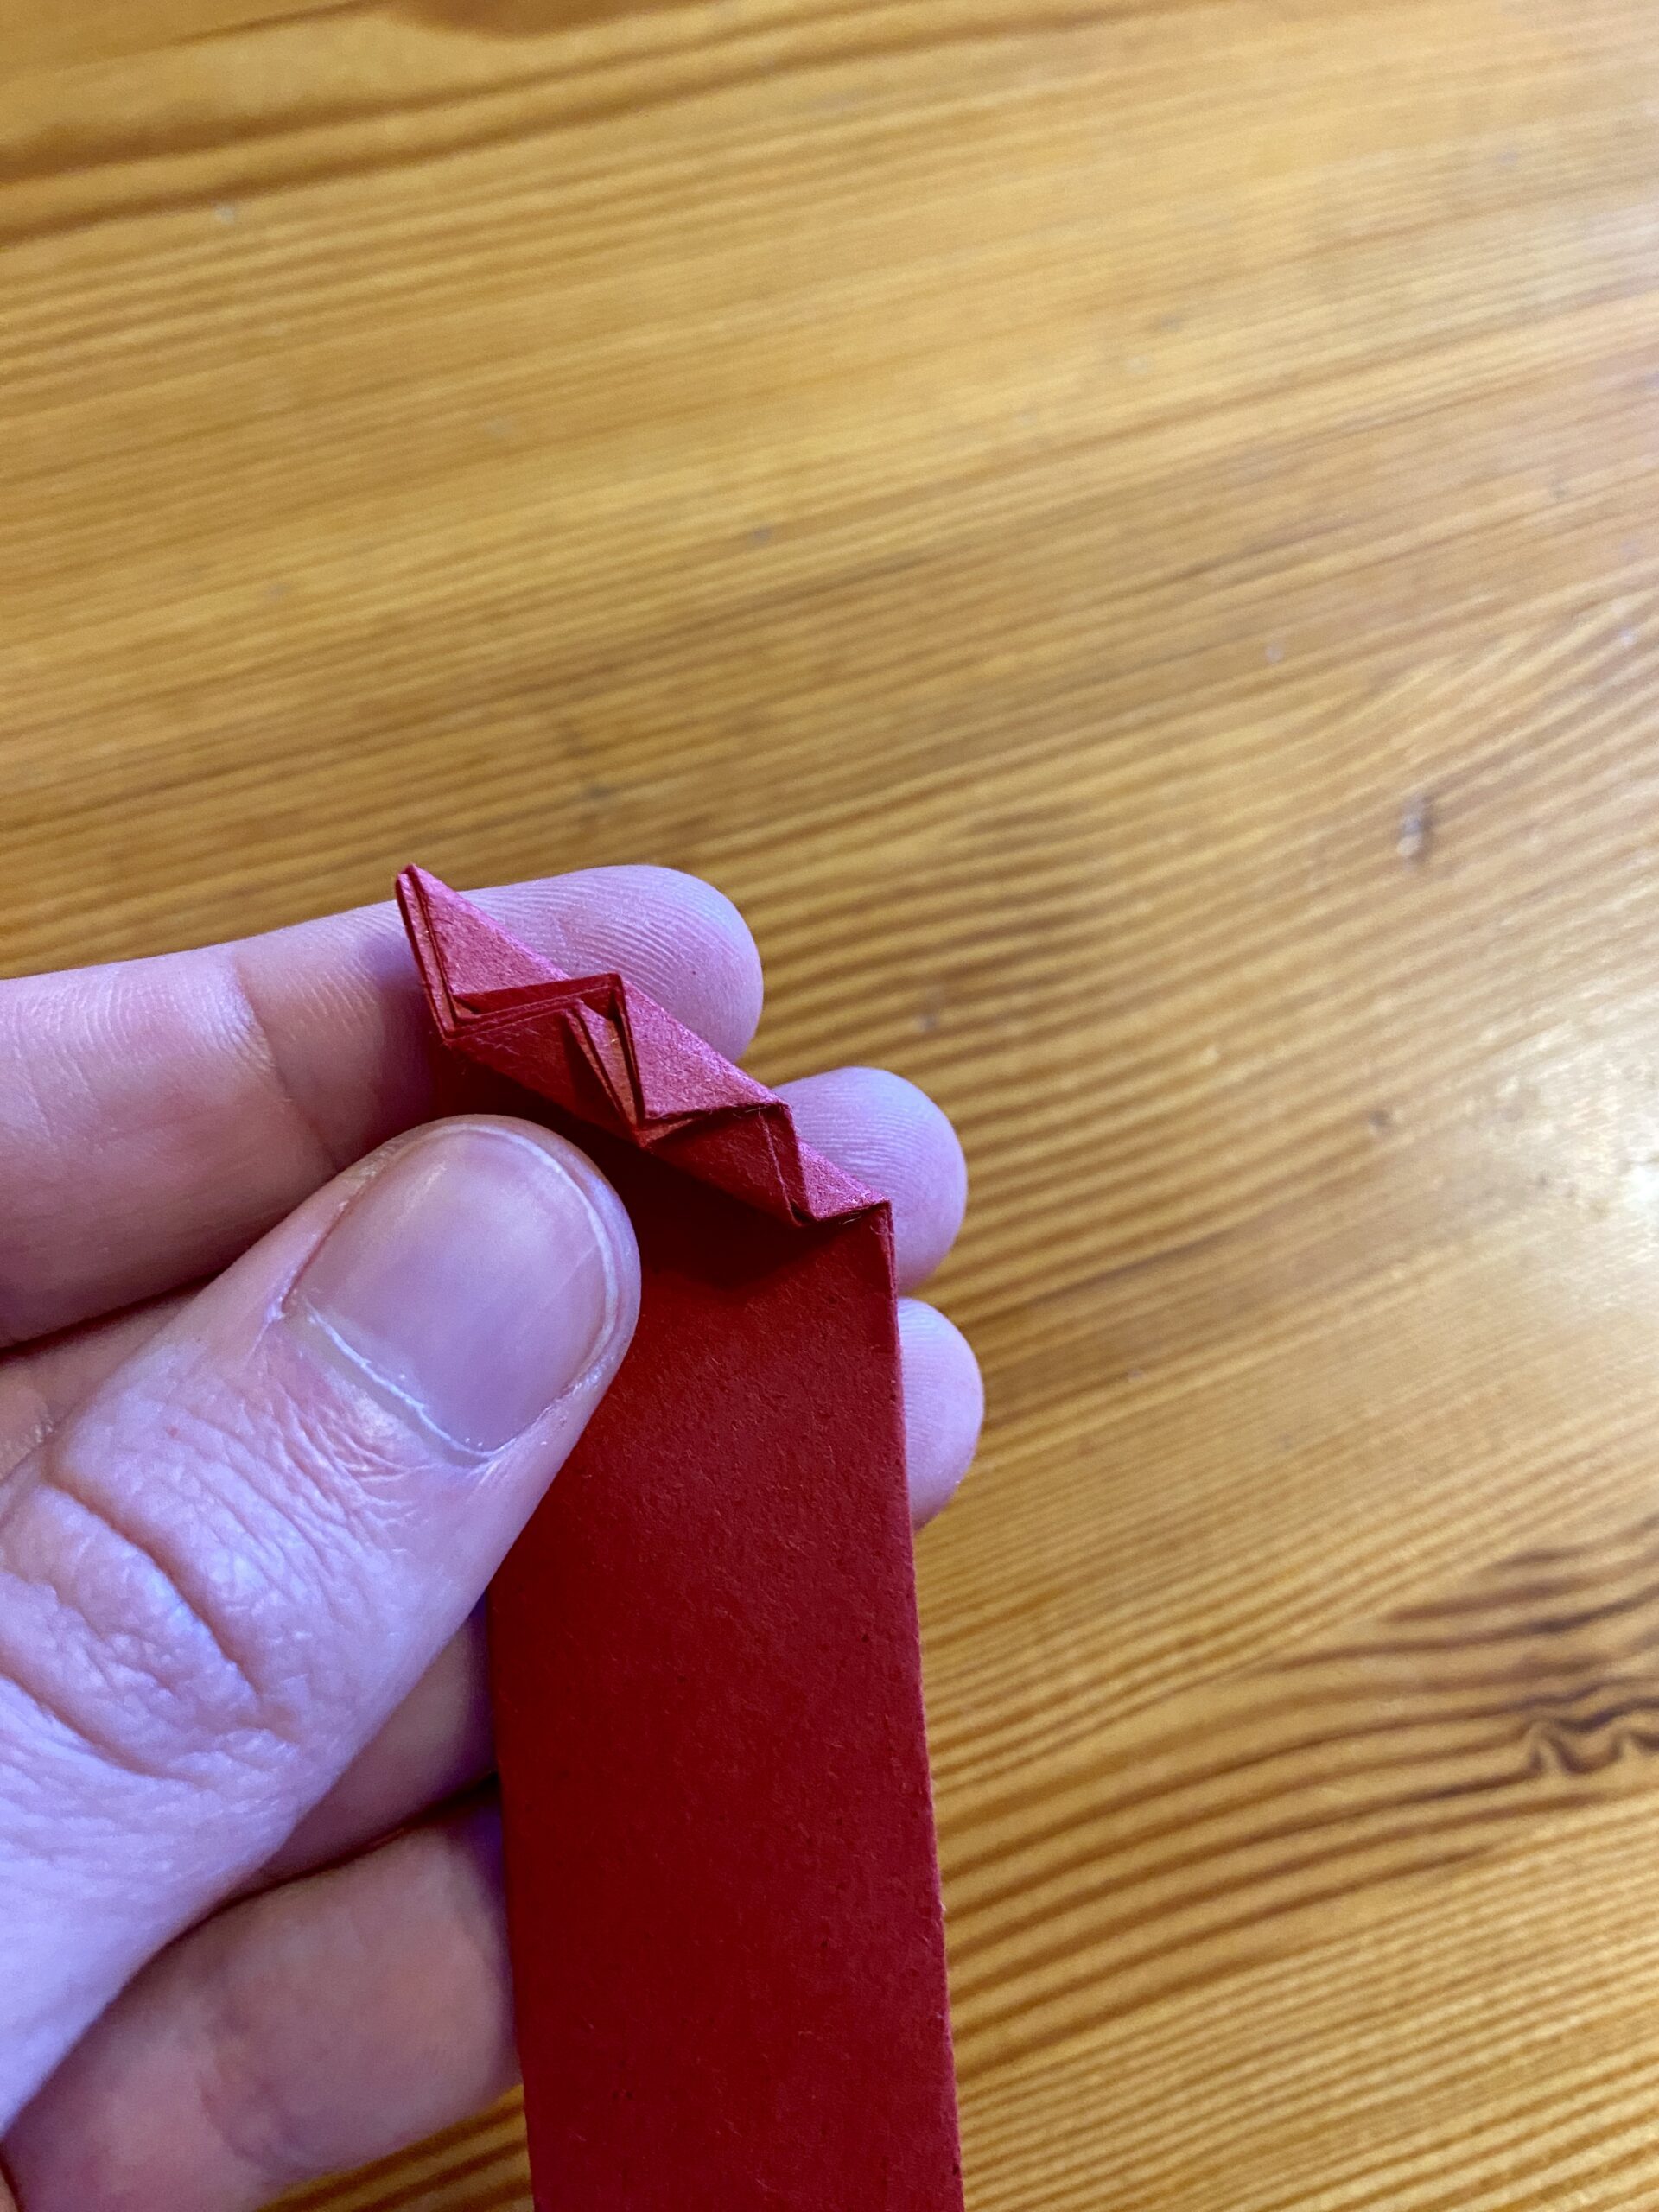
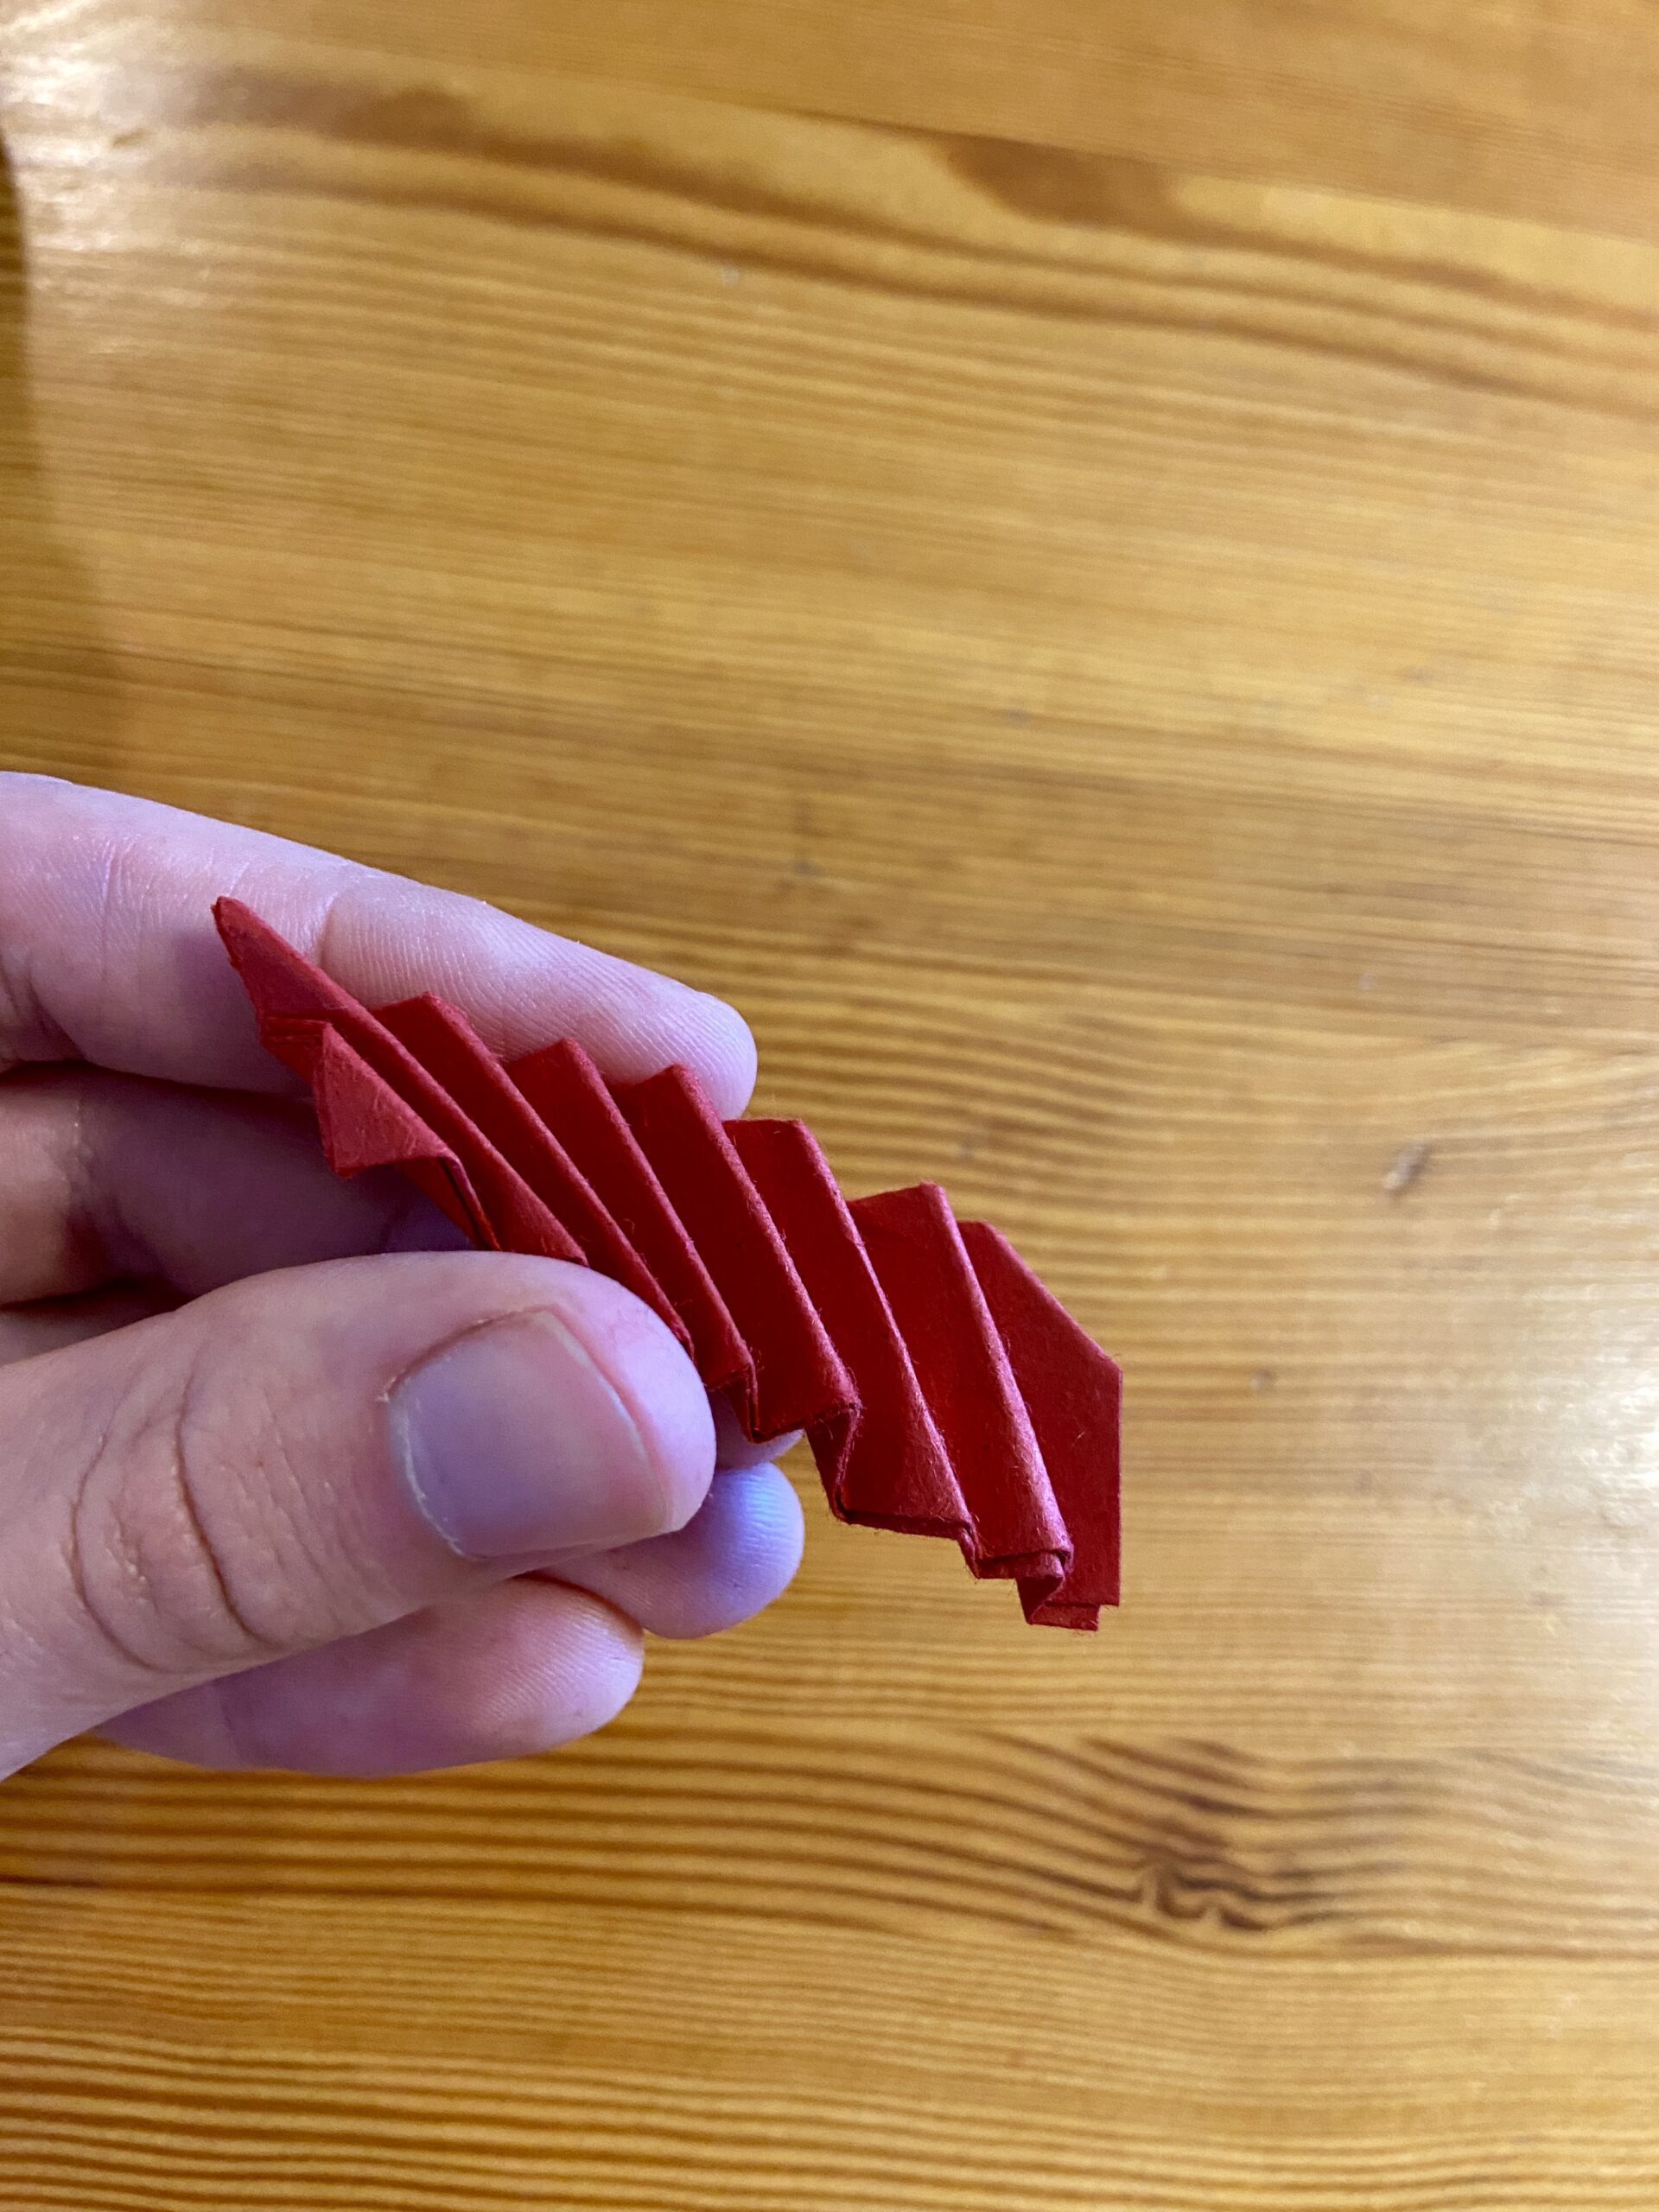
7) Keep folding the “tab” diagonally across alternating sides of the rectangle until you reach the end. You should see a consistent series of folds that look almost like an accordion.
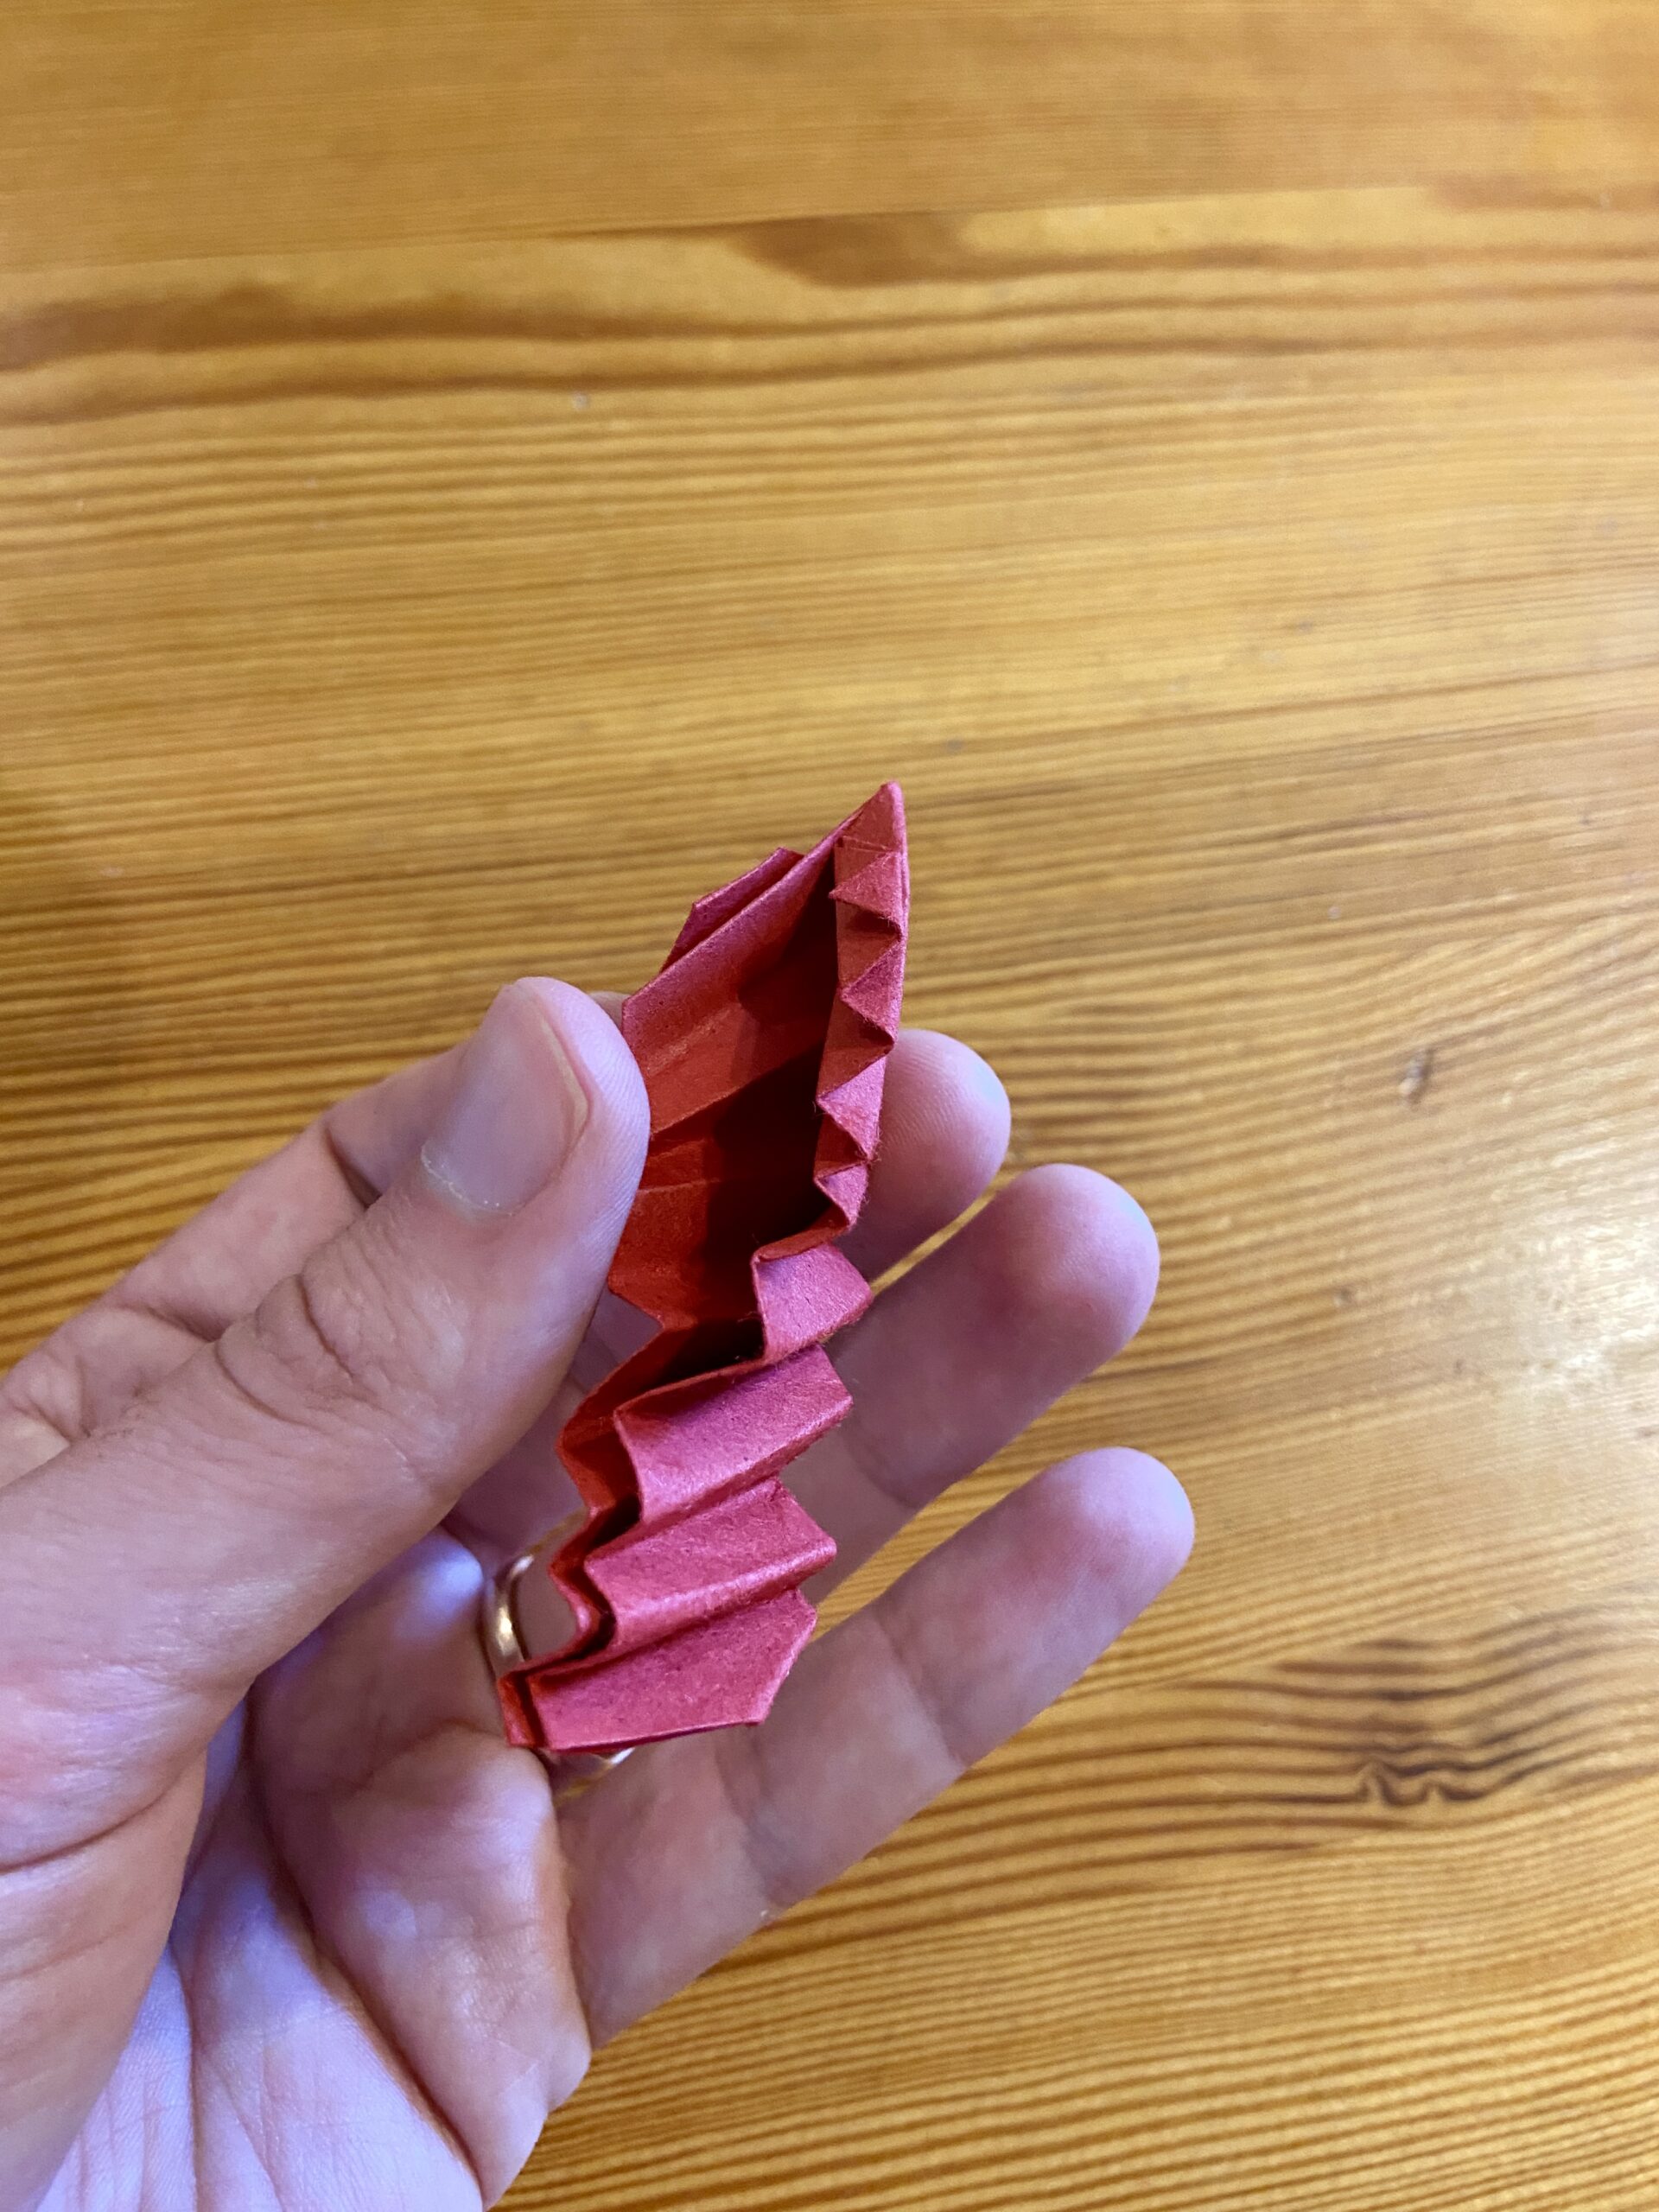
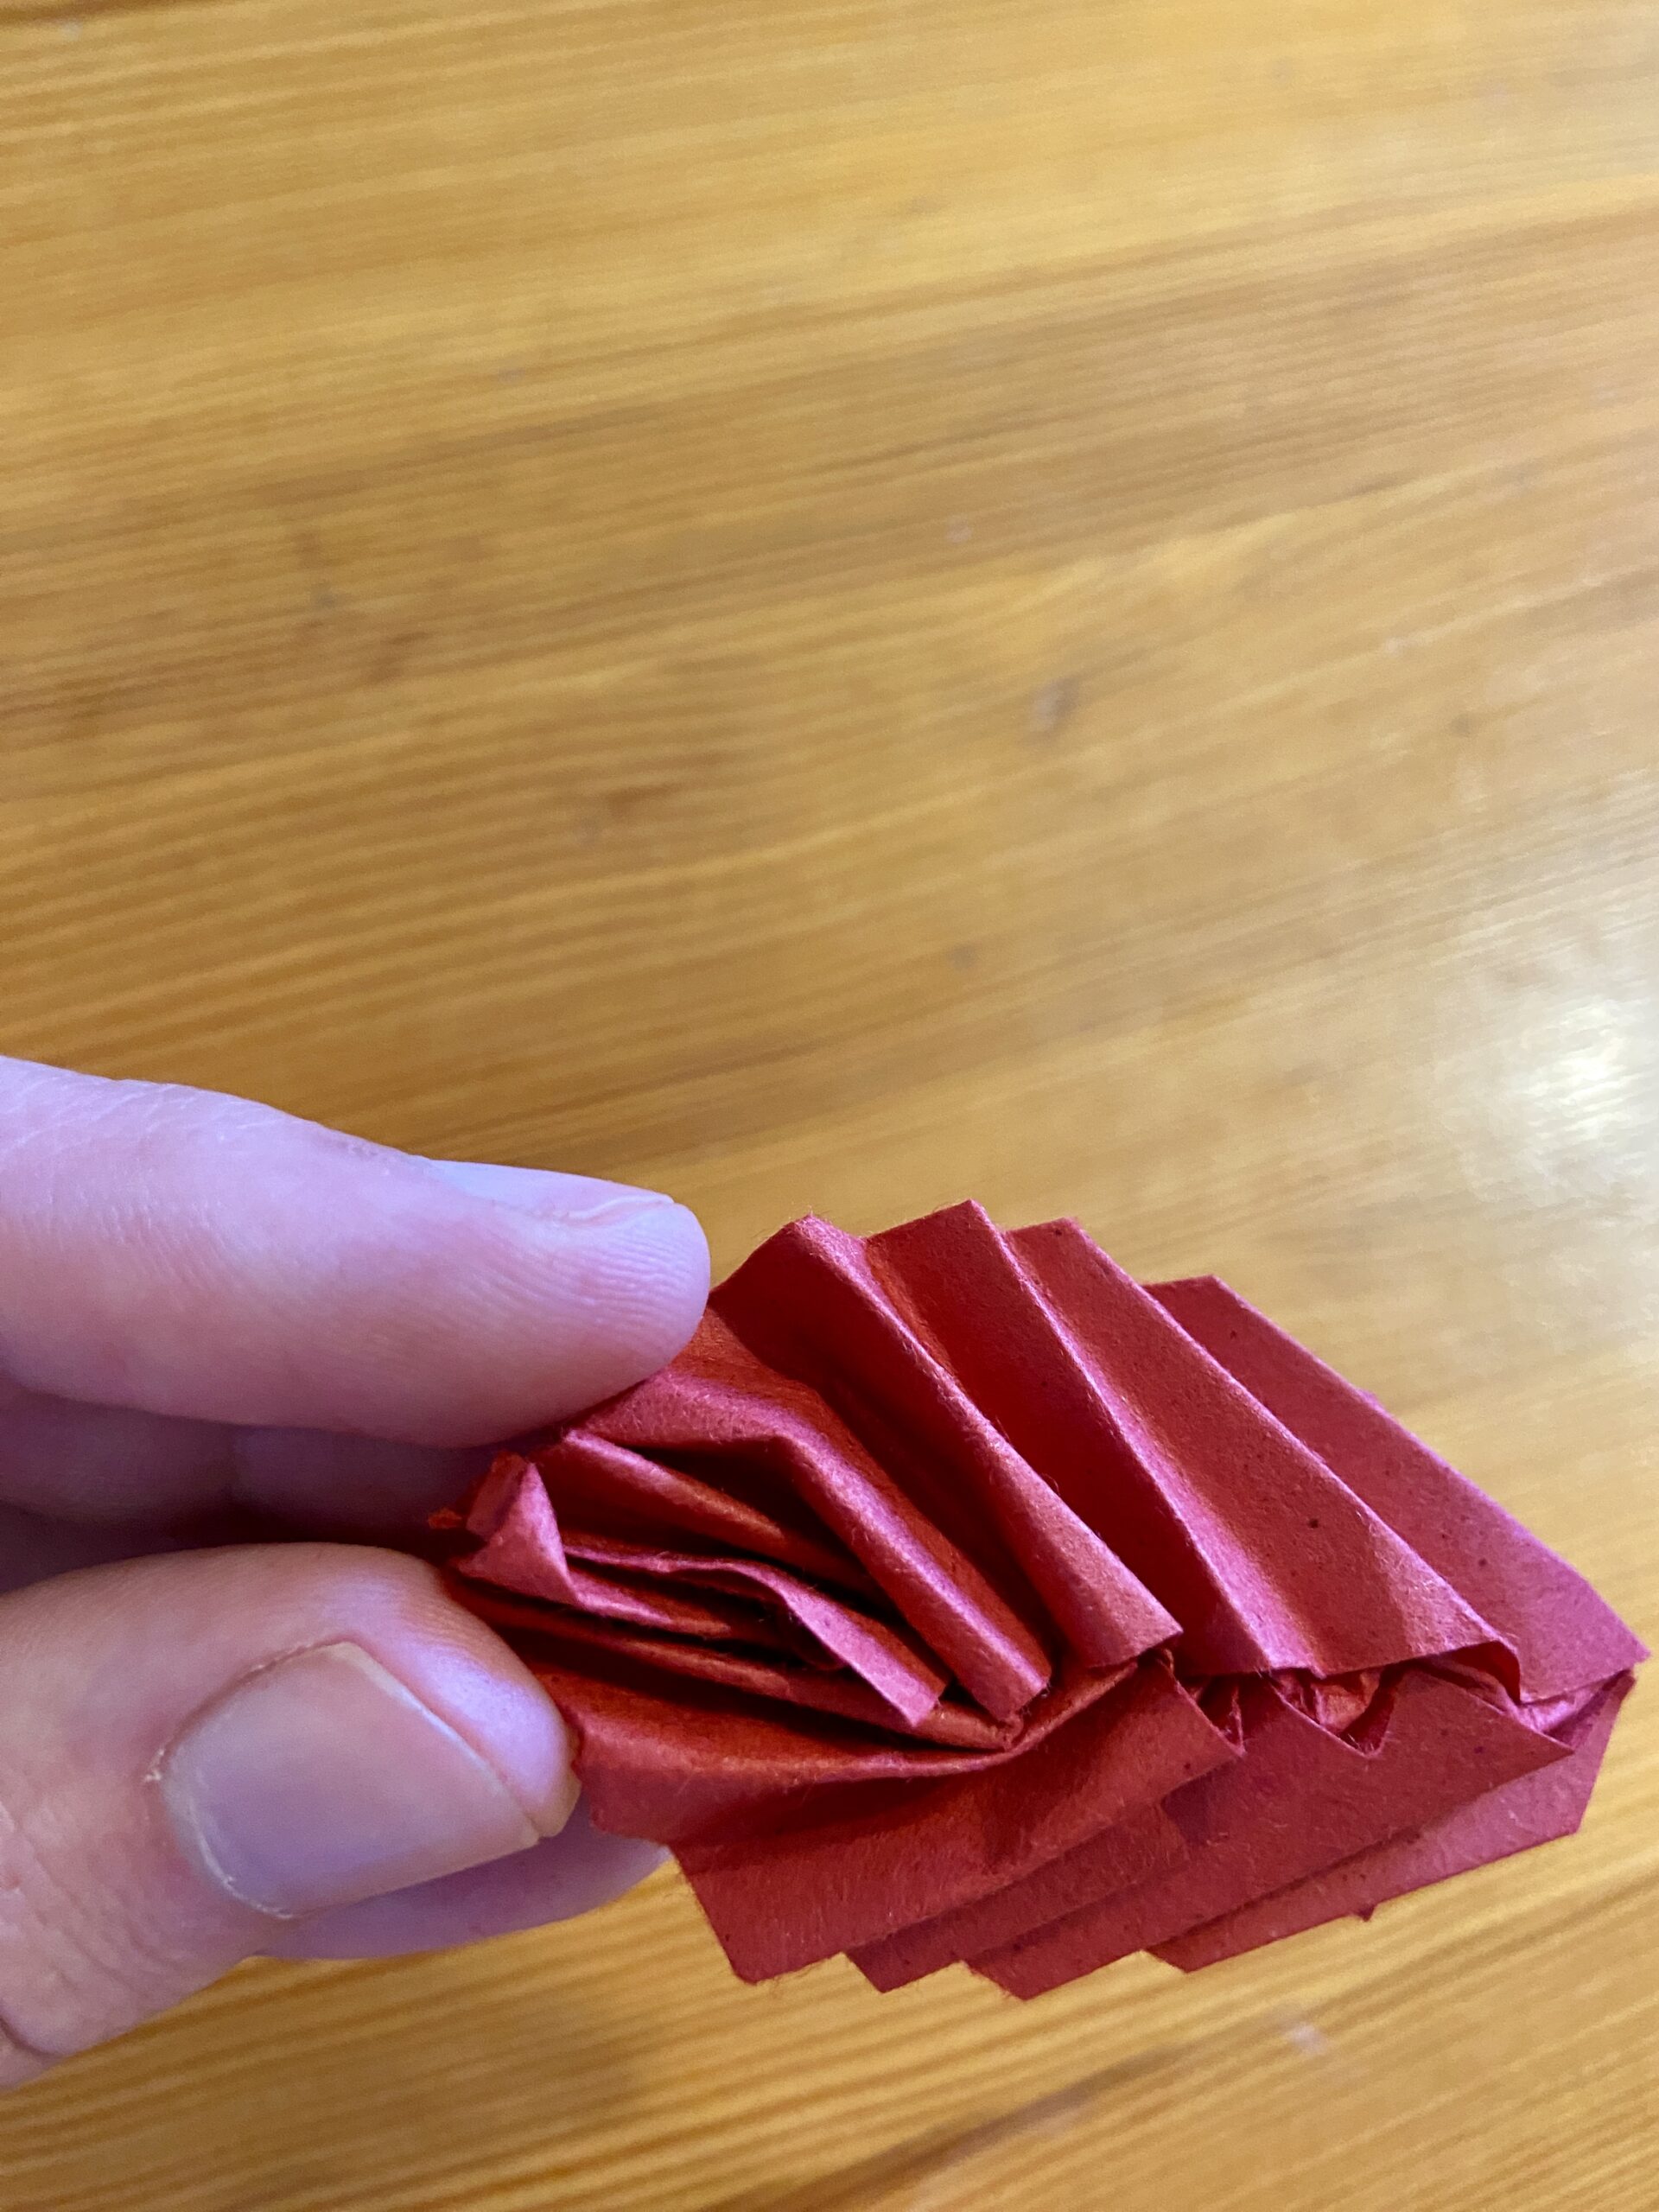
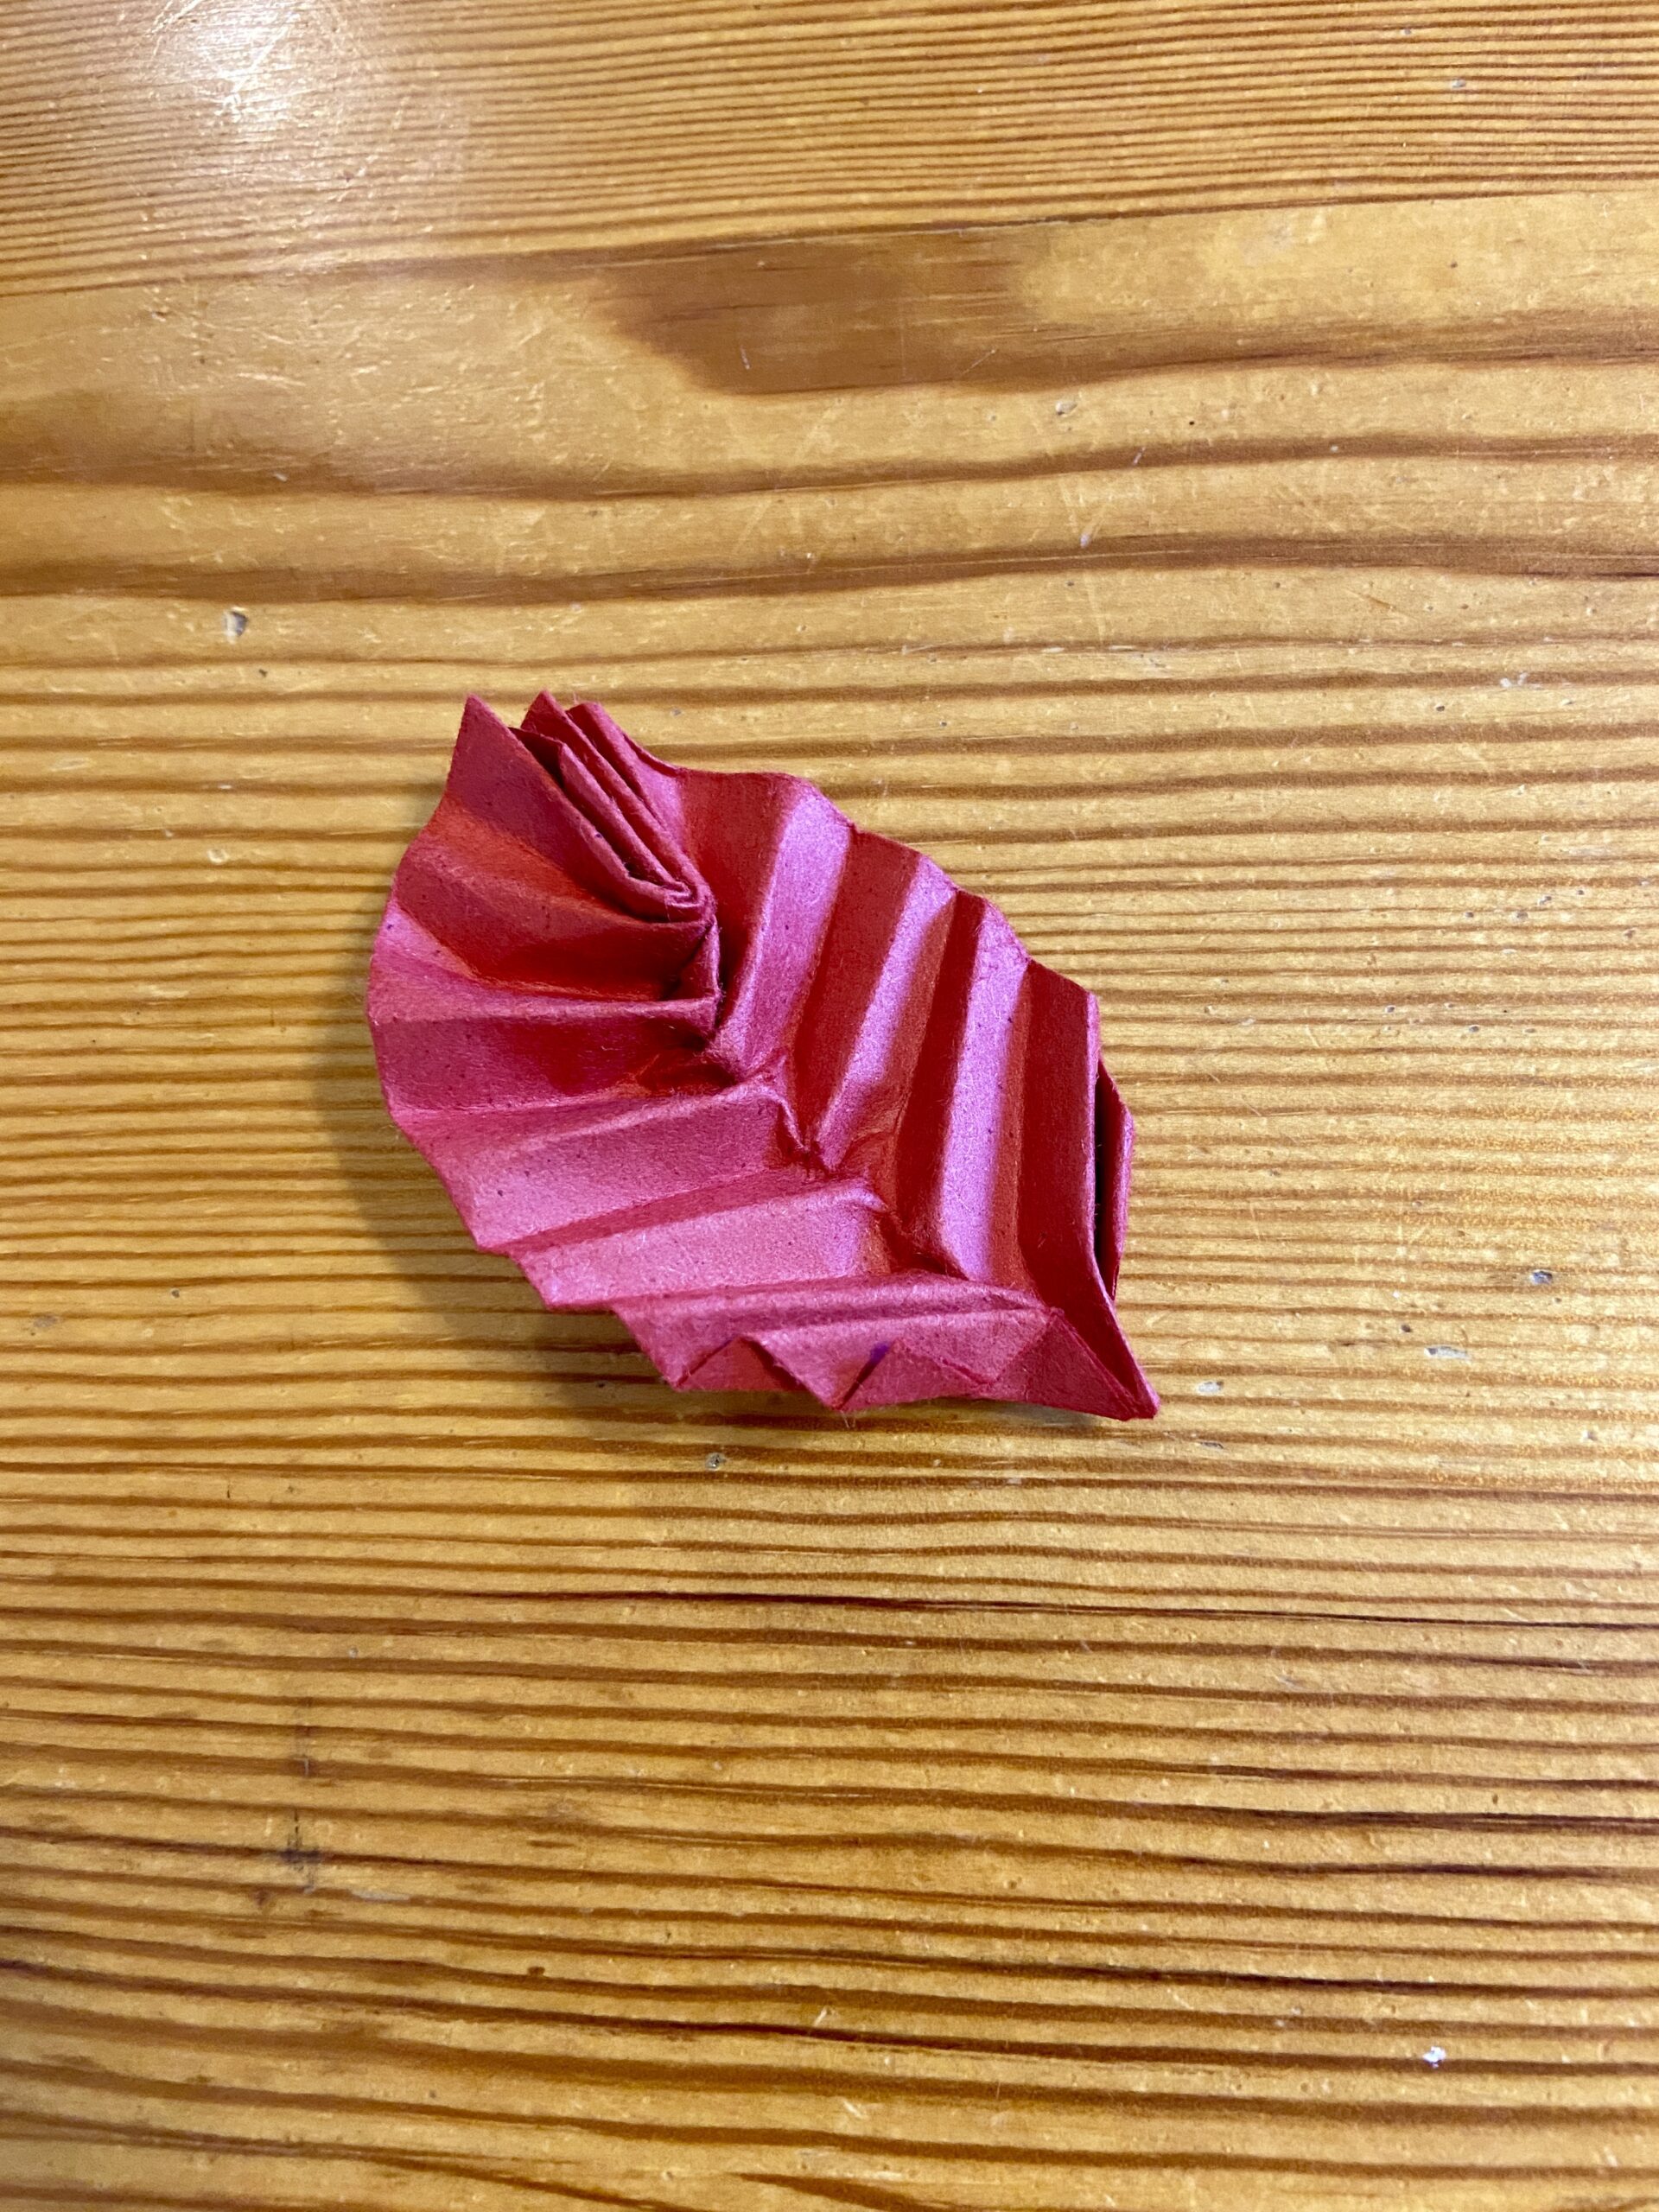
8) Find the flaps again and pull them apart so that you see the rectangle with ridges going all the way down. You’ll notice that one end of the rectangle is more pointed and the other is square.
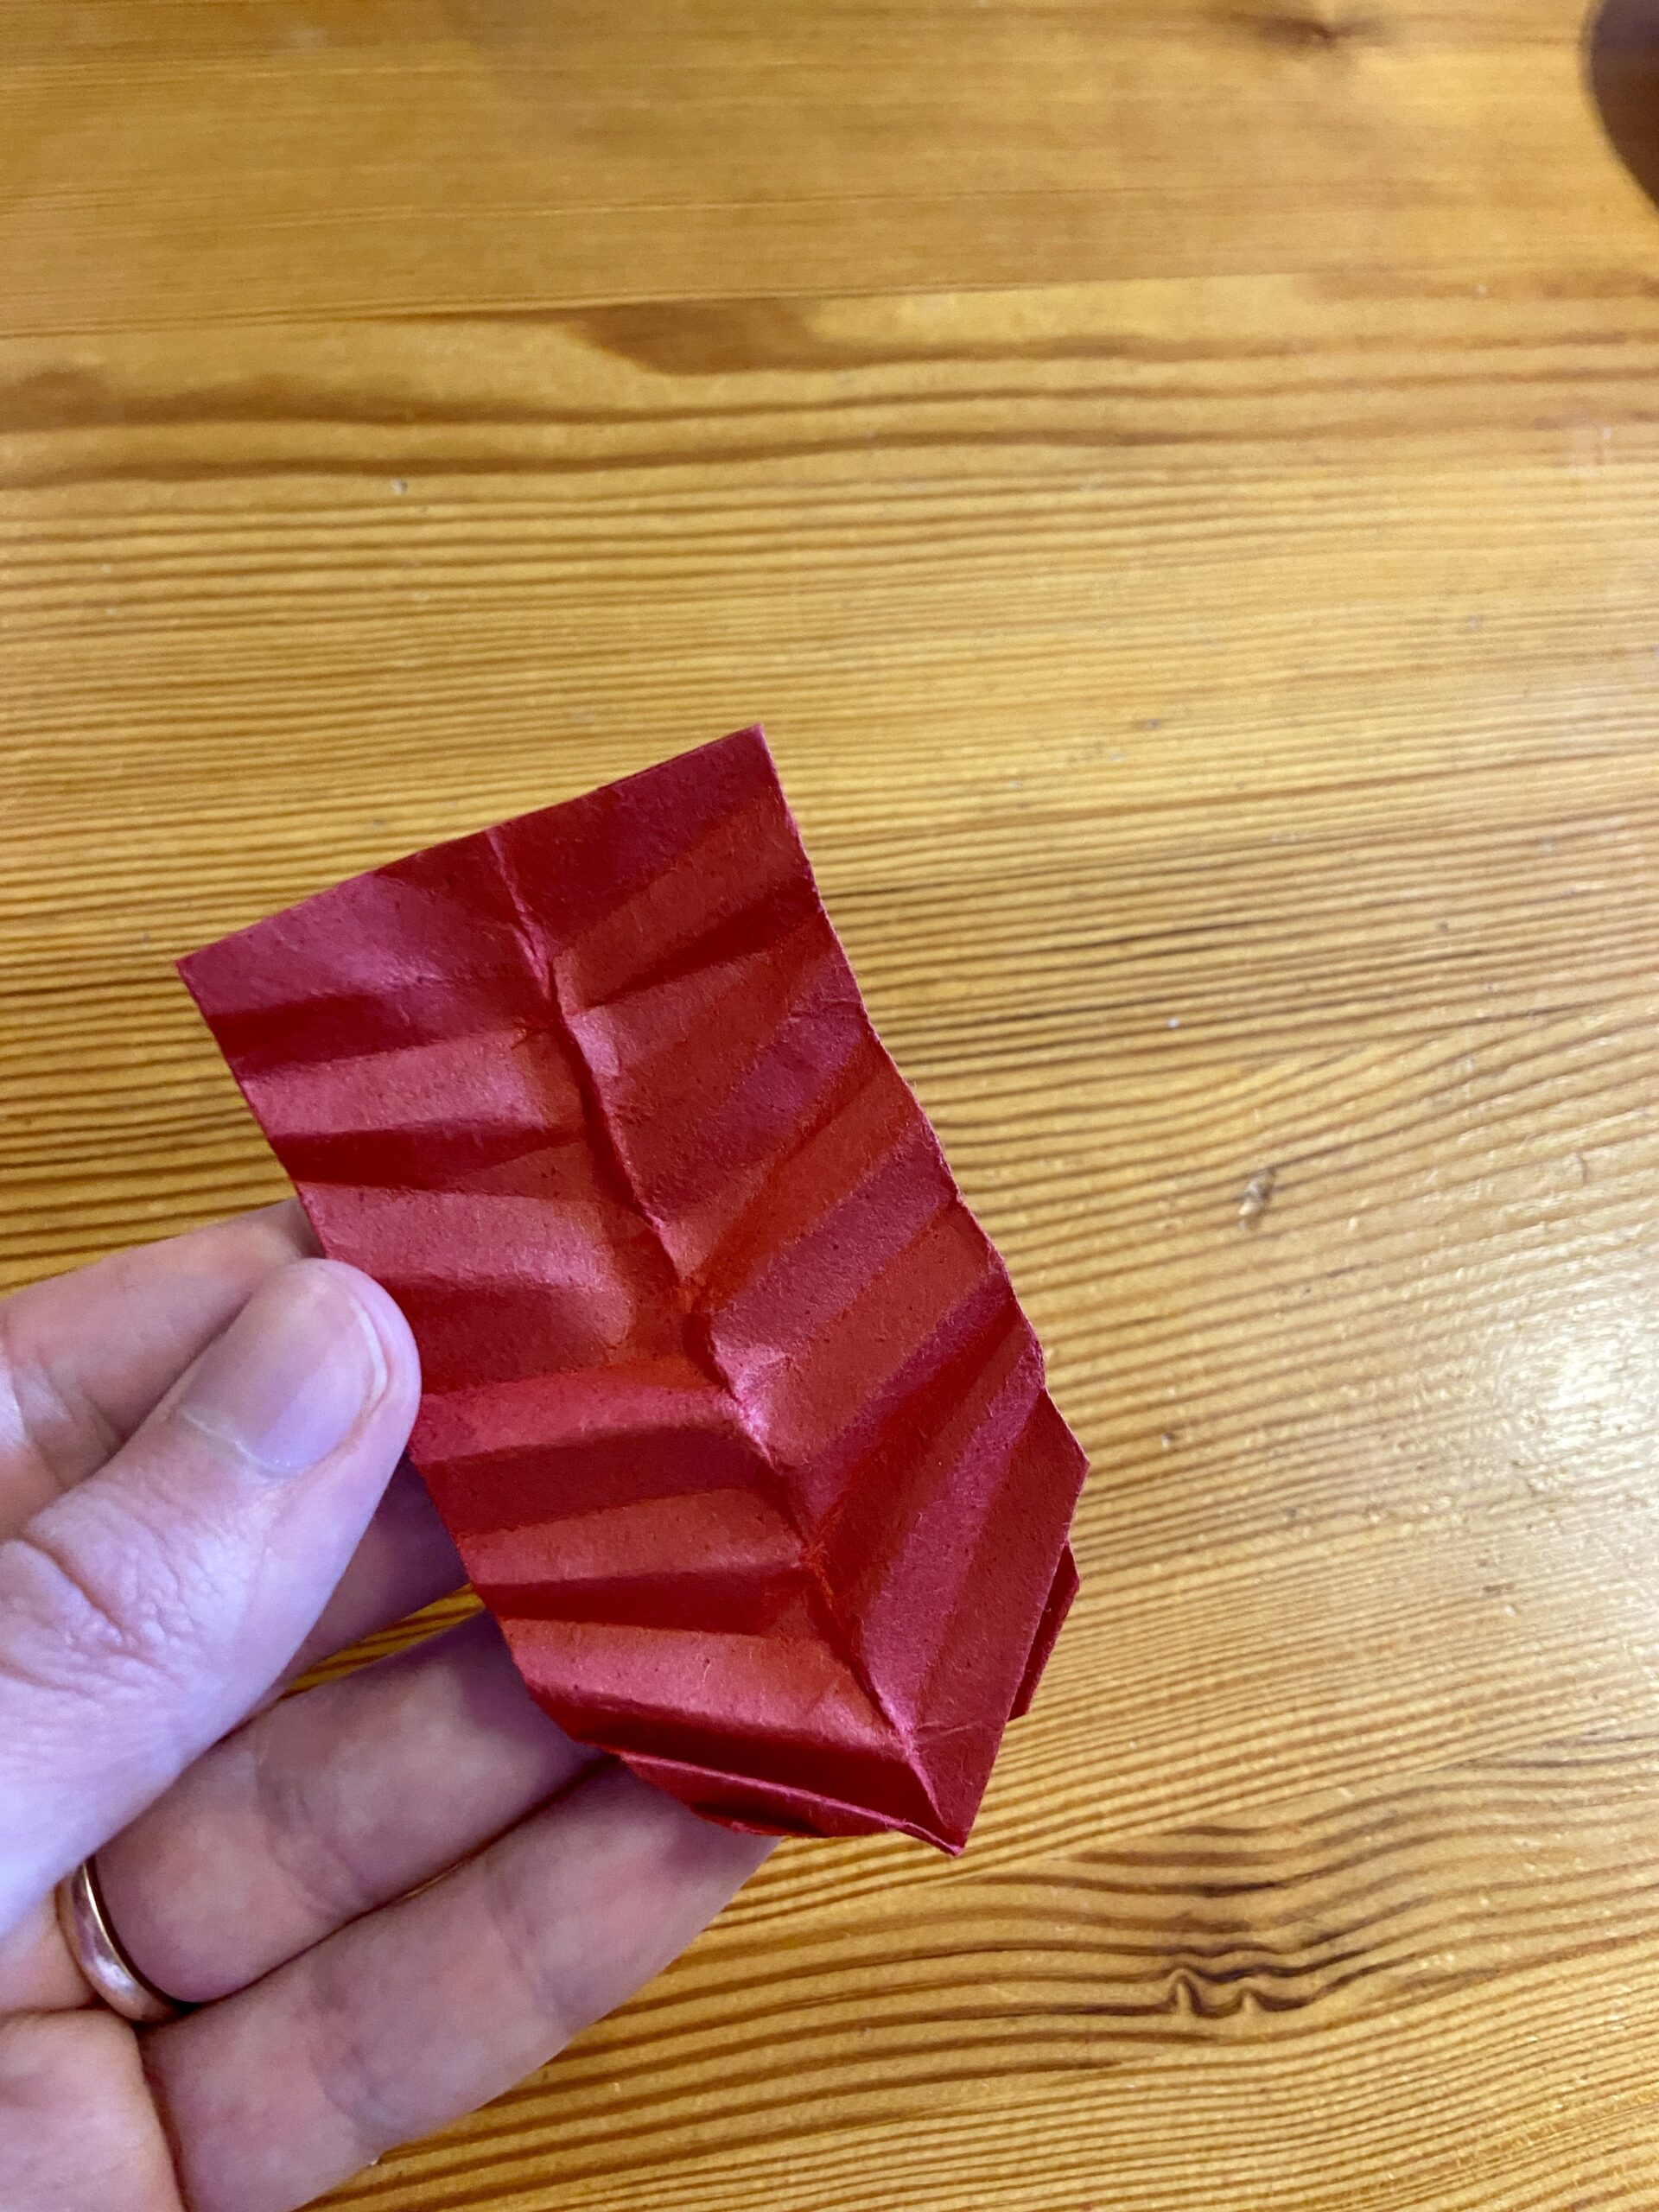
9) Take the square end and pinch it together. Use any paper sticking out on the other side of the leaf-shape and tuck it into one of the ridges to keep this side all in place. Alternatively, if you used smaller origami paper (as in the demonstration photos), you may wish to glue the pinched-together side of the leaf so that it stays put. You could also pinch together that side and poke thread through the paper; this would hold things in place a bit and begin to form an origami birch leaf garland.
There you have it, a hand-crafted piece of autumn, ready to place around your home!
