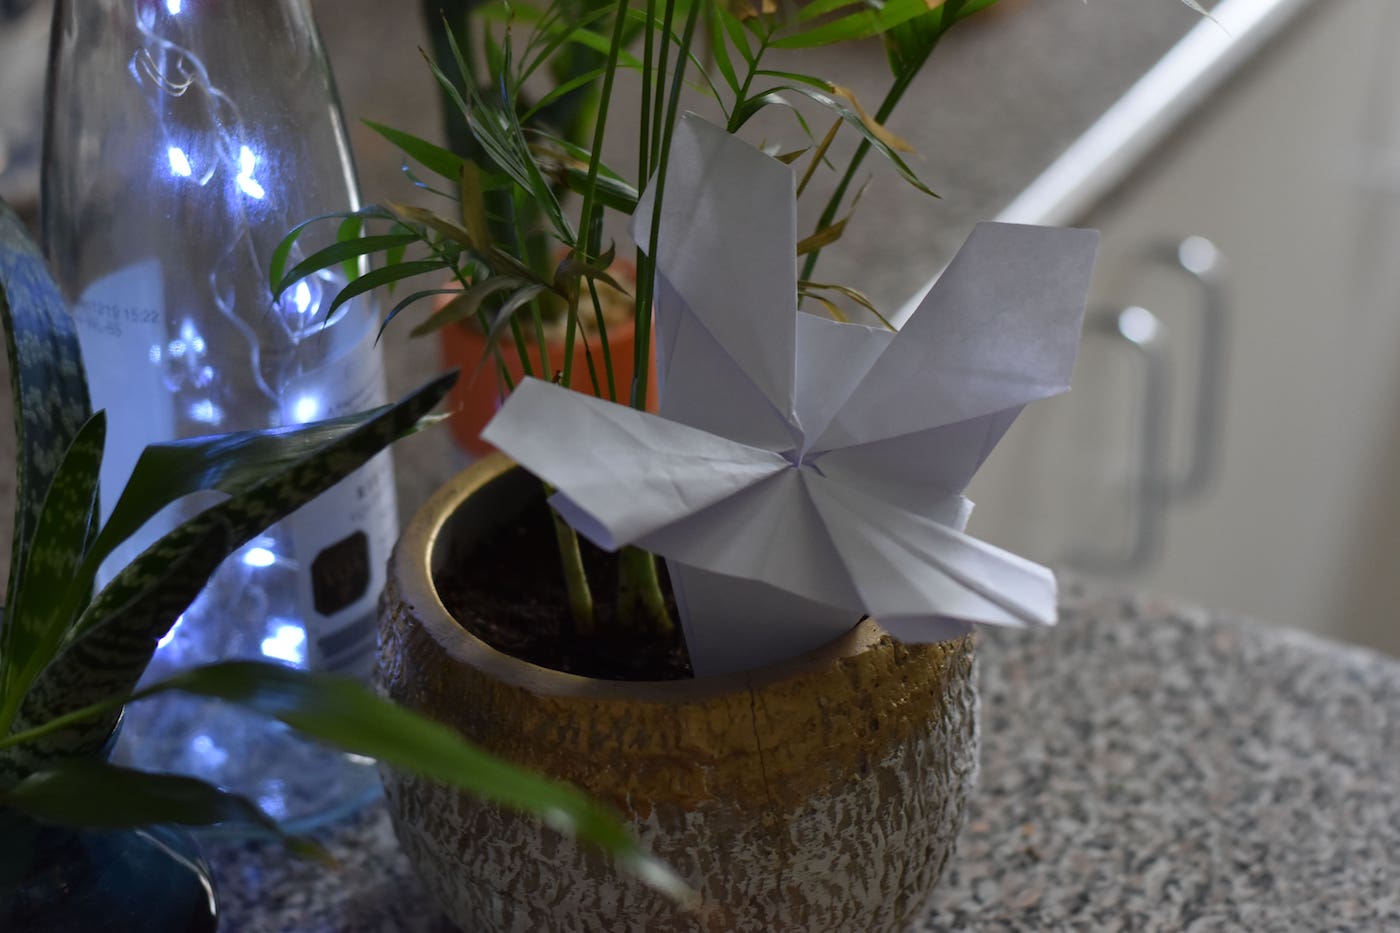
They are planted in spring, bloom in the golden summer sun, and into the beginning of autumn. But you can have them earlier in the year as a paper decoration. Follow along with these steps for a standard origami folding method.
The steps:
1) First, get a square piece of paper, the colour blue if possible. The thinner the paper is, the easier it will be to flex into shape. If you don't have square pieces around, you can just measure a larger piece and cut it into a square. For instance, if you have Letter size printer paper, mark and cut the longest side down to 21 centimetres.
2) Once you have the square, fold it in half once. Then open it out again and fold it on the other side. Open it out, turn it over, and fold diagonally both ways. You'll see folded lines connecting each corner and side of the square.
3) Push the diagonal folds in towards the centre to make a pinwheel shape and then flatten to create a smaller square. Orient your square so that there are three folded flaps on one side and one folded flap on the other.
4) Bring the first folded flap's edge to meet the centre line and fold. Push down to make a crease on that line and the opposite edge. Unfold and flip across to the next leaf.
Then, you'll see an opening on the top of the fold you just made. Open that more with your finger and spread it wide across the diamond. You'll know you've done it right when a triangular sailboat shape appears.
5) Fold one half of the flattened sailboat shape to meet the other. This piece is finished for now.
6) Repeat steps four and five with the next flap, so that there are two folded pieces in total on this side.
7) Now take the whole piece of paper and turn it over onto its other side. Apply steps four and five twice as you did before. Make sure everything is lined up perfectly before you make each crease, and keep it all symmetrical.
8) Open the folds on each side so that you have two tips on each side and so that you can see the horizontal paper edge on the front and back. When everything has been folded over, there will be an elongated diamond shape. There will be four tips on the top.
9) Fold the bottom tip to meet the top tips. Where the fold happens, press down firmly and make a horizontal crease, before unfolding the tip back to the bottom. Take the first two triangular tips at the top and fold them along the crease you just made.
10) Look for the triangles in the middle, then press them down so that a bow tie shape appears.
11) For each of the flaps at the corners of the flower, fold the flap down so its corner meets the middle of the “bow tie.”
12) Do this for each of the four flaps: bring the flap back to where it was and then fold it in half, into the middle. Unfold the flap, stick your finger inside the opening and then flatten it with your crease in the middle.
When this is complete, you should see four flower petals and a triangular part sticking out at the bottom. This is the stem of your paper cornflower. To add some embellishments to what you just made, take a pair of scissors and carefully cut down the length of each petal, but not at all the way down. This creates the ridge effect of a real cornflower. Make a few of them if you like. That way, you can use the stems and stick them into planting pots around your home or garden as a decoration.
Written by Vincent Teetsov, Toronto


