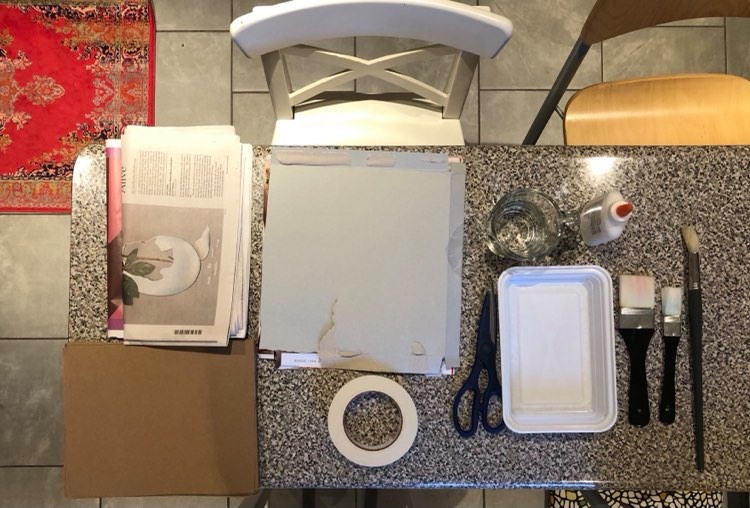
Before starting this craft, gather together the following supplies:
- a thin, medium-sized piece of cardboard (e.g. an old frozen pizza box)
- a pencil or pen
- scissors
- a craft knife
- tape (optional)
- a measuring cup
- non-toxic white glue (e.g. Elmer's School Glue)
- a container for mixing glue and water
- a paintbrush for the glue
- some sheets of newspaper
- regular brown craft paper
- a paintbrush for painting
- acrylic paint (get tubes or mix your own light brown, black, white, grey, and pink)
- a wooden dowel (optional)
- some hot glue (optional)
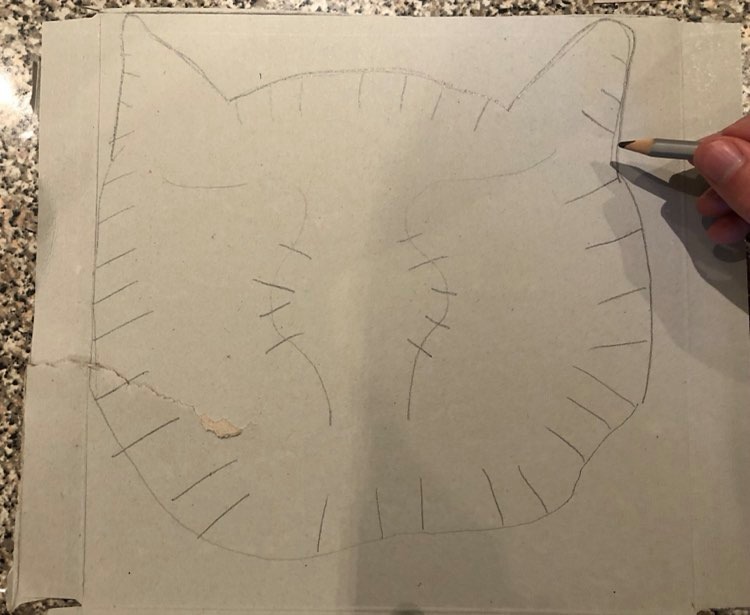
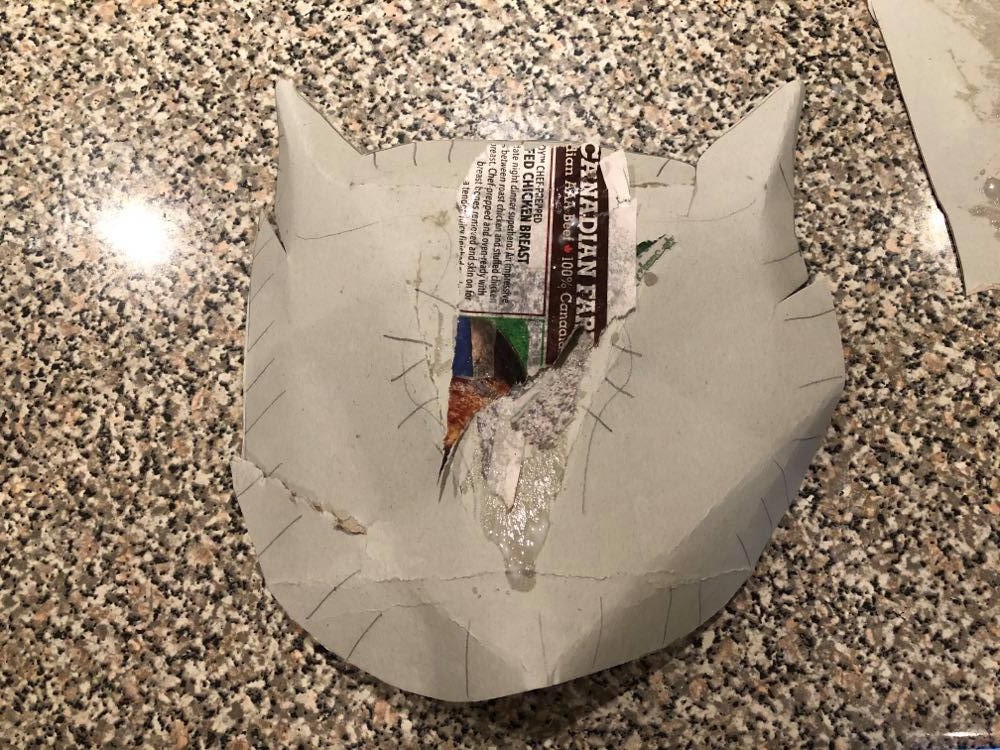
1) Draw the outline: Firstly, take the thin cardboard and hold it up to make sure that it will cover your face fully. Using a pencil or pen, mark out the circumference of your face on the cardboard. Draw out where your eyes will be and cut the holes out with a craft knife.
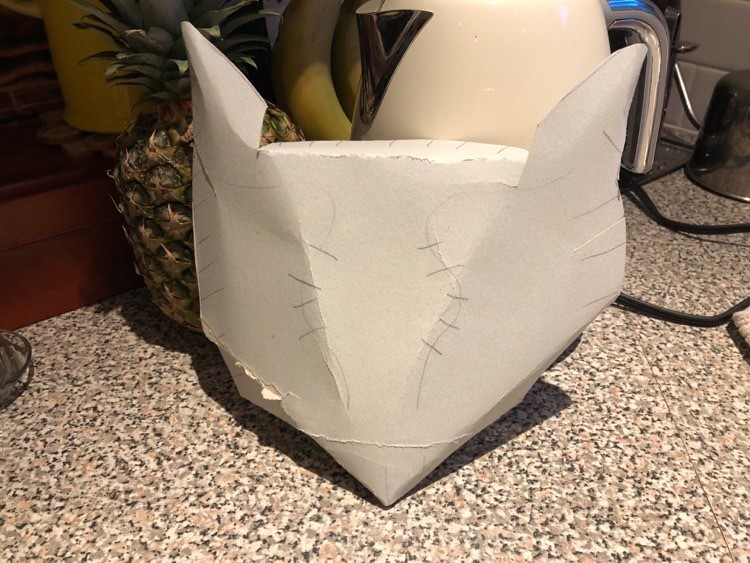
With this shape drawn out, add a one inch buffer space around the sides and bottom of the drawn-out shape. This extra space is for when the sides of the mask are bent backwards. Using a picture of a lynx's face as a reference, draw the triangular ear shapes on top of the head and add a half inch buffer for each side of both ears so it can also be bent into shape.
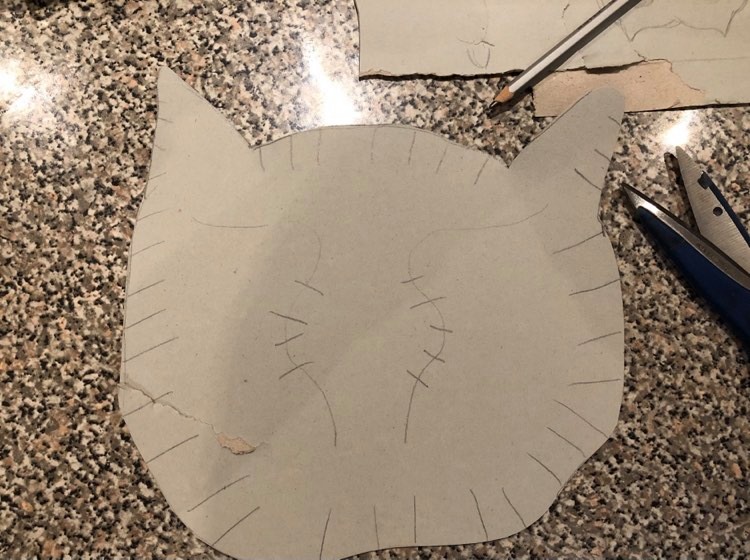
2) Cut out the shape: Cut around the outline, including the buffer space of the mask, with a pair of scissors. Cut small slits in the points where the buffer space meets the ears on either side of the face outline, and also two equidistant slits at the bottom points of the face shape, so that the cardboard can bend backwards.
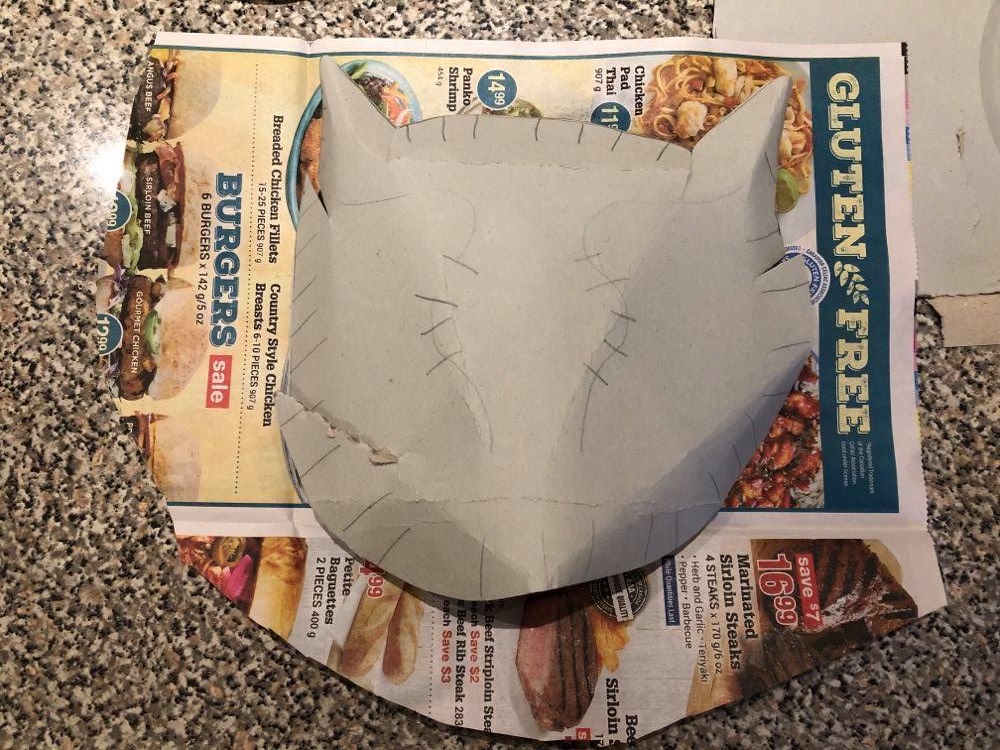
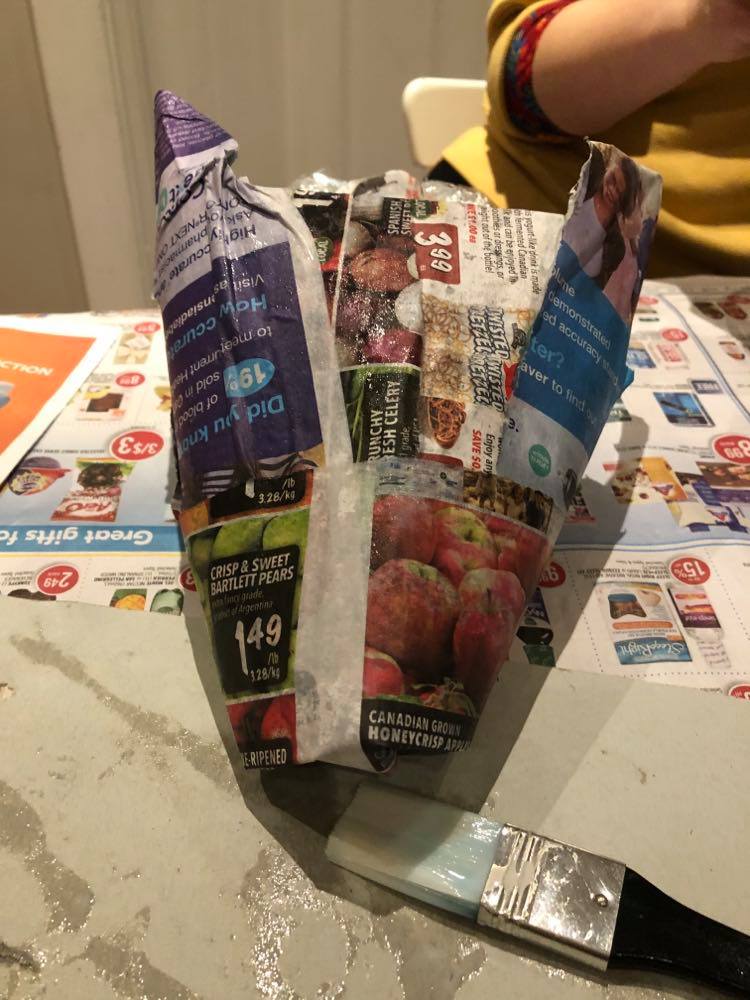
3) Bend the cardboard into shape: Bend back the buffer space you marked and cut so that the mask shape becomes three dimensional. For each ear, carefully fold the ears back into themselves to create a concave shape. You can use tape to make the folds stay in place. To add more dimension to the face, pinch and fold back the cardboard in the middle to create the pronounced nose shape of the lynx.
4) Preparing the newspaper: Take the paper and tear it into squares or long strips, so that it will cover the surface of the mask. Set aside enough of these pieces to cover the mask in its entirety two times.
5) Make the glue solution: This is what you'll use to stick the paper to the cardboard, thus building up texture for the mask. Note: from here on out, you'll want to lay out newspaper so that you don't splatter your kitchen table with glue.
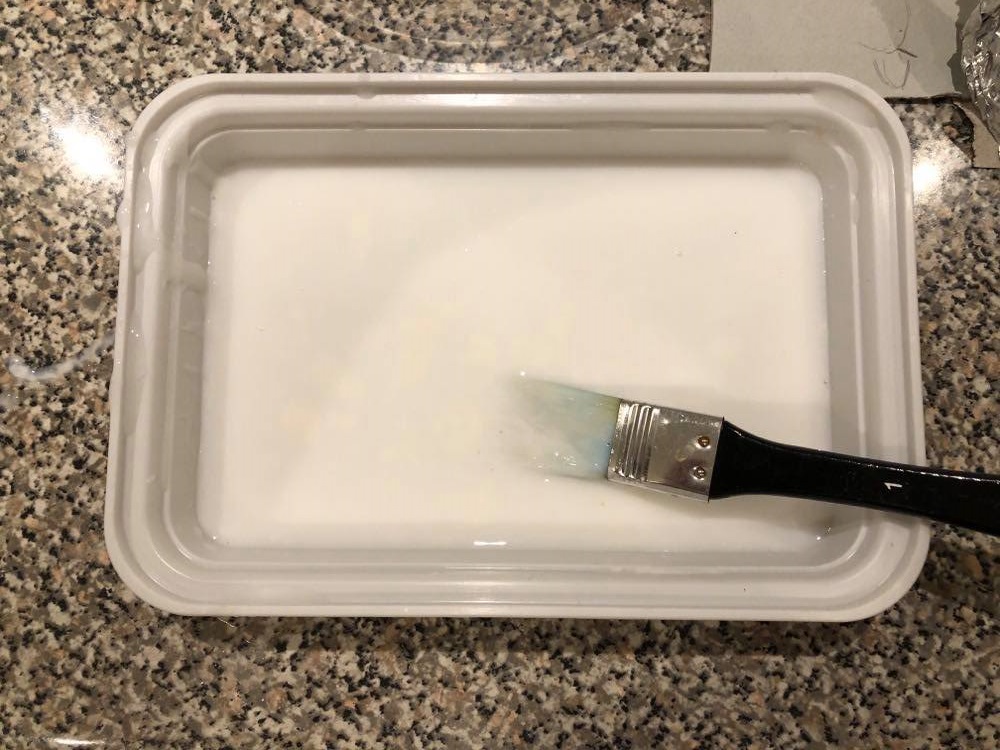
For two masks worth of glue solution, combine one quarter cup of water and roughly the same amount of glue. With one of your paintbrushes, mix the glue and water fully together in a container. It shouldn't be too runny and it shouldn't be gloopy, either.
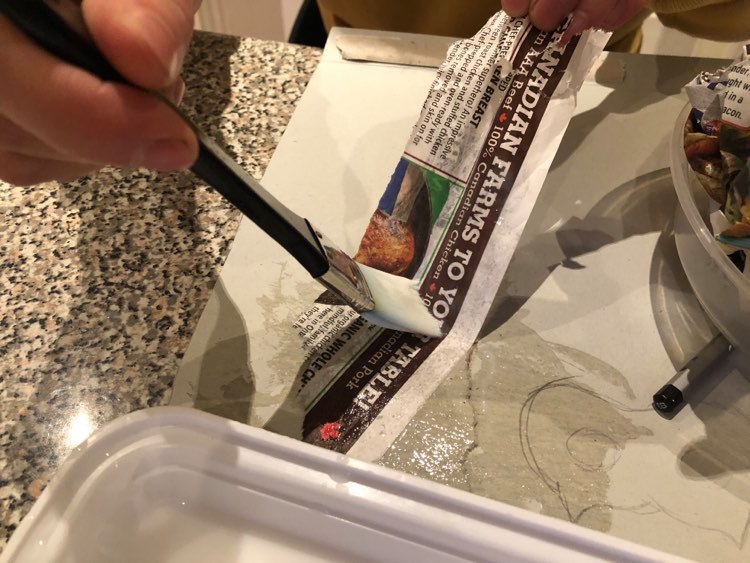
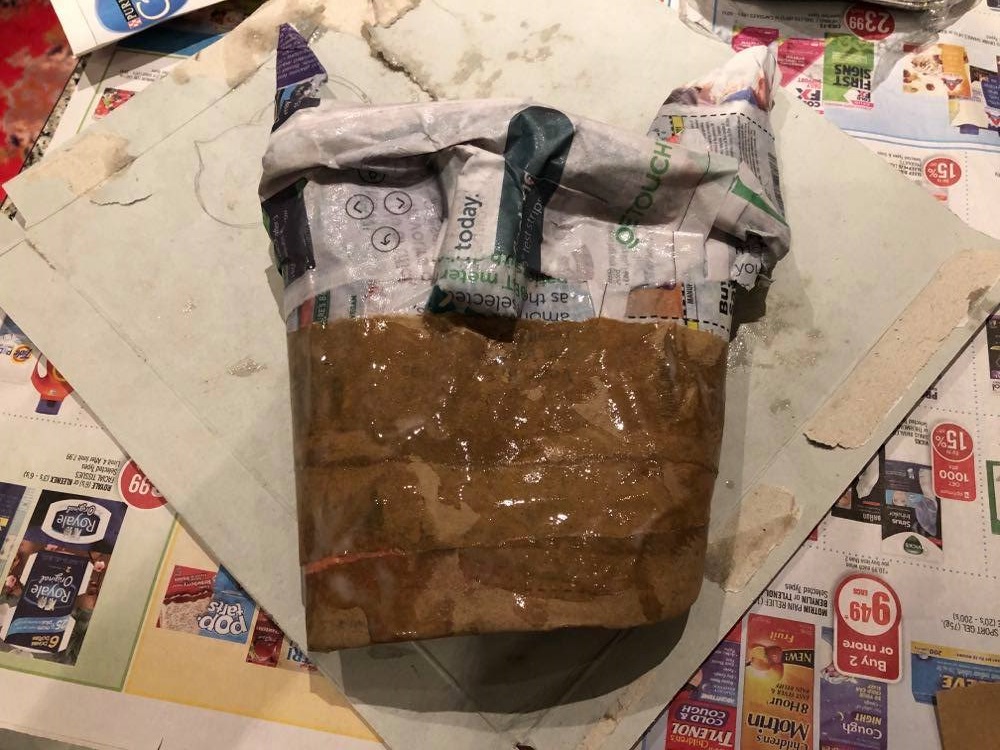
6) Coating the newspaper pieces: Lay out the torn newspaper pieces and using the brush you mixed the glue solution with, coat both sides of each piece and place it on the cardboard mask shape one at a time. Cover the whole mask.
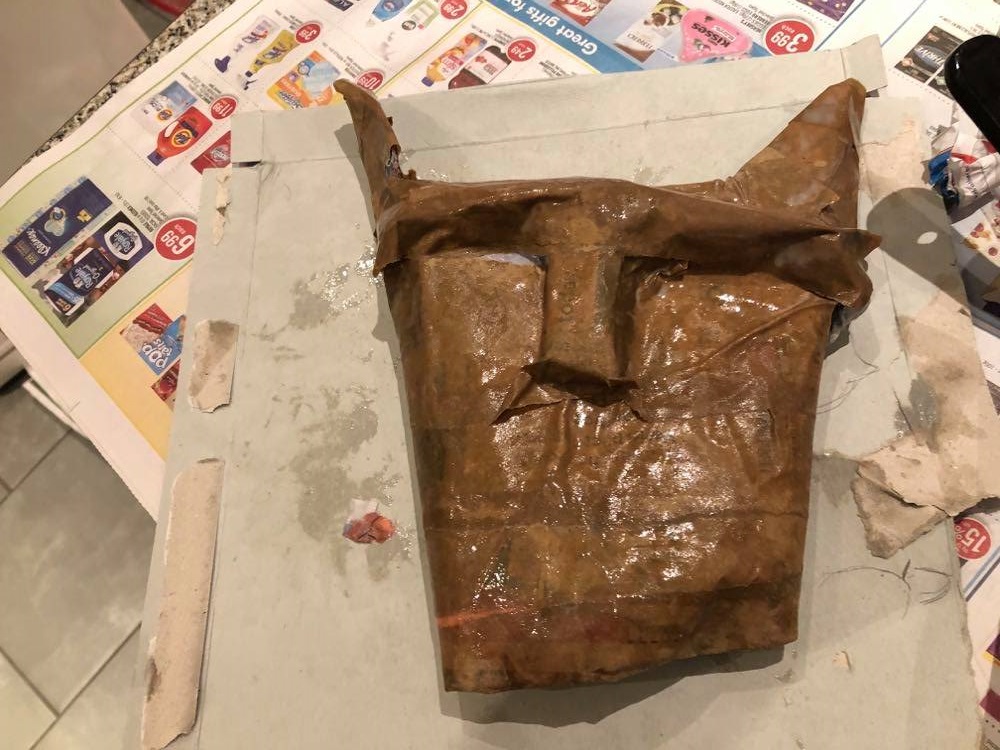
7) Put on another layer: With the first layer of newspaper applied, repeat step six again. Before you start the second layer, though, scrunch up two more pieces of newspaper in the shape of the eyebrow ridge and boxy nose of the lynx. Adding the second layer on top of this will make it attach more securely.
8) The painting layer: Ok, so there's one last layer to put on the mask. This time, instead of newspaper you'll use craft paper, which will be a better surface to paint on. Rip the craft paper into pieces and brush it with the solution before placing it on the mask.
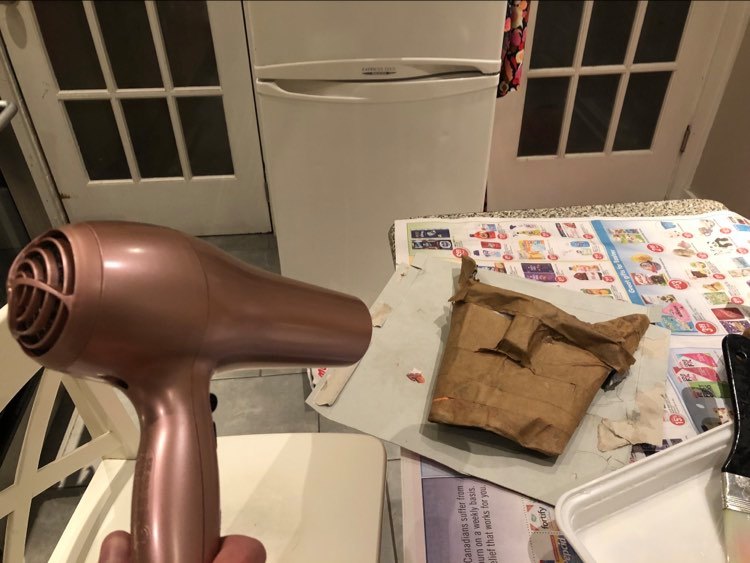
9) Let it dry: Allow the mask to dry for a full 24 hours. Check on all of the places you bent the cardboard of the mask so that it dries in a shape that fits over your face. You can accelerate the drying process by blowing warm air from a hair dryer onto the mask. When it's ready, you won't feel any dampness or coolness on the eyebrows and nose of the mask, where most of the glue is concentrated.
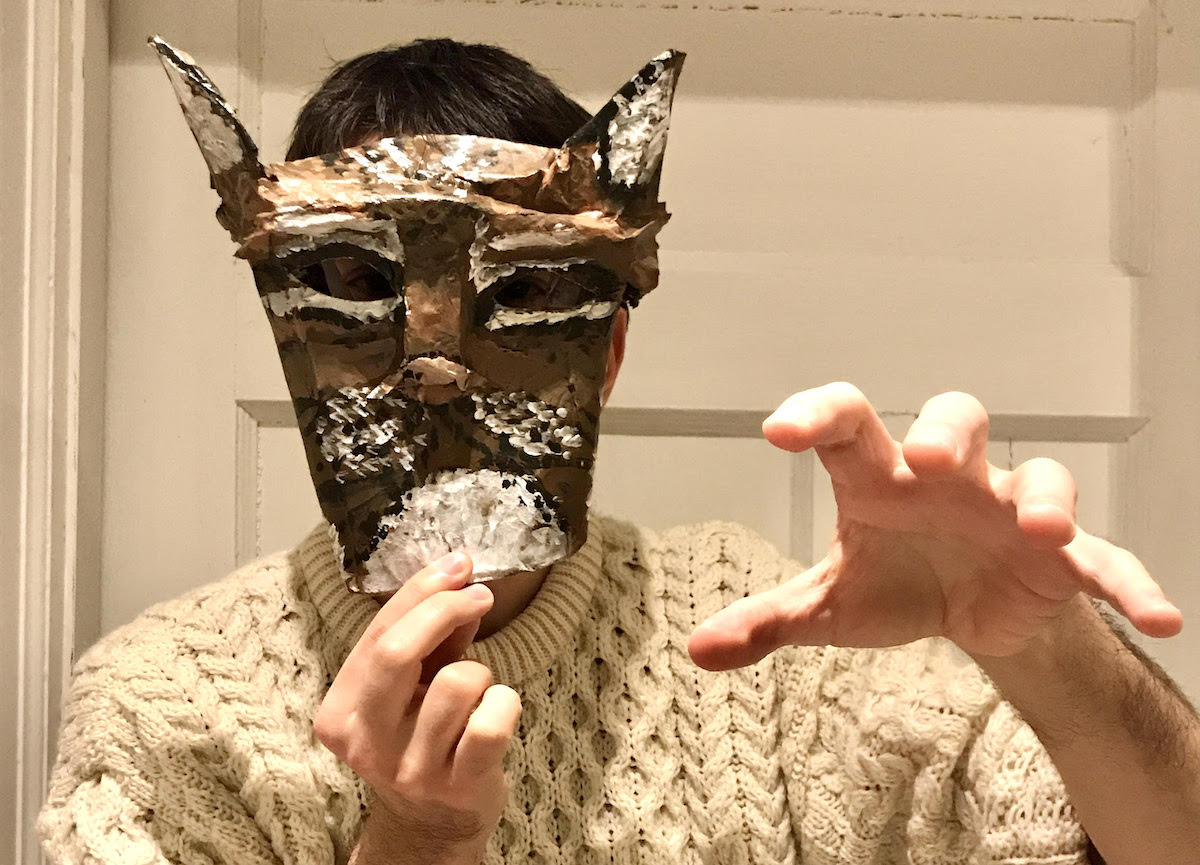
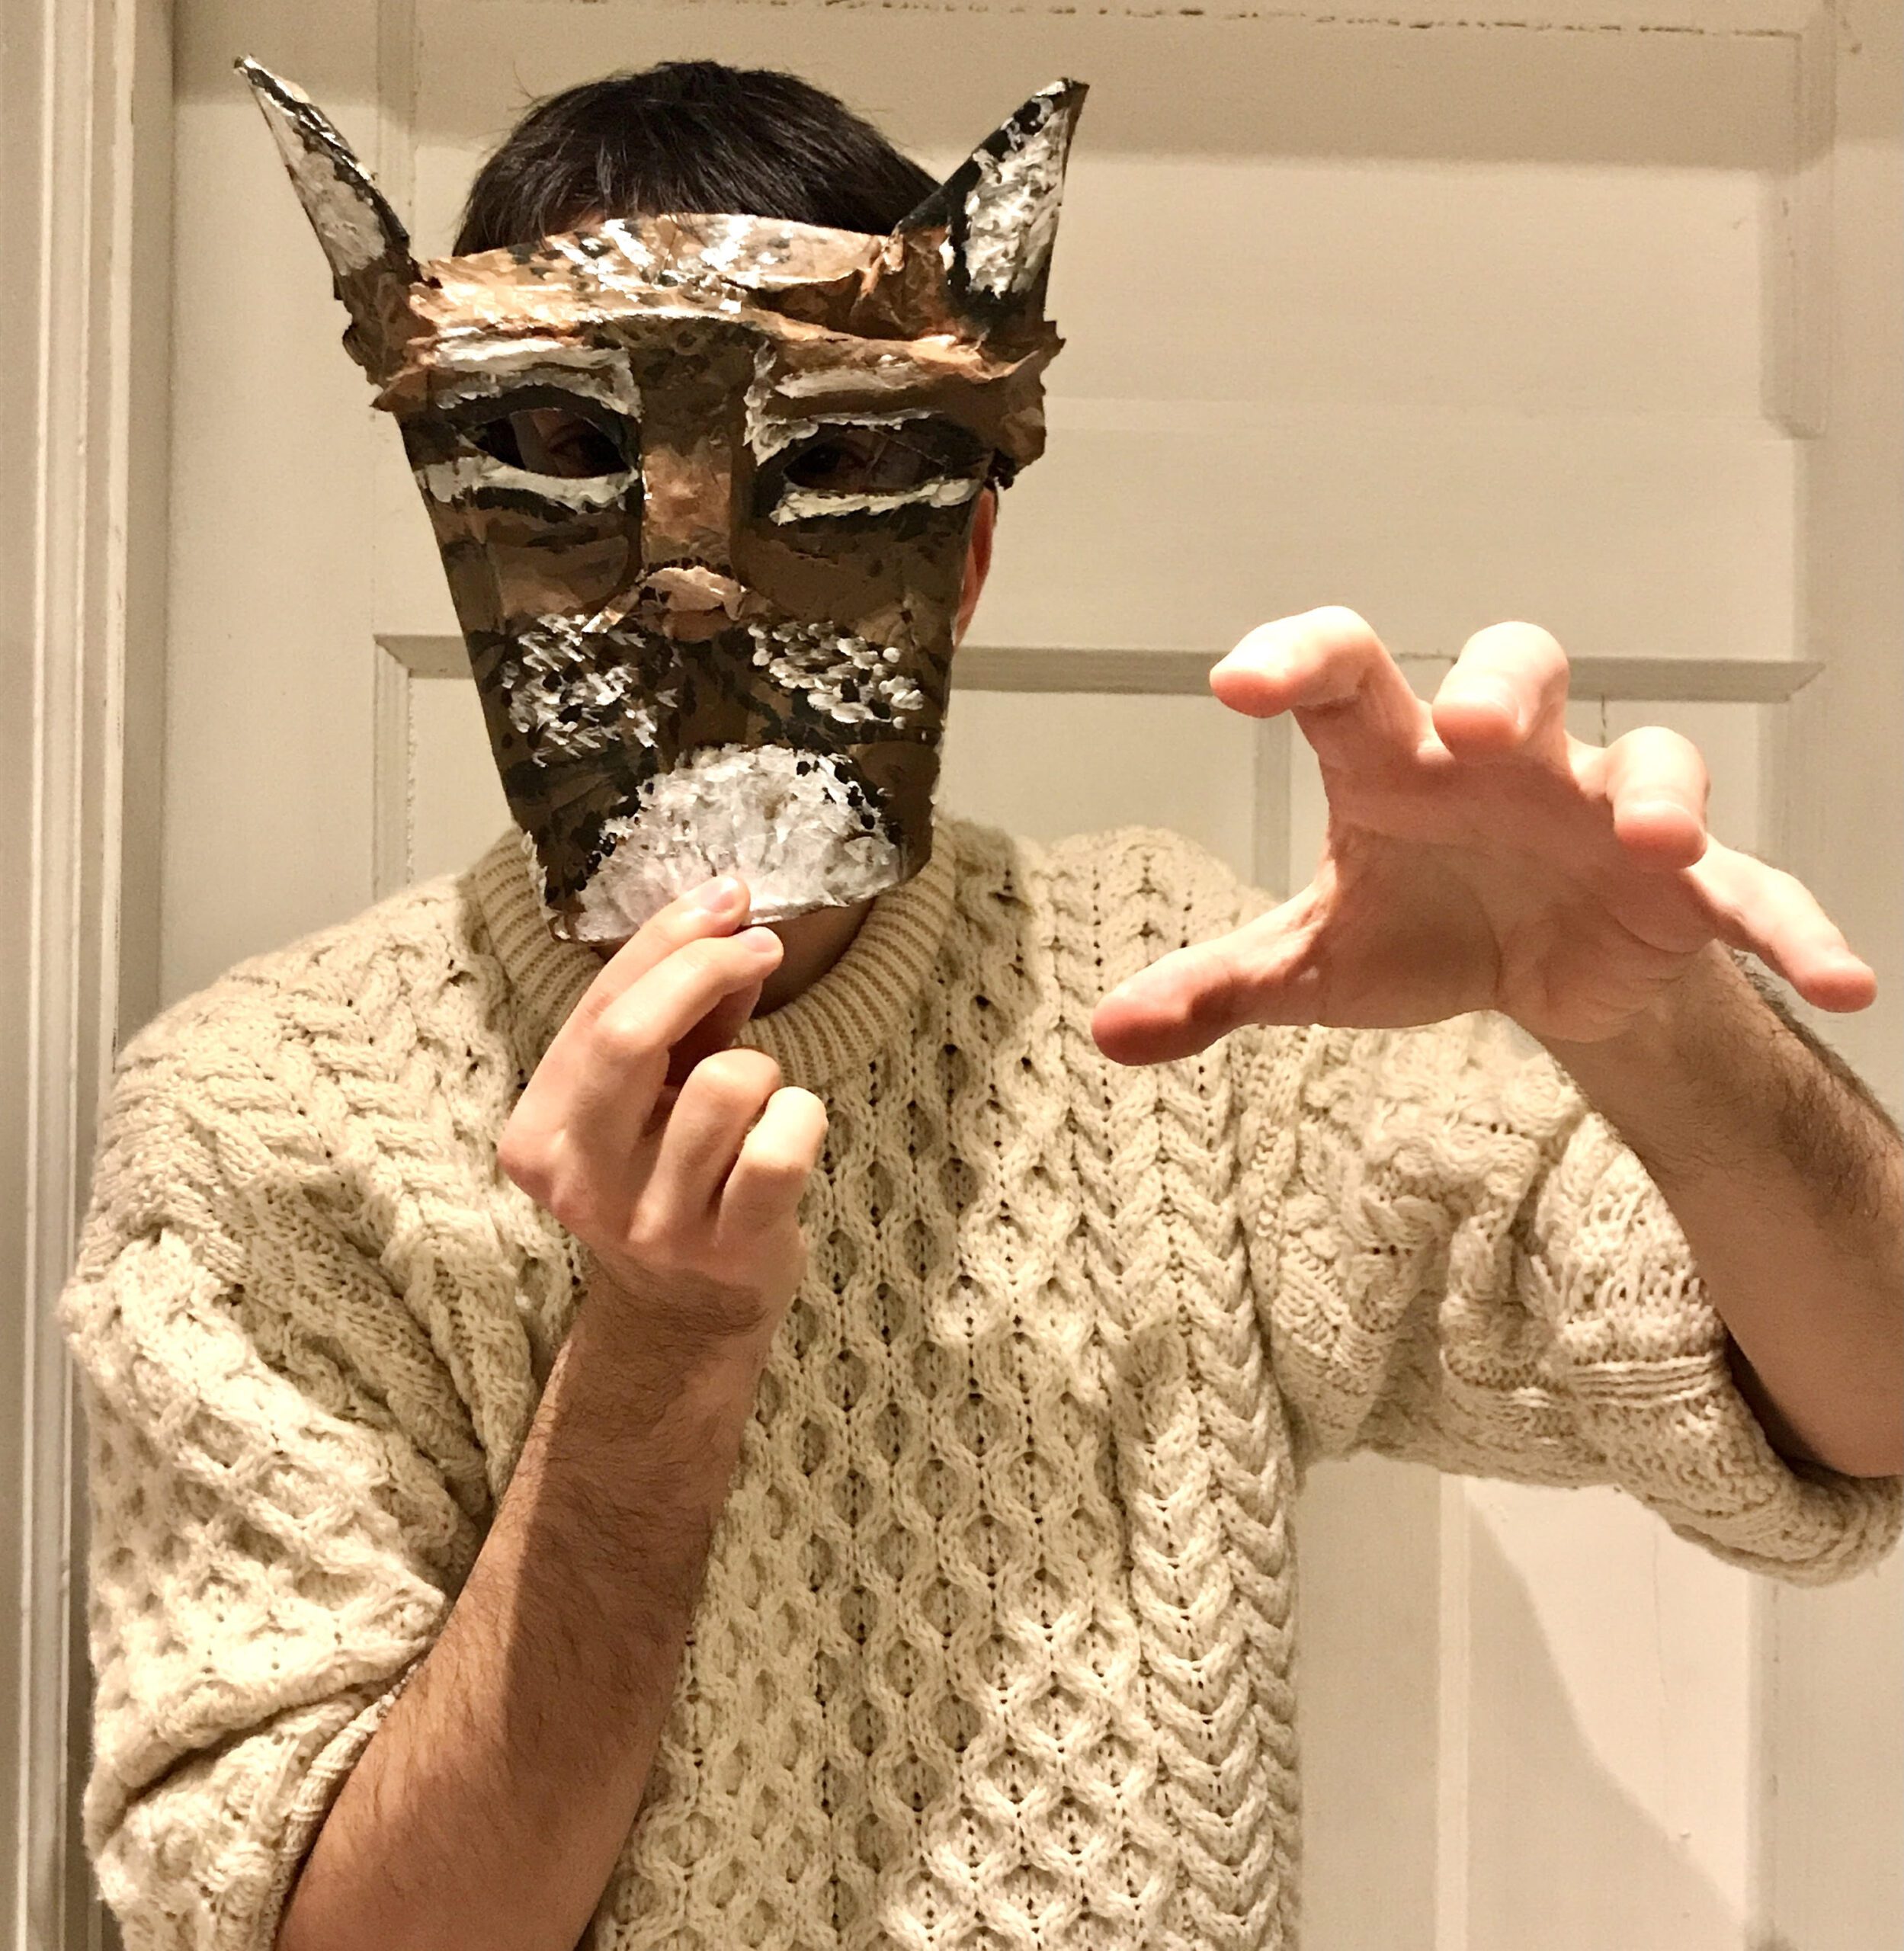
10) Decorate it: Using a reference photo and the light brown, black, white, and grey acrylic paint, you can customize the markings on the lynx's face. Add a bit of pink for the nose. If you have a wooden dowel and a hot glue gun, you can attach a handle to the mask and hold it up to your face.
With the mask complete, you can display it on a shelf or hold it up to your face and skulk through the forest like a lynx!
