I seem to recall my den leader making a fleur-de–lis, which made my attempt seem a bit embarrassing. But still, to make something with one's own two hands is satisfying.
Knowing how to use blades of all kinds is a nifty skill to have, for practical and decorative purposes. Together with wood, we can make anything from utensils and small tools to walking sticks and furniture. We won't start making a set of dining room chairs right now, but if you want to do a bit of light woodworking without too much preparation and commitment, whittling with a pocketknife is a good place to start.
If you're Estonian or know someone who is, you'll probably find yourself around a forest at least once in a while, so here's an opportunity to pick up some fallen pieces of wood and make something cool out of them. Ideal types of wood to use include basswood, pine, aspen, and cedar. If the wood is from outside, make sure it's sufficiently dry before whittling.
Using a bar of soap and a table knife might be a good way to involve young children who might still want to participate. Regardless, work gloves can be worn to protect your hands.
First of all, open up an arm-length space around you with no objects or other people in the way. When you whittle, press into the wood slowly and steadily, cutting in an outward direction. The knife can get caught in the wood sometimes and slip, so it's always better for the blade to move away. It also pays to have a sharp knife and to keep it sharp, so that the whittling is a clean, easy job.
To guide the process, you can outline the shape of what you are making with a pencil. This tells you just about when you can stop carving. Try whittling down from a smaller piece of wood that's close to the shape of what you're aiming to make.
Spatula: Let's say you have a 28 centimetre long piece of wood: carve out a long, narrow handle of approximately half its length. At the halfway point, move outward in a fan shape before carving flat sides for the “head” of the spatula. Round off the edges slightly, and gradually create an angle down to the top of the spatula for better scraping abilities. Cut out some shapes and patterns along the length of the handle as you see fit, to make it more ornamental.
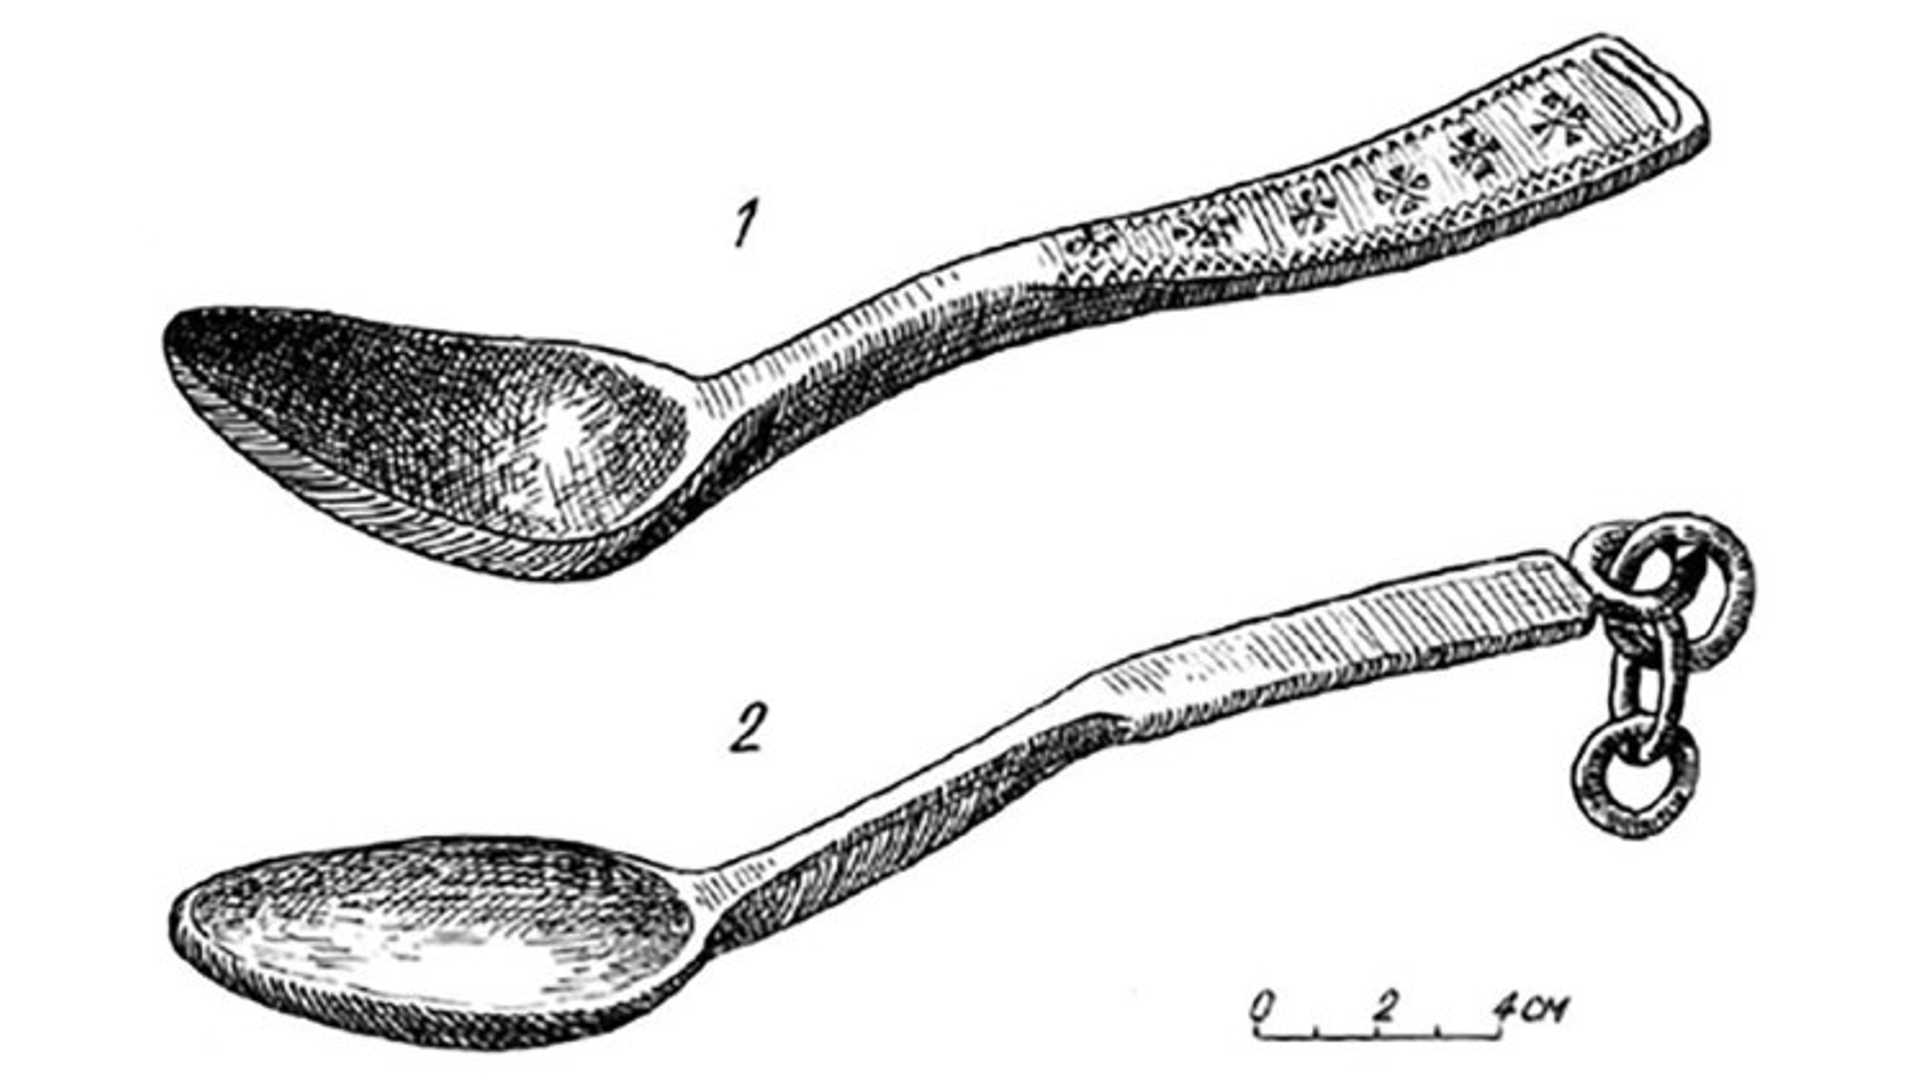
Wooden Spoon: Alternatively, you can keep whittling the top part of the spatula shape into a more pointed form and carefully carve into the head, to create a slight dip in the wood for the spoon. For a deeper dip, carve the head less than you would for the spatula, to give lots of space to carve into. Try angling the cutting blade against the edge of the spoon and cut in a curved direction to make a clean bowl shape.
Butter knife: If you have less wood available, you can make a simple butter knife. From the middle of the piece of wood, start by carving straight down to the end of the butter knife, to make a flat spreading surface. Gradually whittle down the back side of the knife to a similar size and shave off the edges as usual. This will create more edges, which you will also whittle down. Eventually, the flat surfaces will meet each other and form a comfortable round handle.
Caricature carvings: This is the most advanced carving idea of this set, if you're feeling confident. As a long-lasting alternative to a jack-o'-lantern, you can carve spooky and funny faces into the surface of a round, medium-sized piece of wood. Maybe you have a fallen branch in your back yard or something you found in the park?
You could carve the undulating face of the mythical Estonian character Suur Tõll. To add a woodland Estonian theme to your carving, you could wittle the wood down into the snout and ears of a wild boar. For an accurate perspective of the boar's face, start by cutting the lines of a flattened cone shape into the wood. These will be guiding lines that you can fit the carved details inside of. For example, to simulate the effect of scruffy fur, make several shallow cuts into the wood, within that cone shape. Change up the amount of wood you take out with each cut, to create variations in texture.
When these carvings are done, take 100 or 120-grit sandpaper, which you can get at a hardware store, and smooth the wood down.
Whittling makes for fantastic, hands-on projects that you can do without fancy tools. Show off your handiwork to your family when you use your carved tool to spread butter or dollop toppings onto your next slice of rukkileib and take pride in something that you made!
This article was written by Vincent Teetsov as part of the Local Journalism Initiative.