(That being said, note that this activity might be better for slightly older kids and teens, as you’ll need to be careful to avoid poking your fingers. See more about this below.)
With needle felting, all it takes is a bit of time and care to create a funny, fuzzy, adorable character from your imagination.
Needle felting. It’s a pleasure to do. Basic tools. A pretty forgiving material. With needle felting, all it takes is a bit of time and care to create a funny, fuzzy, adorable character from your imagination.
On the internet, you’ll see some mind-blowing examples of needle felting: tall Star Wars or Studio Ghibli animation characters with exquisite detail and colour variation. Some of them are so well-made, it doesn’t look like wool was involved at all. But let’s keep it simple to start, and then one can always build up from there.
How does it work?
To start, sketch out what kind of character you’d like to make. This will help you plan how many pieces of wool you’ll need to use, how big those pieces will be, and what colours of wool you’d like to get. That way, you can buy just enough wool to make your character/s.
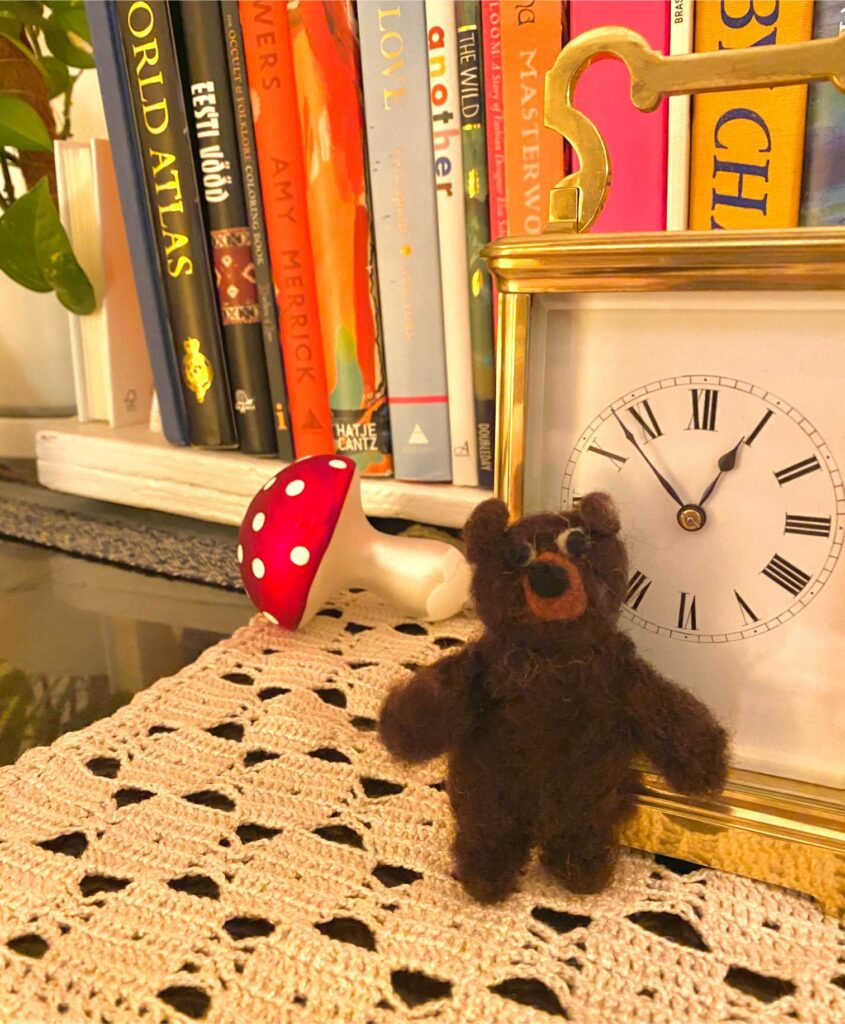
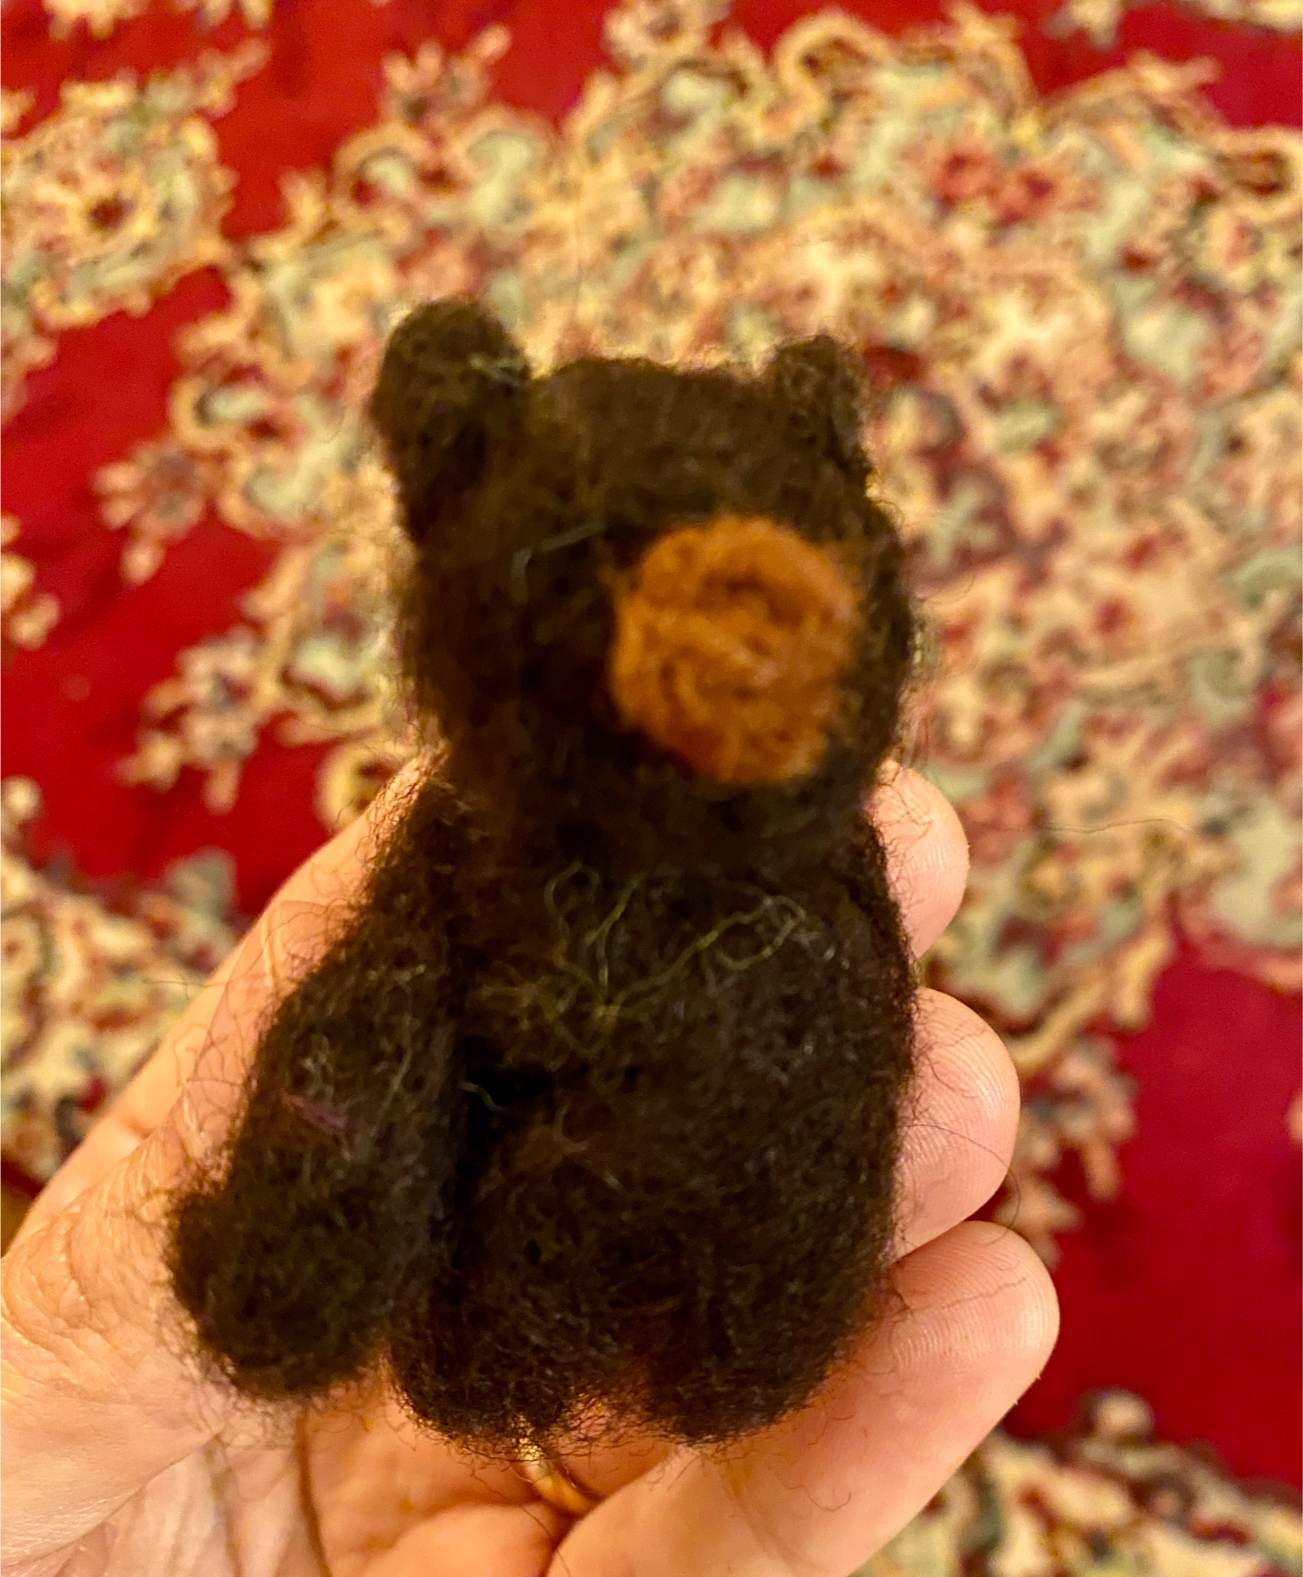
For this needle felted character tutorial, we’ll be making a cozy Christmas bear that’s about three inches tall.
Materials
The materials you’ll need are pretty basic, available at your local craft store.
-roving wool (of all the colours you’d like), which is simply wool that’s been washed and processed, but not spun
-felting needles, which you can get in packs of a few sizes (you don’t need a very large needle for a mini, ornament-sized character)
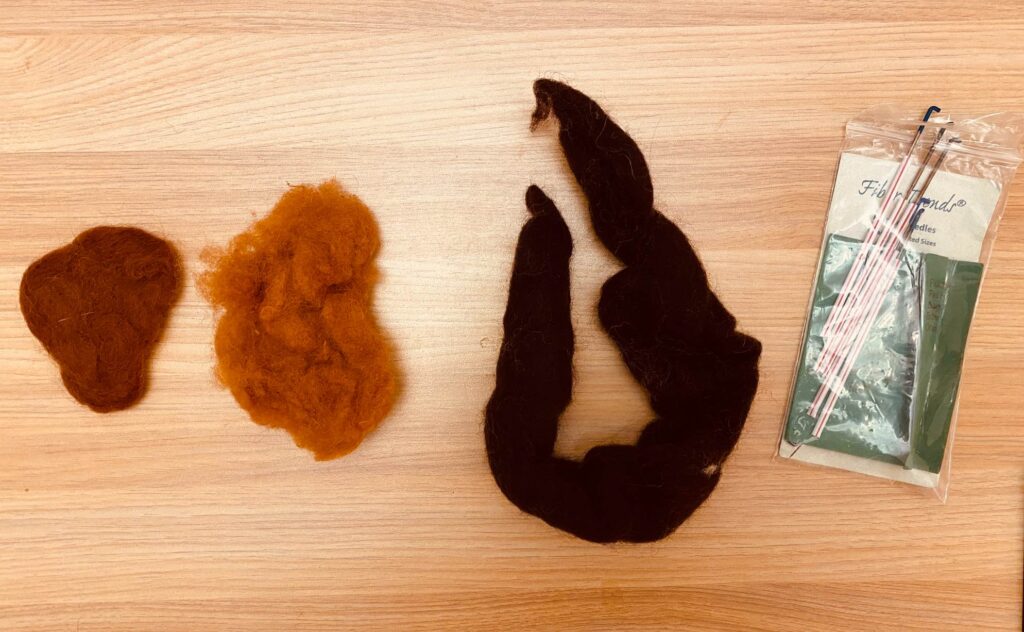
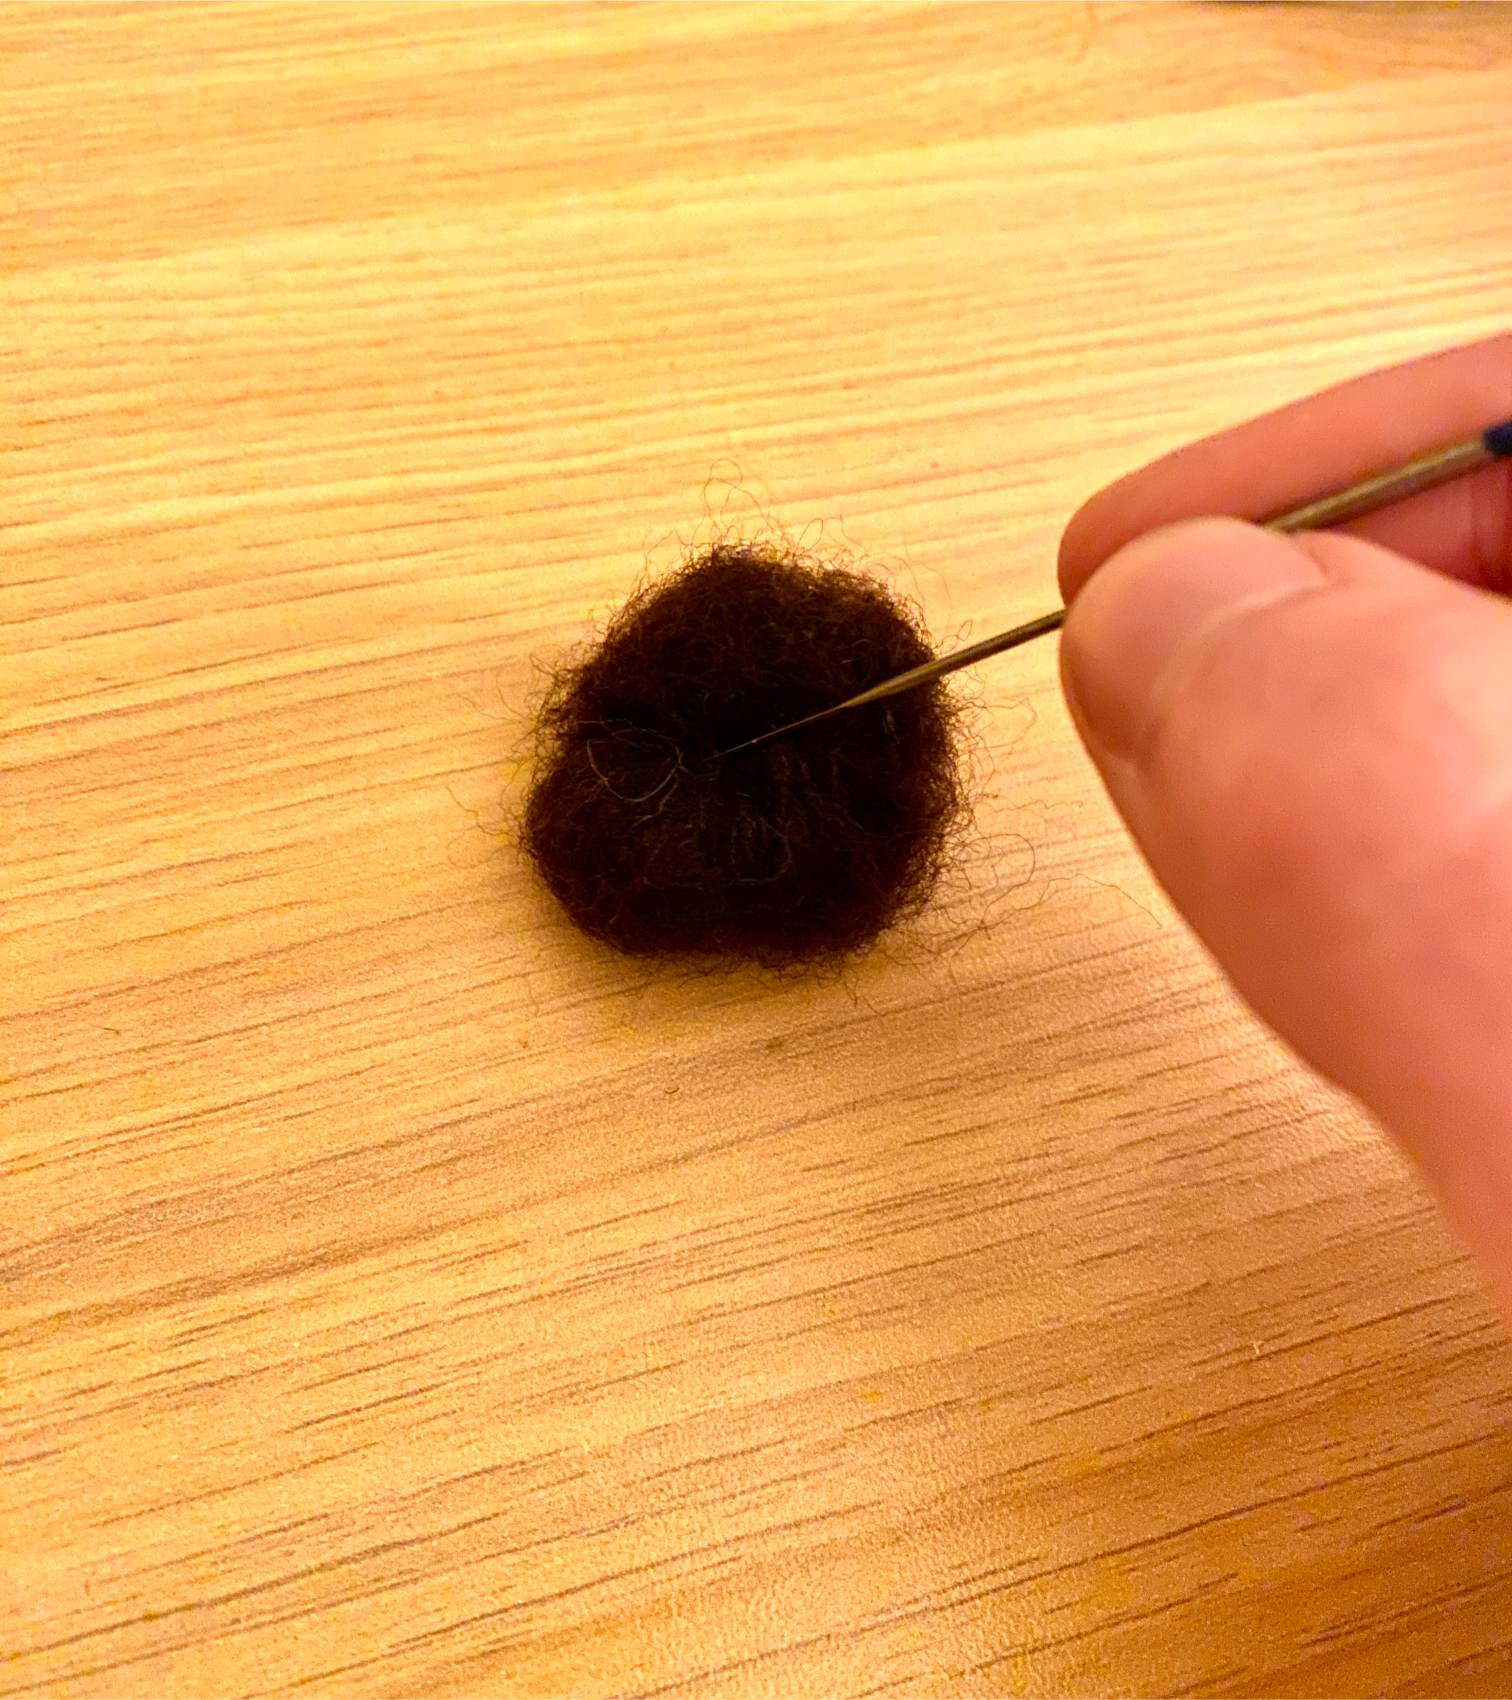
Tear the wool into all of the necessary pieces and use your fingers to roll these pieces roughly into the desired shape for each. With this bear, the head is a wide oval. The bear’s torso is a more elongated oval. The legs and arms are approximately half of the length of the torso and quite a bit thinner.
For the rest of the steps, you may wish to wear some gloves to protect your hands from needle pokes. You can also put a pillow (one that you don’t mind getting poked a bit) or a foam cushion on your lap as a barrier against the pointy needle.
Poke each piece with the needle repeatedly to help it take form. You’ll notice that felting needles have tiny barbs on them—because of this feature, the poking essentially makes the wool more matted and compresses it.
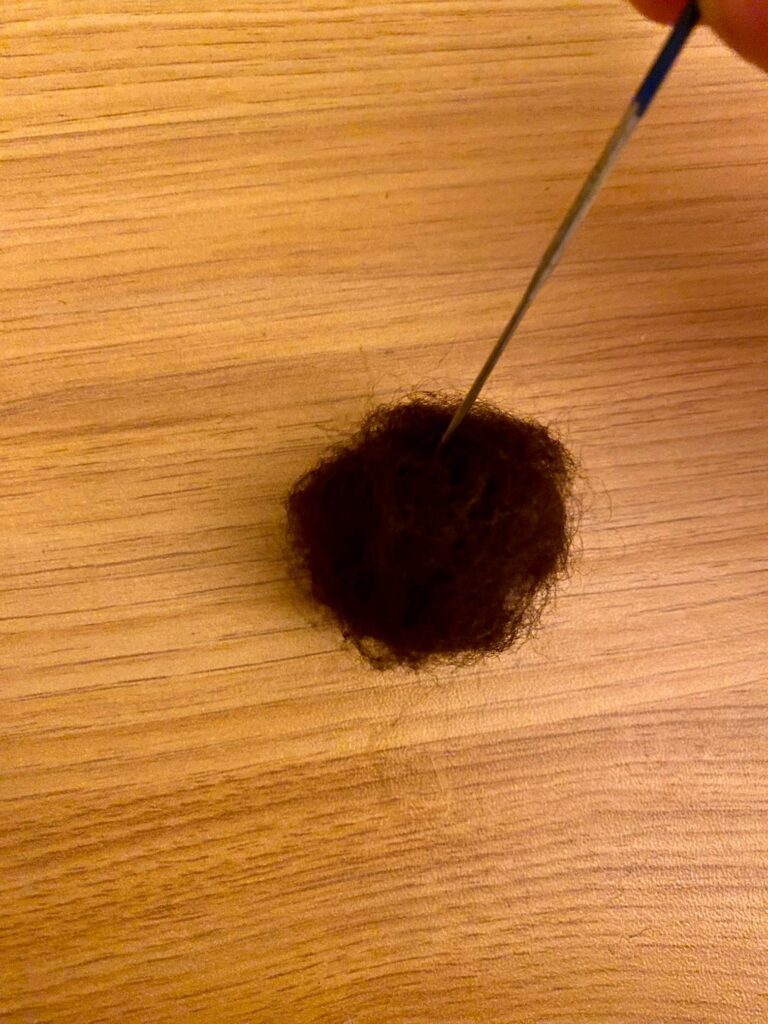
The more you poke, the denser the wool pieces will get. Therefore, if you want a piece to be really firm, poke the wool in a short back-and-forth way for even longer.
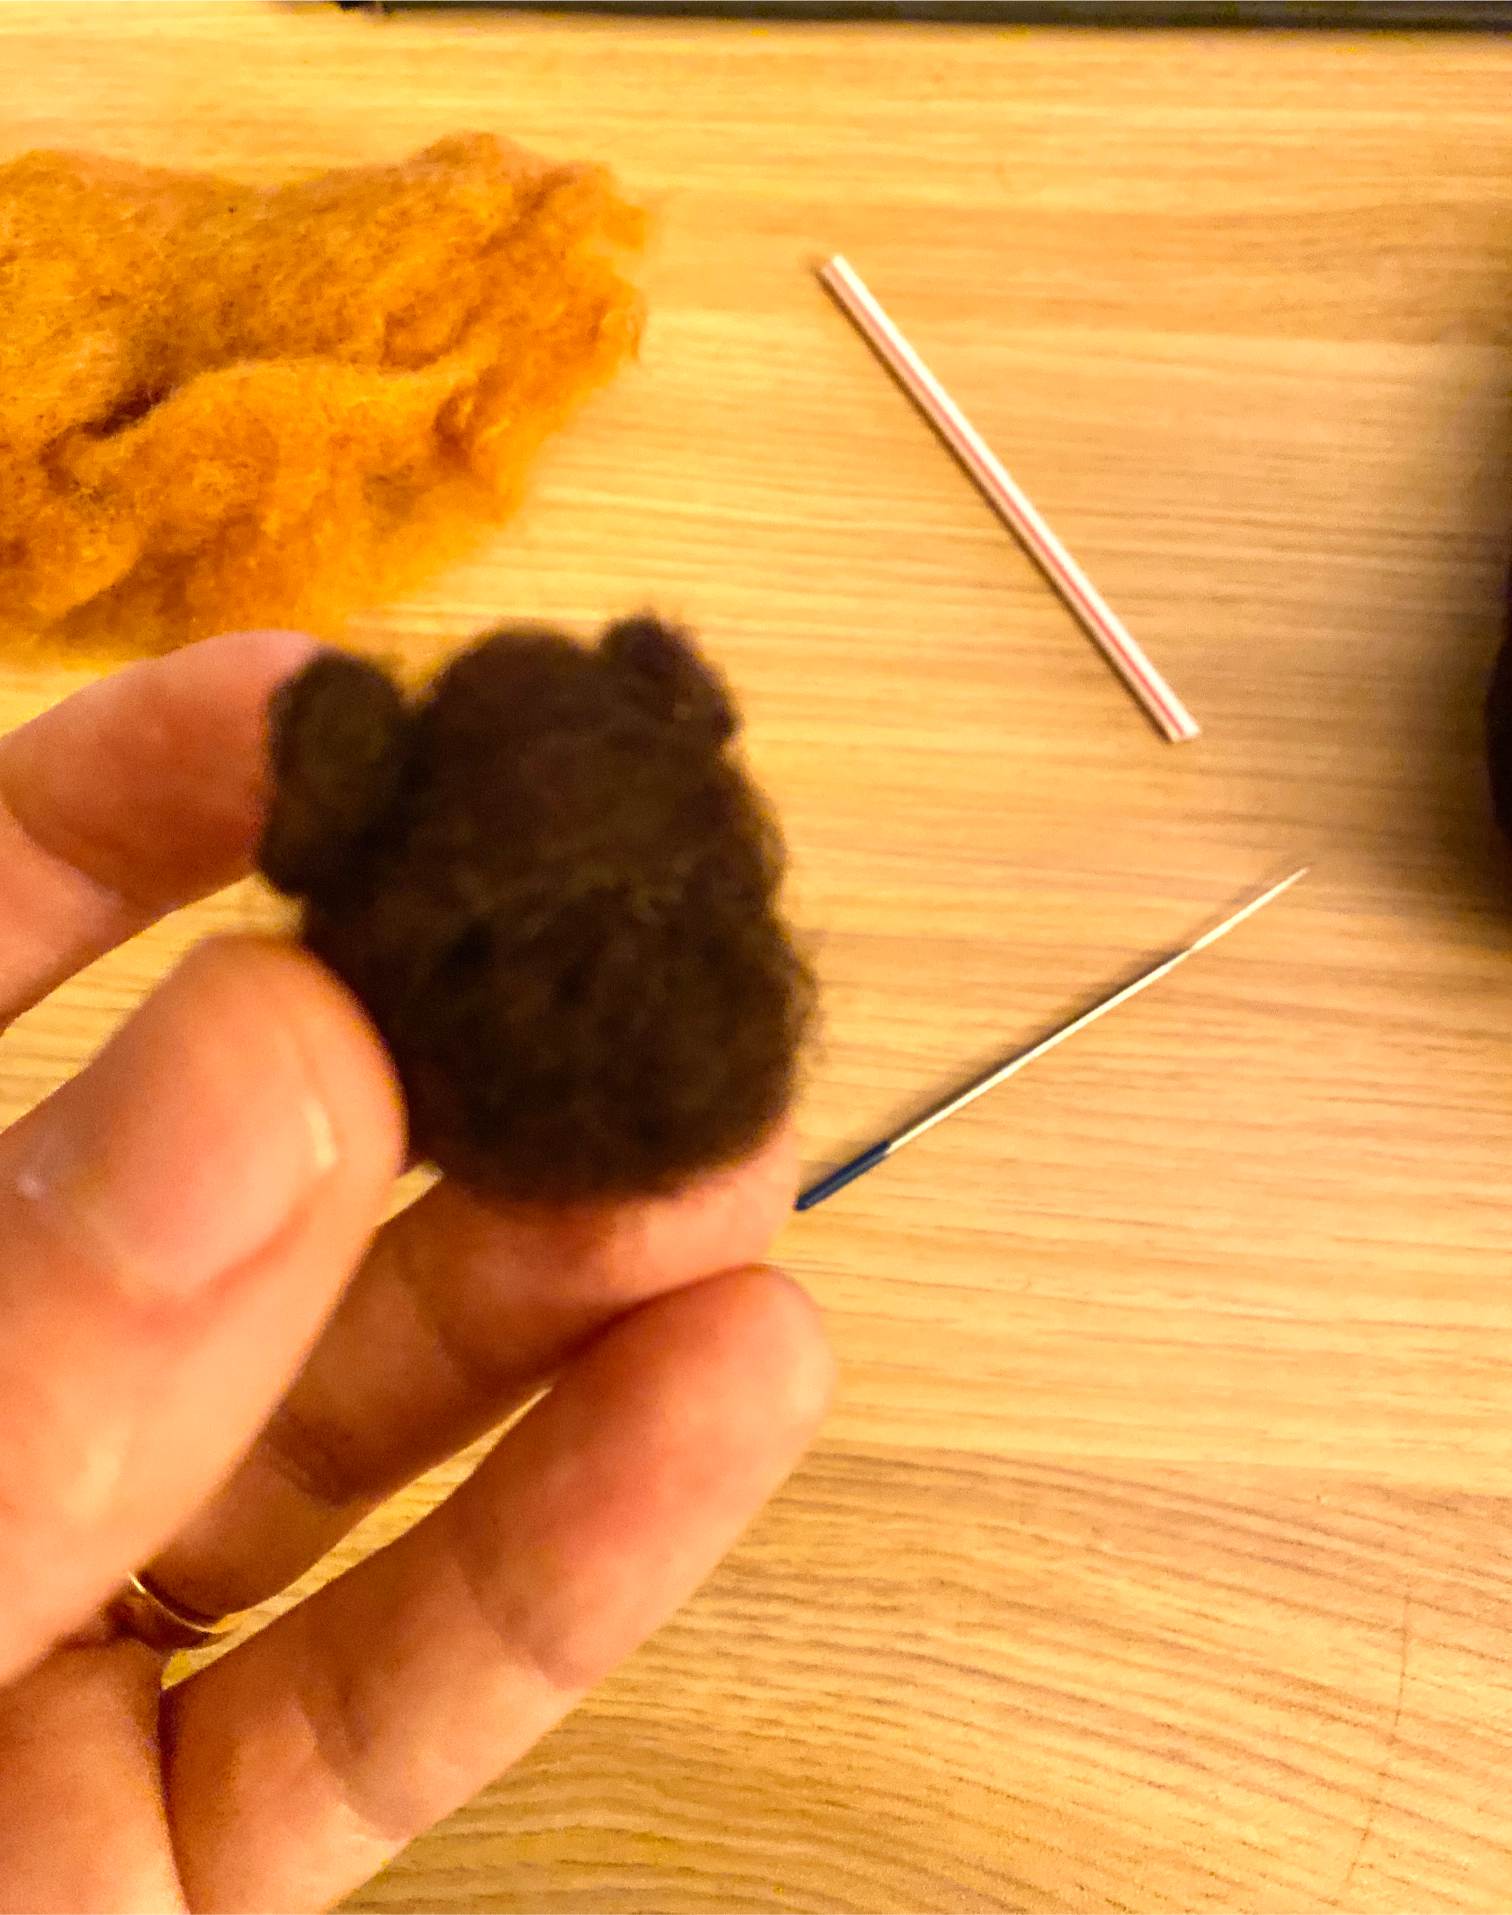
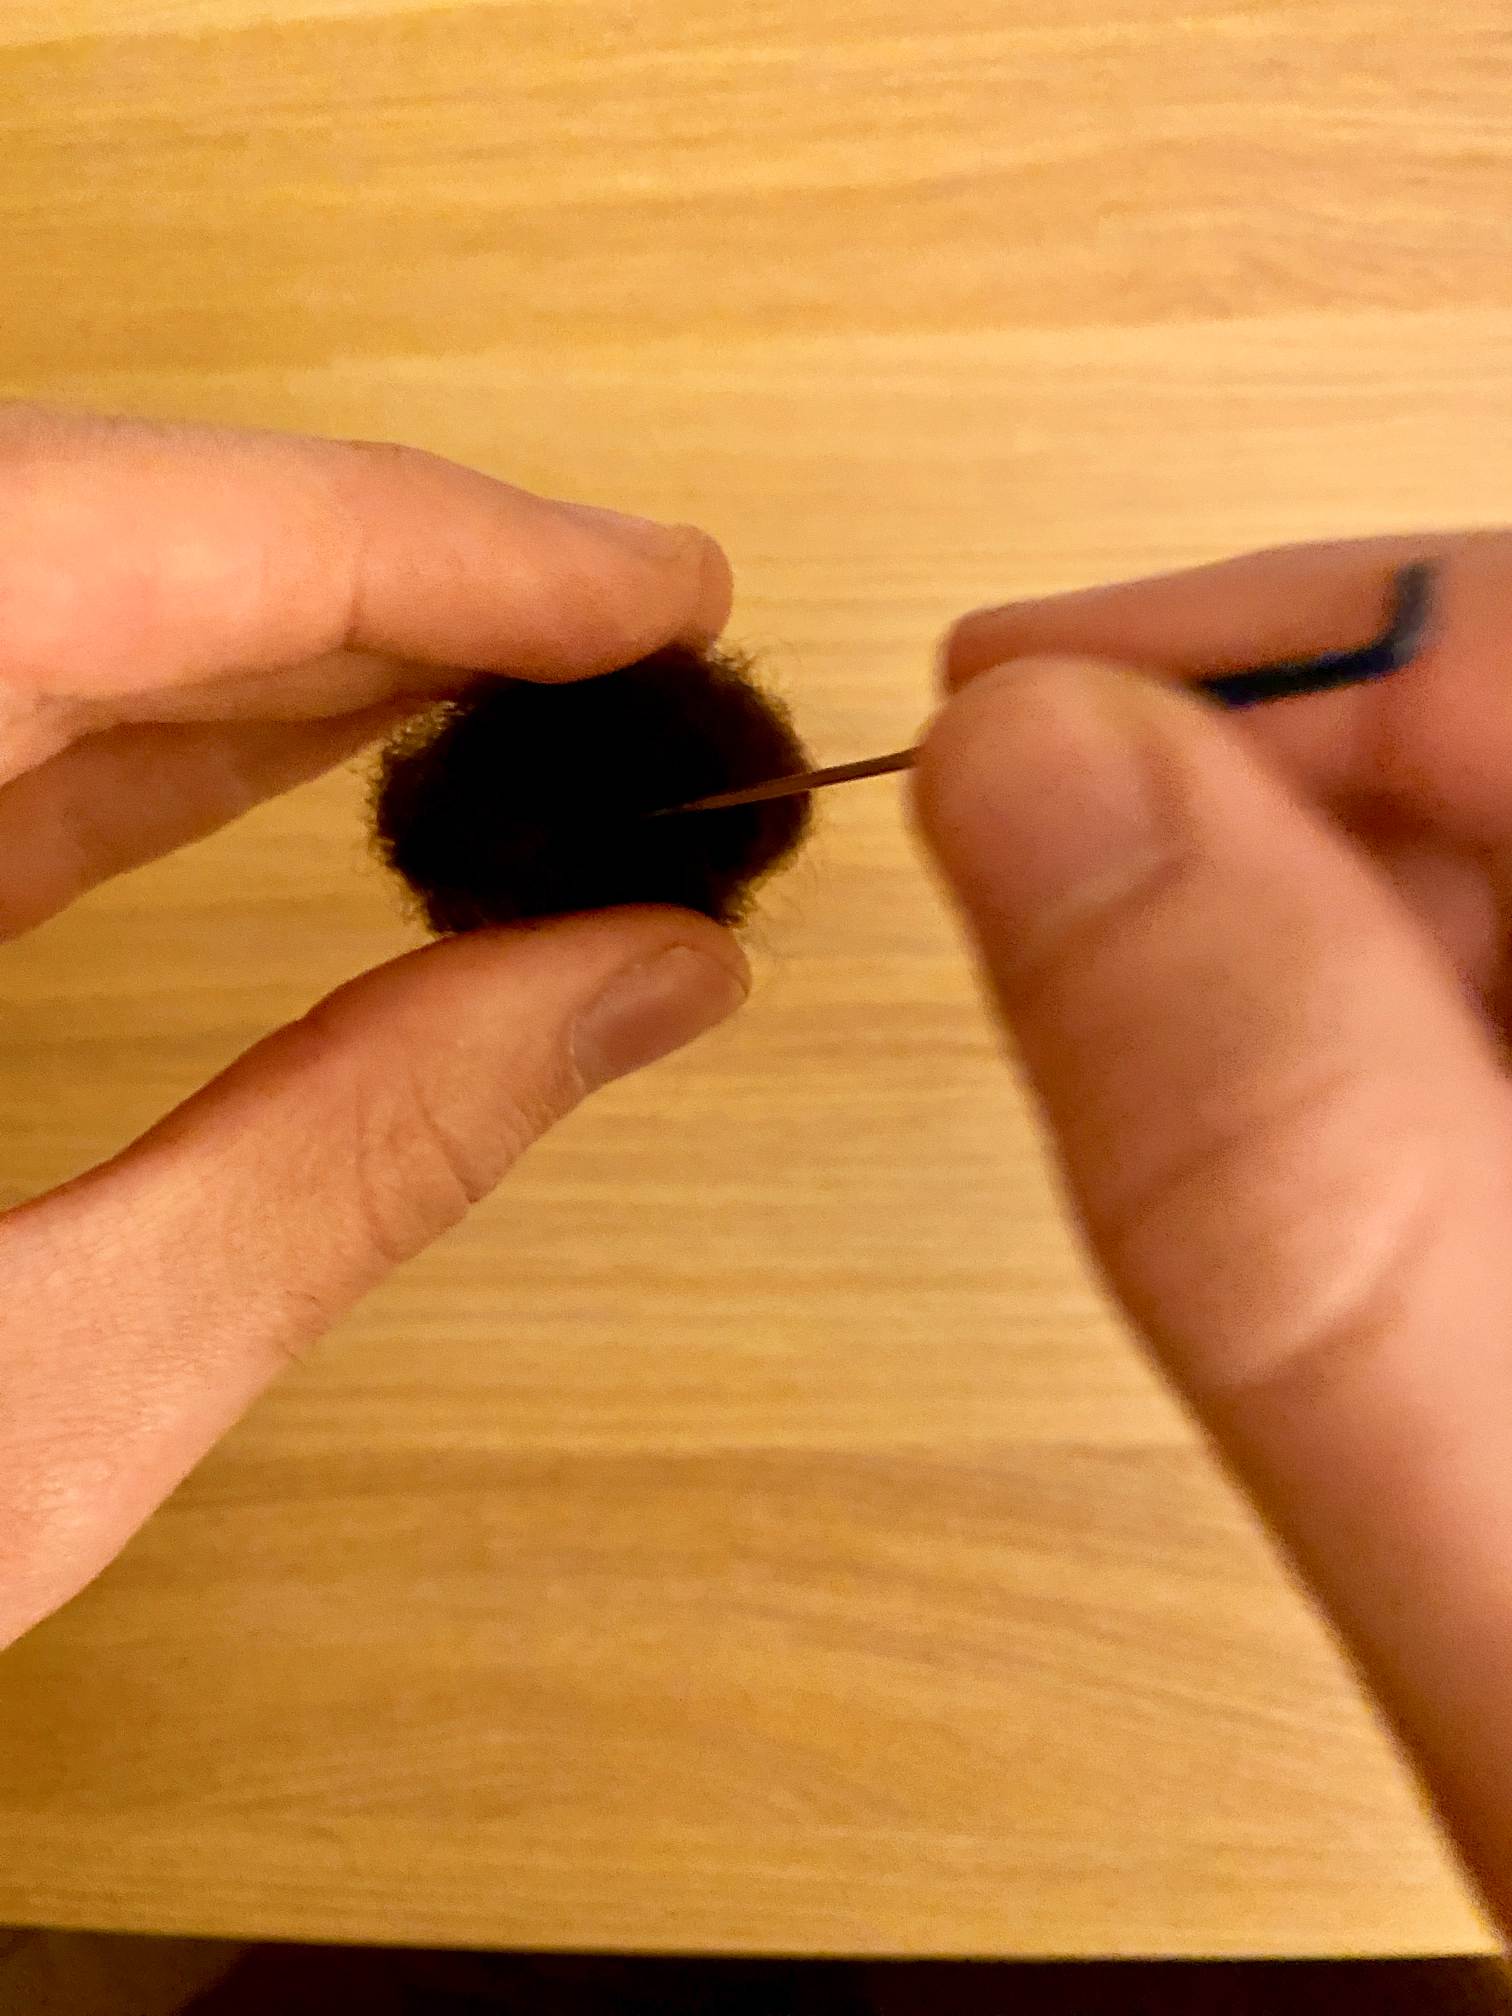
Now, to change the thickness or direction of wool pieces, the wool is quite malleable, so you can pinch the wool with the fingers of your non-dominant hand and poke the pinched area with the needle. For example, to create feet from legs sticking down from the bear’s torso, bend the end of the legs up and poke the needle into the crease between the top of the foot and the leg.
For eyes, you may want to take a small amount of white wool (a tiny clump balled up in your fingers) and an even smaller amount (just a few threads) of darker wool for the irises of the character’s eyes.
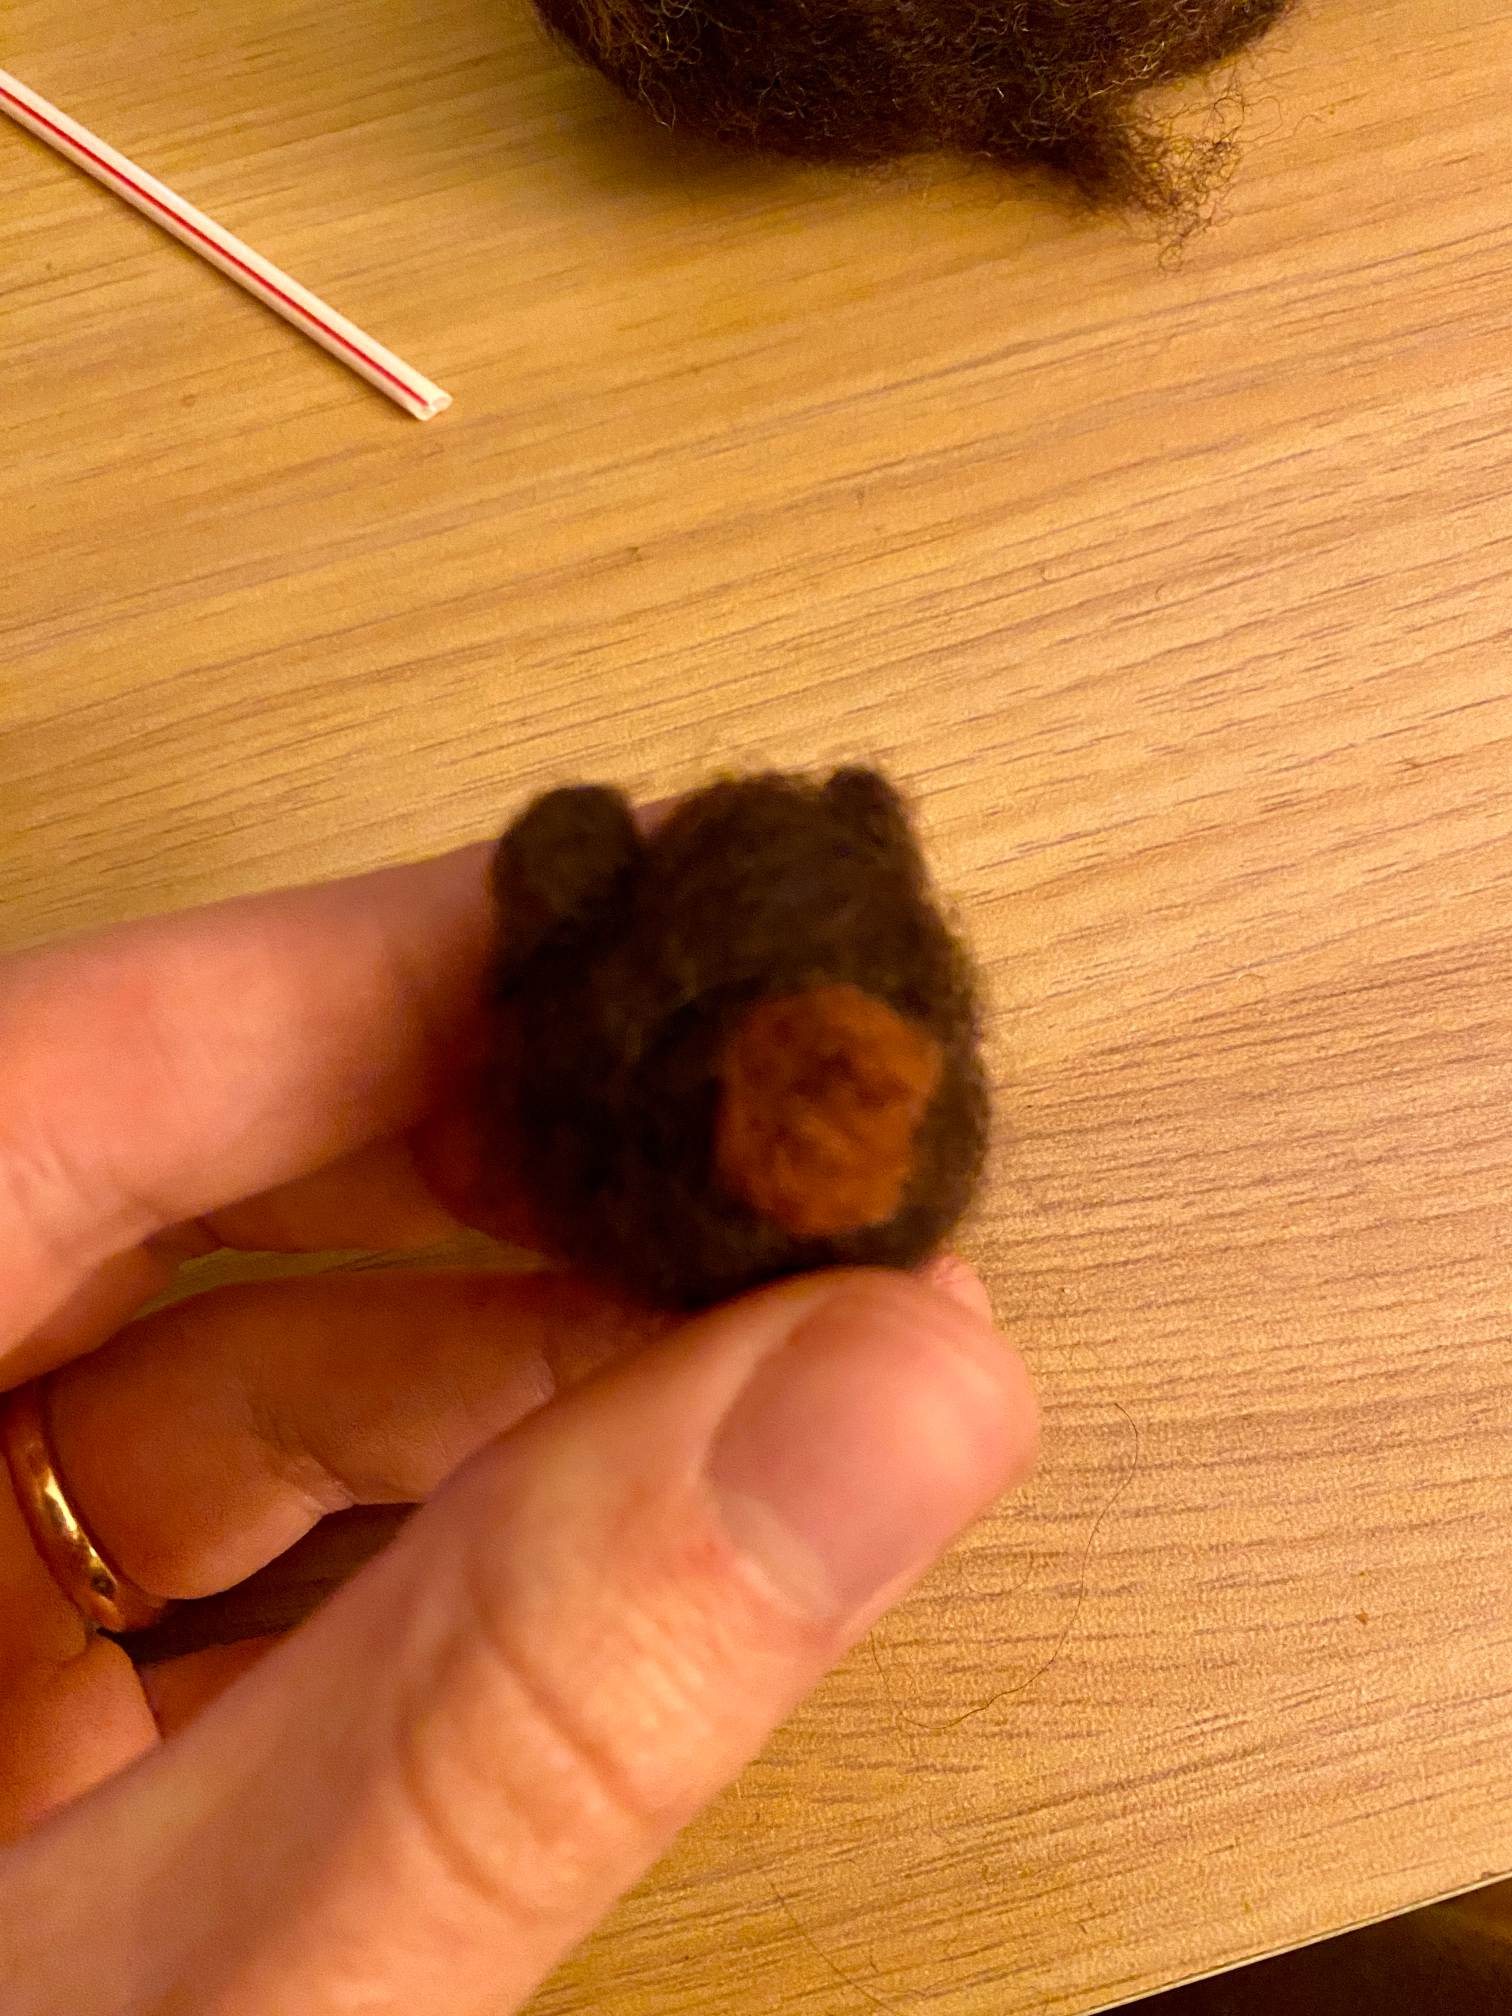
Connecting the limbs and head to the torso—or adding other parts to the character such as eyes and a snout—isn’t so hard really! Push together the pieces that are meant to be connected, then poke the needle through both pieces so that the wool starts to get interlocked and pulled together on the inside. For eyes, you may want to take a small amount of white wool (a tiny clump balled up in your fingers) and an even smaller amount (just a few threads) of darker wool for the irises of the character’s eyes. For this bear, the eyes have a white part and black irises.
Fotogalerii
Once you’re at the point where eyes have been added, you can look over your handiwork more closely, pinching and poking anywhere there isn’t a tight enough connection to limbs or other pieces, or where the strands of wool need to be packed together more tightly.
Before long, you’ll notice a fully-formed being has appeared, a fantastical character made out of not much more than some tufts of wool and a bit of patient poking. Whether you decide to put a string on your character and decorate your Christmas tree with them, or just have them on a desk or mantle, may these characters bring you lots of festive spirit!
