But why restrict yourself? During the season of the winter solstice and Christmas, a bit of green—or other colours you might find—can look excellent and lift your spirits and those of the people you meet. And it can be found more easily than you think. Offcuts of spruce and fir that you can often get for free at Christmas tree farms, lots, and garden centres are just as good for clothing decoration as they are for making a wreath to put on your front door. A trimming from a cedar shrub works, too, as do snippets of holly with their shiny leaves and bright red berries.
For a woollen overcoat worn for Christmas carolling out in the cold, you can increase the size, for visibility against the big coat and scarf you’d be wearing.
How might you take all of this material and make something tasteful out of it? See the easy steps below to making your own Christmas pin:
1. To start, choose how big of a pin you’d like, relative to your size and what clothing you’ll be wearing. If you’re wearing a suit for a cocktail party, you can keep it slightly smaller than the width of one of your upper suit pockets. For a woollen overcoat worn for Christmas carolling out in the cold, you can increase the size, for visibility against the big coat and scarf you’d be wearing. The less attire there is, it may look better to have less greenery.
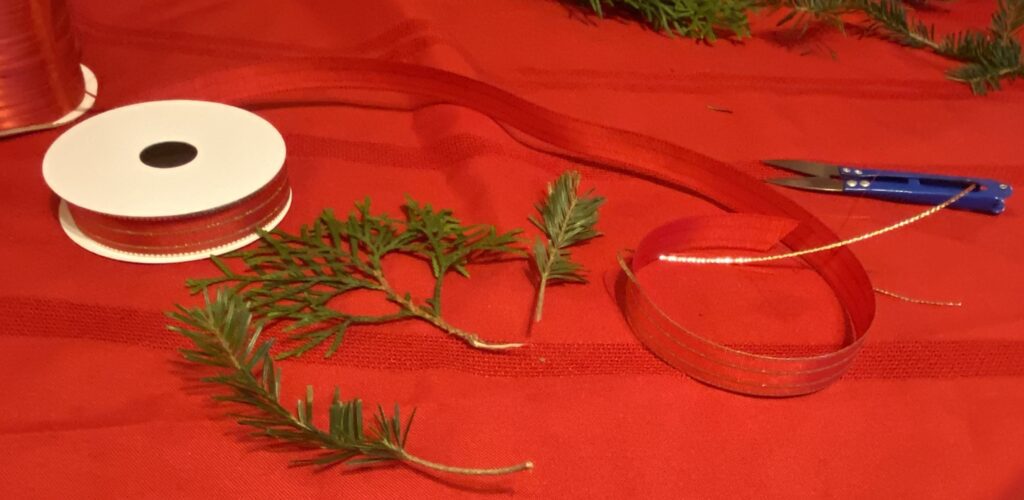
2. Lay out the materials:
-the selection of plant material you’d like (Christmas tree offcuts, holly, cedar, etc)
-a roll of wide ribbon
-a roll of thin ribbon
-scissors
-a hot glue gun
-a safety pin

3. Plug in the hot glue gun so that it has enough time to heat up.
4. Based on the size of pin you choose to make, cut down the greenery and arrange it in a way that looks good to you. For instance, you can position branch pieces to point out in opposite directions on each side and place an upward-pointing piece in the middle.
5. Cut two to three inches of wide ribbon, cutting at an angle so the ribbon is less likely to fray.
6. Press the trigger of the glue gun so that a pea-sized amount is applied to one end of the ribbon.
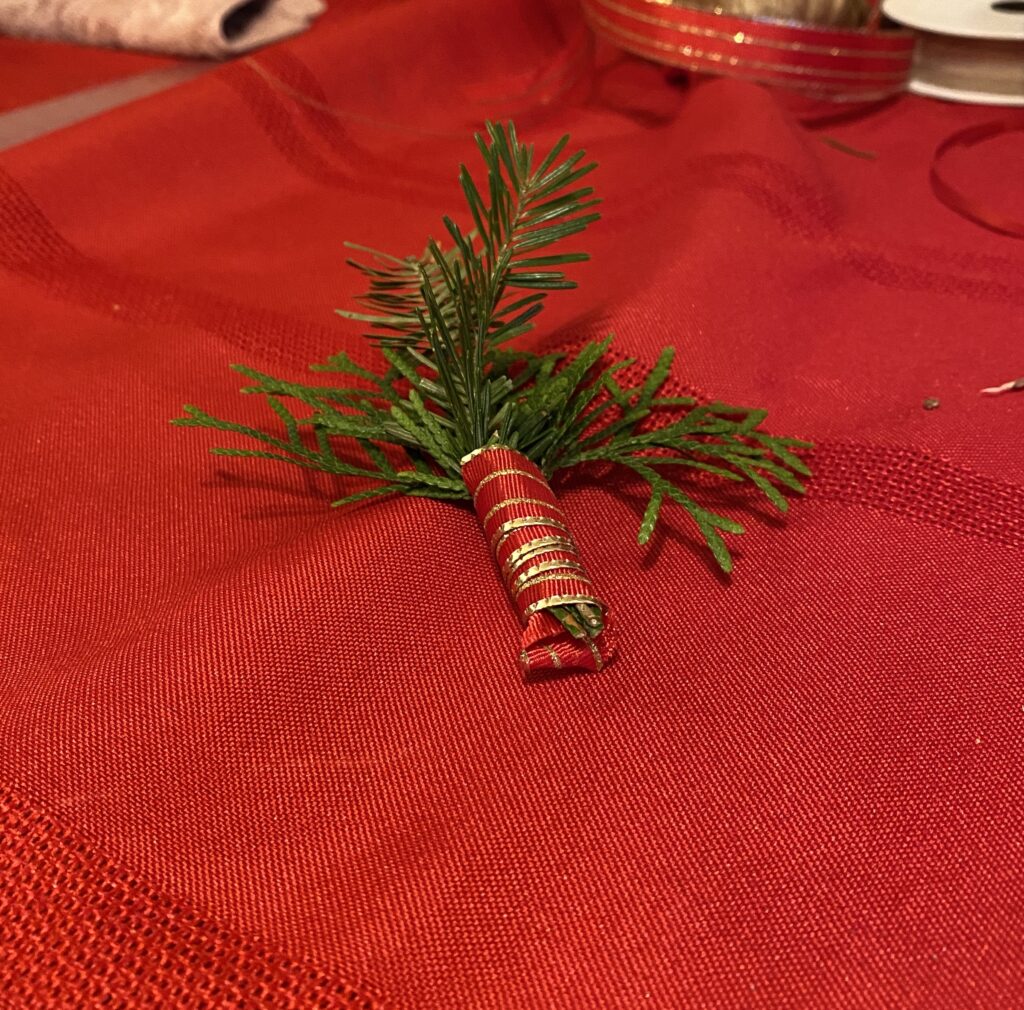
7. Pinch the arrangement of greenery pieces together with your fingers and place it directly over the hot glue drop.
8. While continuing to hold the greenery and ribbon end together, wrap the rest of the ribbon around the arrangement. When it’s wrapped all the way around, apply one more dab of hot glue to hold it all together.
9. Trim or cut in any pieces of ribbon or stems sticking out. For that matter, if you used holly, you can use scissors to soften the sharpest edges of the leaves so that it doesn’t irritate your skin when you wear the arrangement.

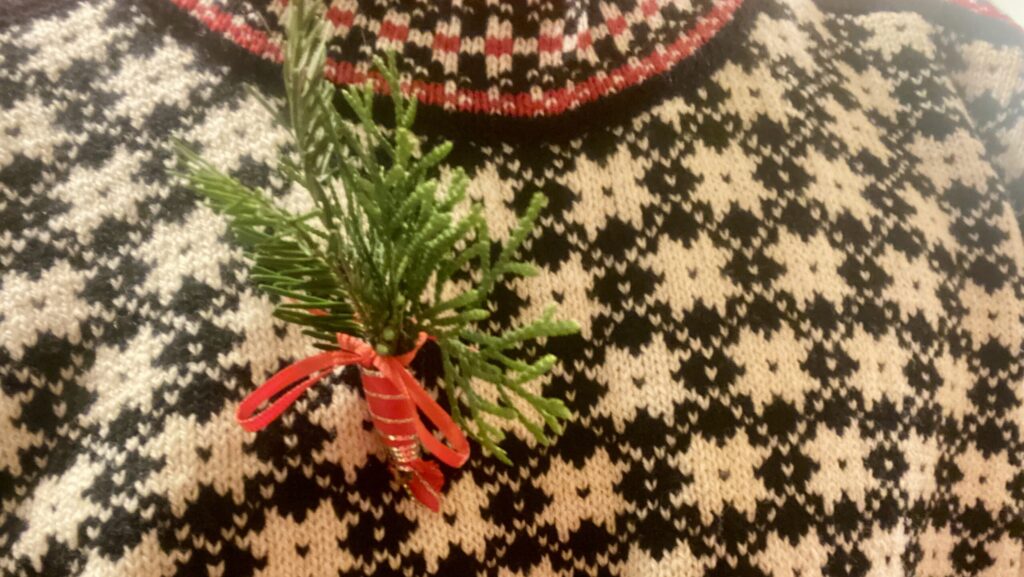
10. If you wish, cut a few inches from a roll of thin ribbon and tie it around the front of the arrangement with a bow (using a standard shoelace knot).
11. Knowing which side of the arrangement you’d like to appear in front, open a safety pin and use the sharp end to poke in and out of the back of the arrangement. The wound up ribbon is an ideal place to poke through. Then, when you’re getting ready to wear it, push the sharp part of the pin through your clothing, lock the pin together, and tilt it vertically, so that the ribbon and greenery blocks the sight of the safety pin.
There you have it, a Christmas pin for your next holiday event!


